Ionic Property: Parse HTML
Introduction
The Parse HTML property allows easy adapting any HTML code to your Ionic apps created with Appery.io and is available for the Html component only.
Working with Parse HTML Property
In this sample, using the Parse HTML property is demonstrated.
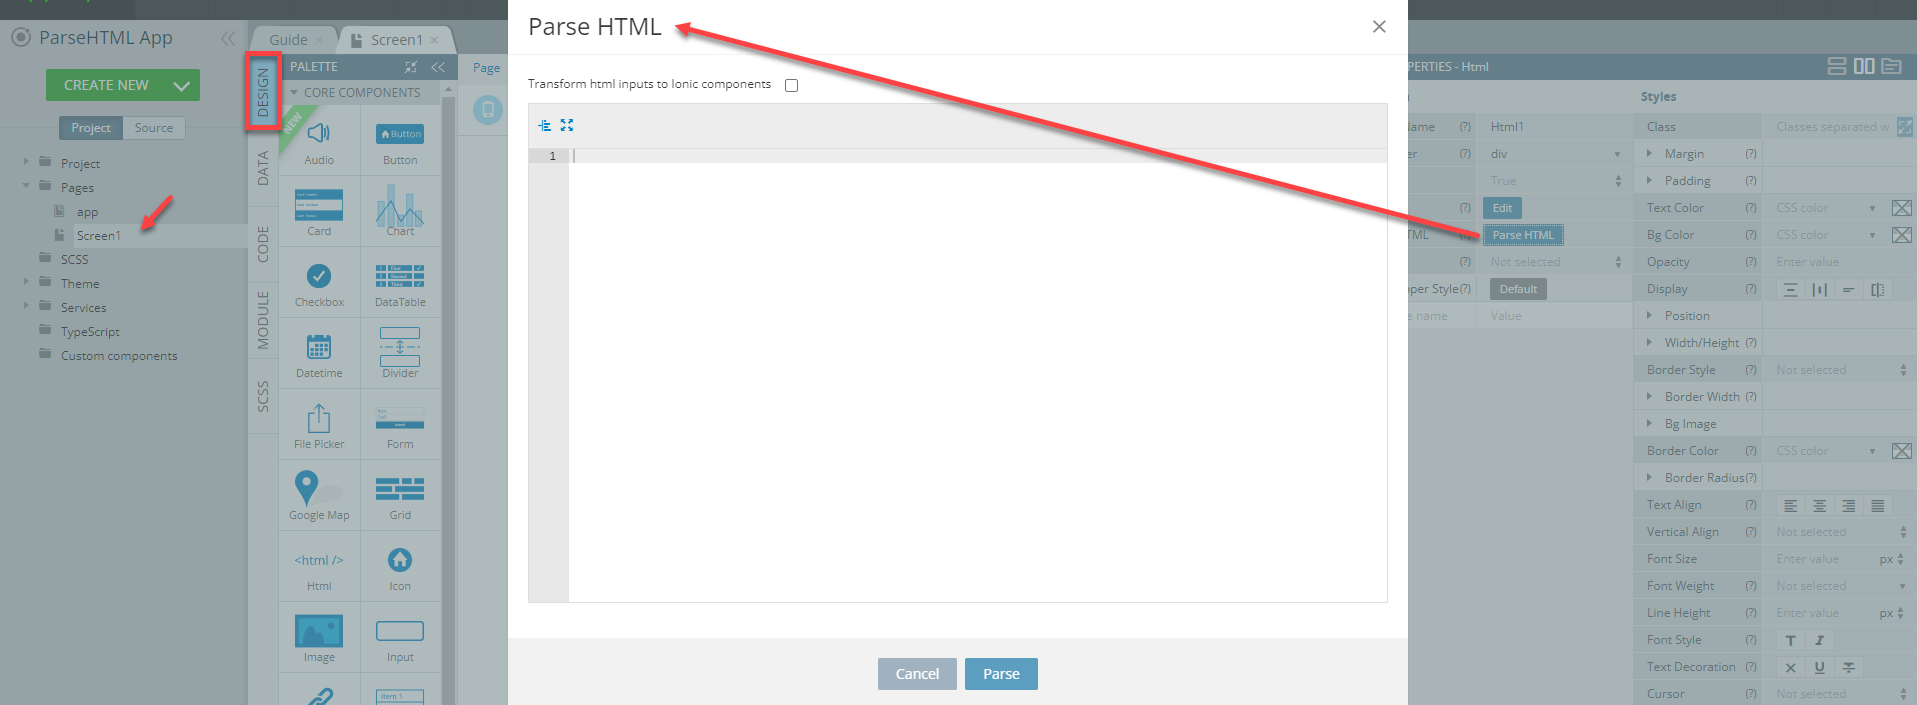
- In the DESIGN panel of the App Builder Screen1 page, go to the PALETTE panel on the left.
- Drag the Html component and drop to the Content area.
- Go to the PROPERTIES view on the right to check out the Parse HTML property.
- Now, click the corresponding Parse HTML button.
- The Parse HTML editor will open in the modal window:
Any HTML code can now be added to this editor and on clicking Parse, the added code will be automatically parsed to the UI components offered by Appery.io and inserted as child elements to the Html component.
Important Note!
- Parsing HTML code is a one-time procedure; after the code has been parsed, the popup will close and the source HTML code will become unavailable for reediting.
However, all the created components can be customized according to your needs.- If some components cannot be parsed, they will be replaced by HTML or TEXT components with corresponding tags.
- If some errors are found that interfere with parsing, the message informing about this error will be shown.
Example: Parsing Sample HTML Code
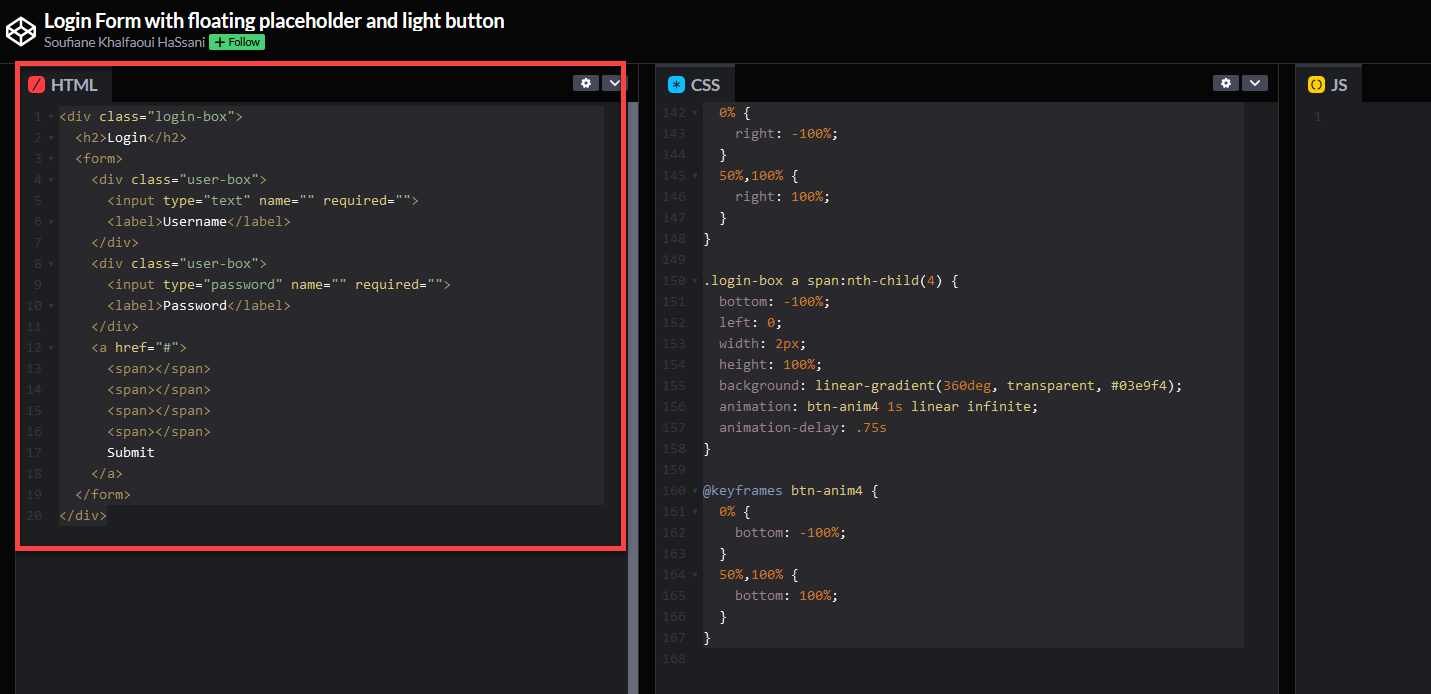
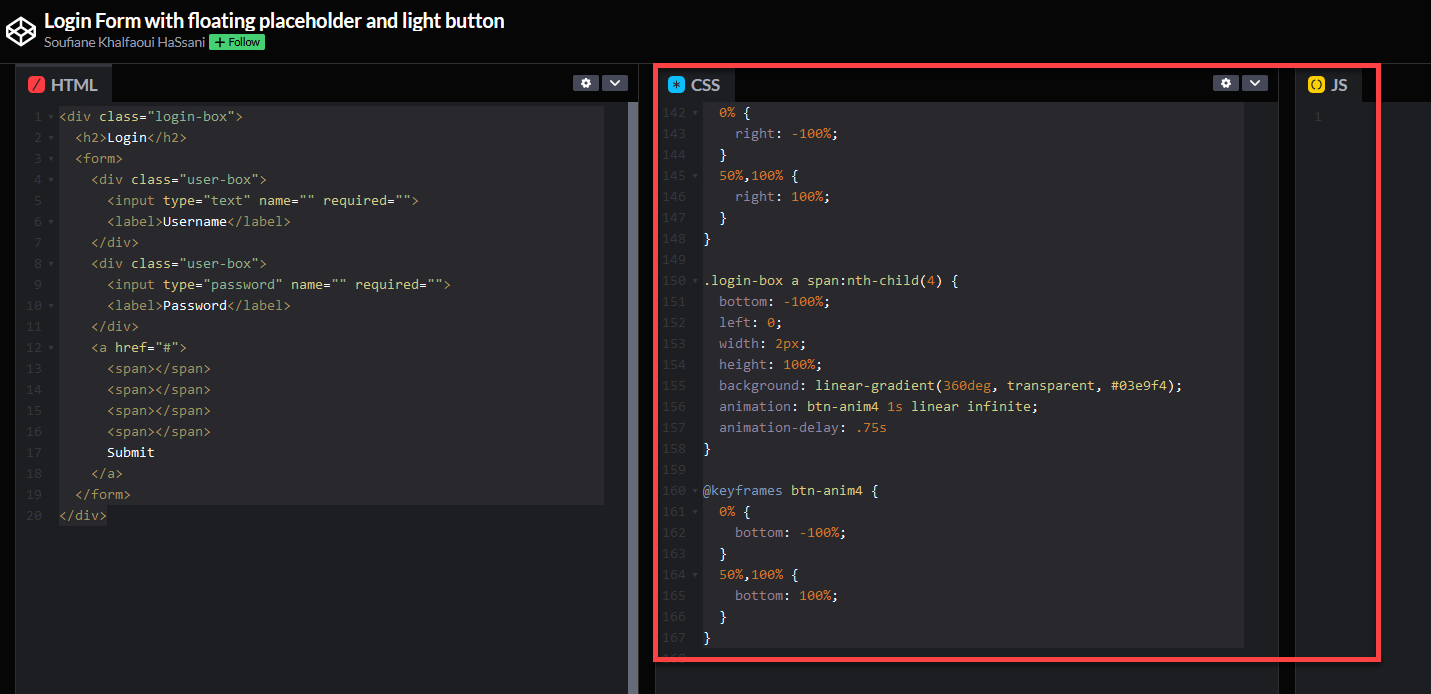
As an example, we will use some sample code from this page.
- We start by copying the HTML code to clipboard:
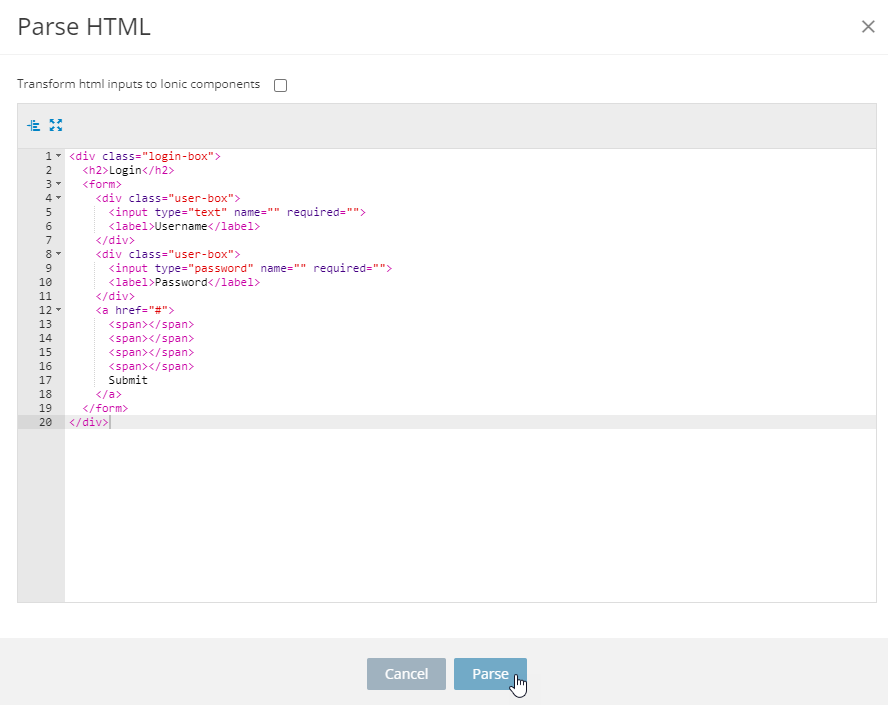
- Then, paste it into the HTML editor and confirm by clicking the Parse button.
Transforming HTML inputs to Ionic components
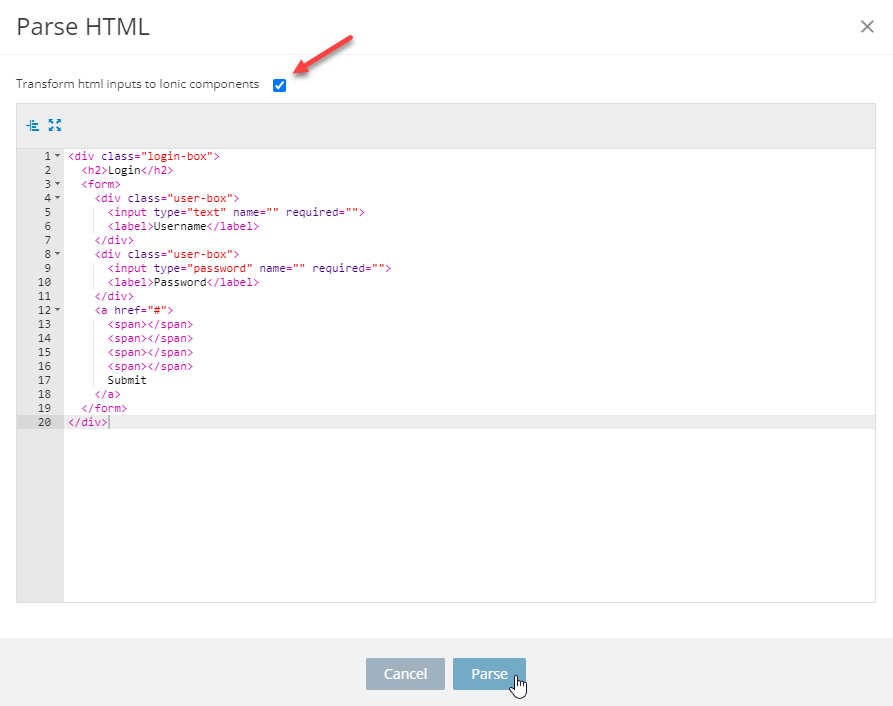
Note that it's recommended that the check box Transform html inputs to Ionic components be checked to allow full transformation:
- Now, check that the parsing option did the trick but the UI part looks not very attractive as we did not apply any CSS style:

So, let's do it now.
Applying Styles
- Go back to the page with the sample code and this time, copy the code from the CSS section:
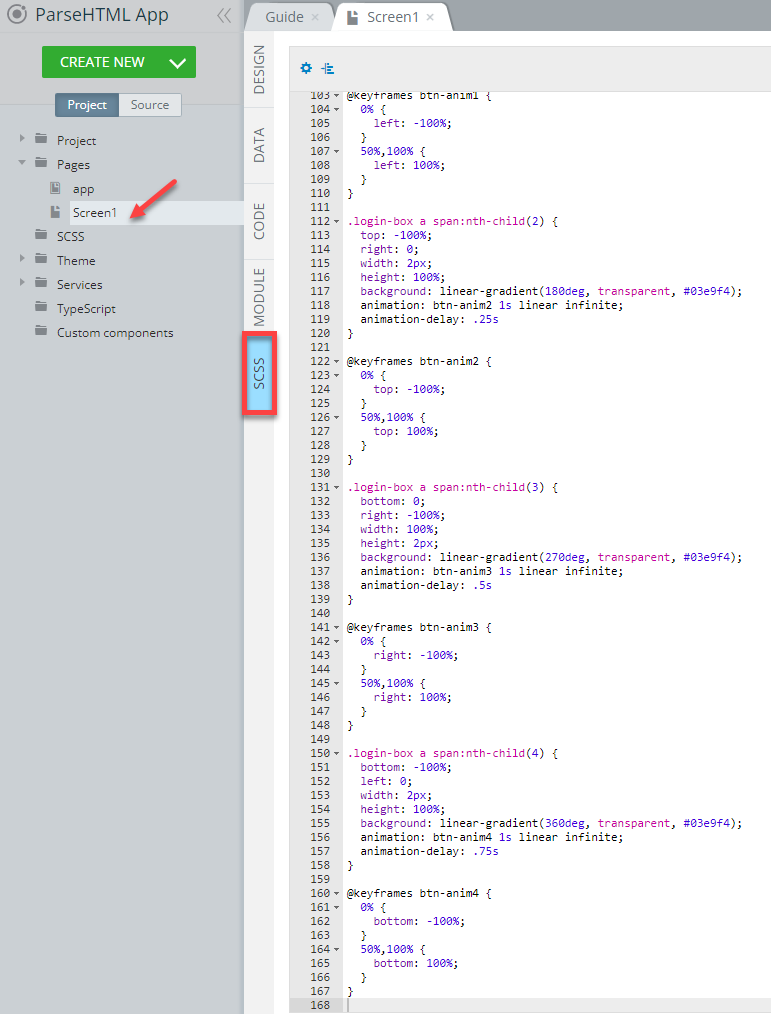
- Switch to the App Builder, open the page SCSS panel panel and paste the copied CSS code:
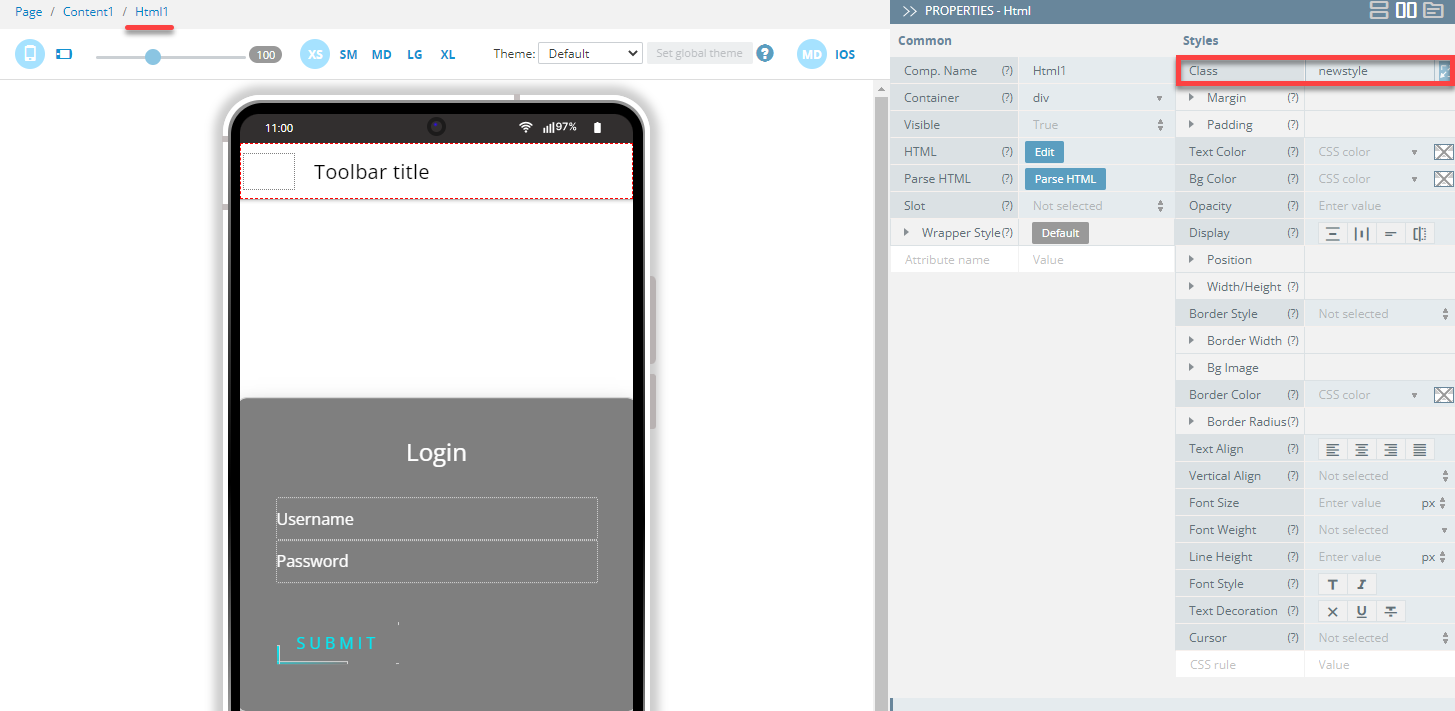
- To finalize and make everything work correctly, we need to add some custom style to the Html component. It's done under the Styles tab of the component's PROPERTIES view:
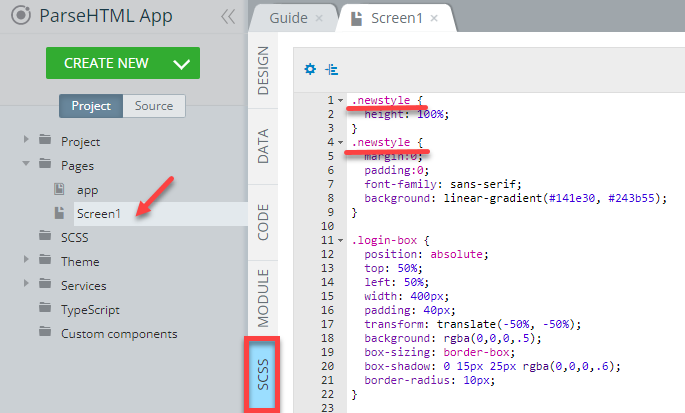
- And then go back to the page SCSS panel panel and replace the html, body , and/or :root with the class we just created:
Now, the HTML code is fully integrated and we can perform testing on preview:
Updated 12 months ago