Source Code Editing
Editing app source code.
In addition to Appery.io App Builder visual tools, you can also edit app source files. This page shows what you need to know when editing source files directly.
Important Note on Source EditingEditing the sources directly is meant in situations where you need to customize the app or a page which is not possible using the visual tools. We recommend editing the source files directly only when absolutely necessary.
Custom Files and Editing Source Code
You are allowed to add and change the source code. In order to do this, you will need to switch to the Source tab.
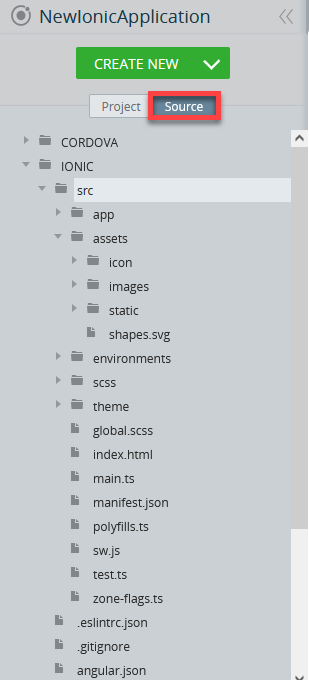
Switching to this view allows you to see the folders, which contain platform-specific resources. Editing these resources allows you to influence the rest of the code in the generation.
Open the folder IONIC/scr/assets/icon/ and click on the cog icon to upload the custom icon for your button.
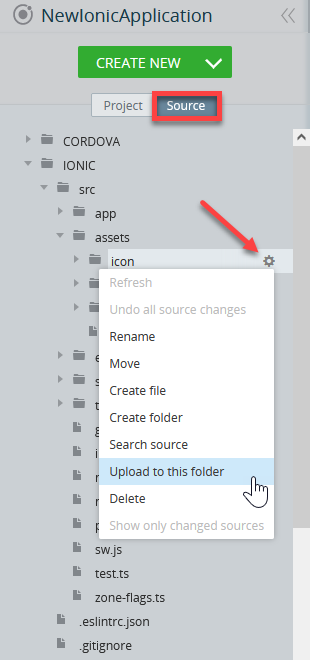
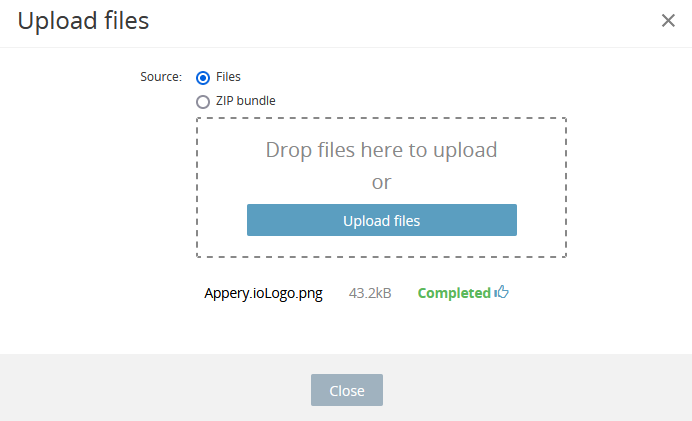
It will open a new window. Check the source (files or ZIP bundle) and select the file(s) to be uploaded. If you choose a ZIP bundle, when it’s uploaded it’ll be unzipped and all its folders and files will be added to the folder you chose earlier:
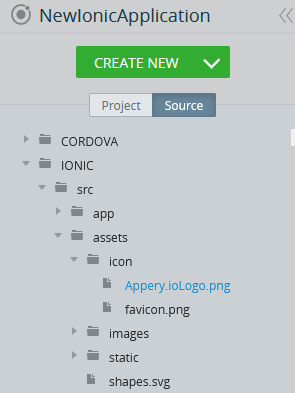
To distinguish from the created resources: the generated resources are initially black, while the created, uploaded, or modified resources are blue:
Tip!We recommend previewing the stages by saving your work and clicking TEST.
If you want to delete the file(s) you have uploaded, simply click the cog icon next to the file and select Delete. This will remove that file from your tree.
Seeing ChangesIt’s important to remember that if you try to make any changes in the visual builder after you have edited the source file, the changes won’t be seen.
You cannot make any changes in the visual builder after you have edited the source code hence, all the necessary changes in the code should be made at the very end of the UI design.
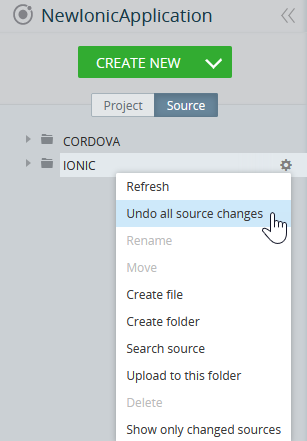
If you want to continue editing the app through the editor, delete edited (blue colored files) and click Undo all source changes for the folder with the edited files:
Adding Source Files for Latest Cordova VersionsStarting from version 5.1 (JQM) and 2.1 (Ionic1):
- Files for all platforms are to be uploaded to resources/res
- Android platform files are to be uploaded to resources/android/res
- iOS platform files are to be uploaded to resources/ios/res
- To be included to the build, they have to be declared as resource-file in
config.xml:
<resource-file src="resources/res/bird.mp3" target="app/src/main/res/raw/bird.mp3" />
Managing Files and Folders
Files and folders are easy to manage. You can move files to folders and folders to folders, create subfolders, upload files and archives to folders, and delete each as well.
For example, to move a file select the file, click the cog icon and select Move.
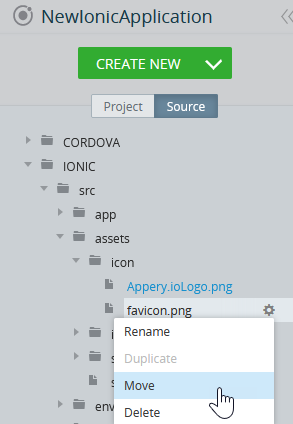
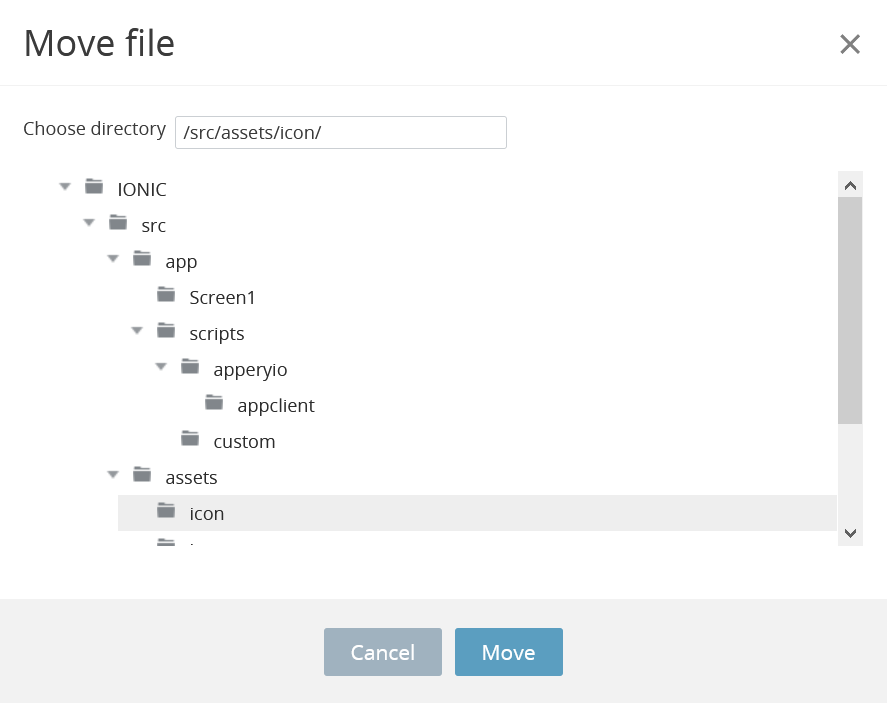
You need to select a folder to move your file to complete this process and add it to your source tree.
Restoring Files and Folders
If you accidentally delete or destroy source files or folders, you can still recover them, for example:
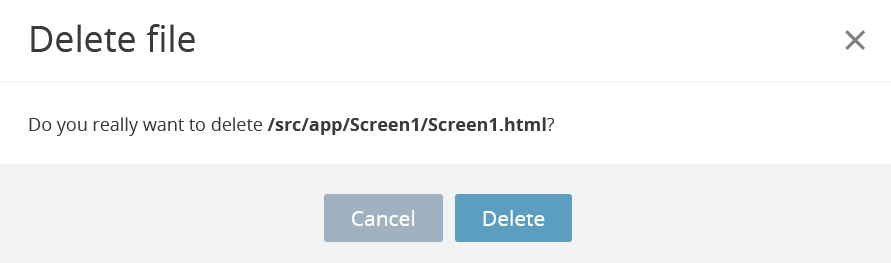
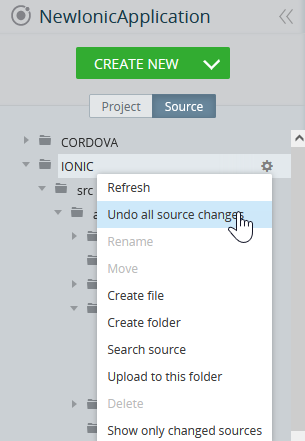
If you accidentally delete, for example, the /src/app/Screen1/Screen1.html file, you can restore it by clicking on the IONIC menu and selecting Undo all source changes:
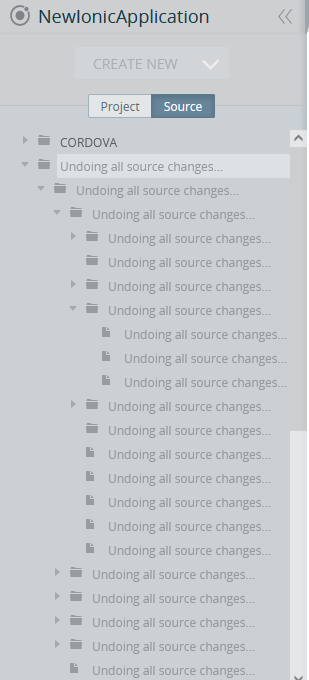
Wait a moment while it's being restored:
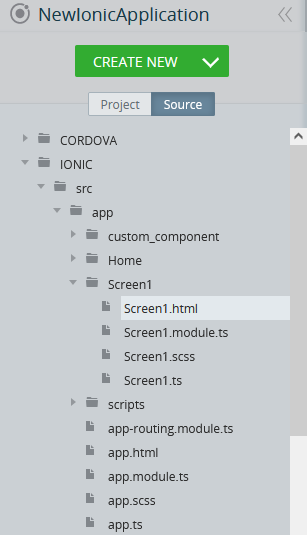
In a while, the restored file will be readded to the Source tree:
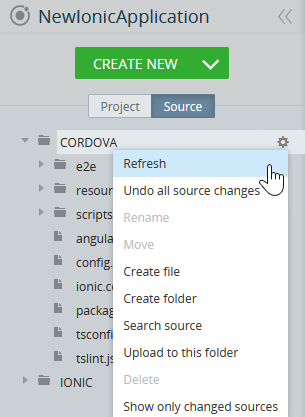
Root folders (CORDOVA, IONIC) have a feature that allows you to refresh the data in any of the above to update the source tree.
For example, to refresh CORDOVA select Refresh from the CORDOVA menu:
Updated 12 months ago