Ionic Local Notifications Tutorial
Normally, when a device goes to the background mode, the application logic gets paused.
In this tutorial, we will demonstrate how you can keep application logic working when in the background mode.
Creating App
- Navigate to the Appery.io dashboard. Here, from the Apps tab, click Create new app.
- Select Blank as a template. Name it, for example, Ionic LocalNotifications App, and click Create.
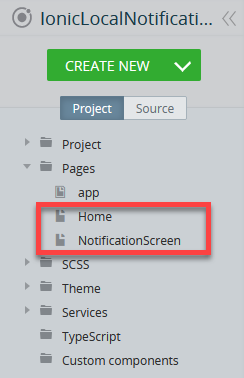
- Go to the Project tab on the left and unfold the Pages folder to see the default app pages (screens): app and Screen1.
- Rename the default Screen1 page to Home.
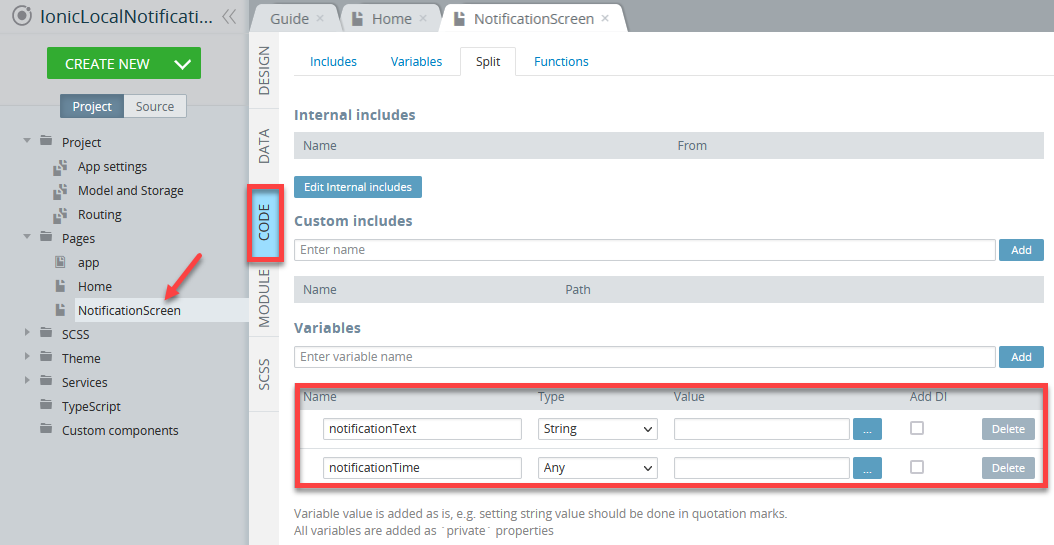
- Then, create another blank page, NotificationScreen by clicking CREATE NEW > Page: this page will display the text of the received notification:
- Additionally, define the
notificationEventvariable of Any type in the Project > Model and Storage > Storage section:

Adding Dependencies
Adding Cordova Dependency
Adding the needed dependency is also easy as it is available for Ionic projects by default and does not need to be imported additionally.
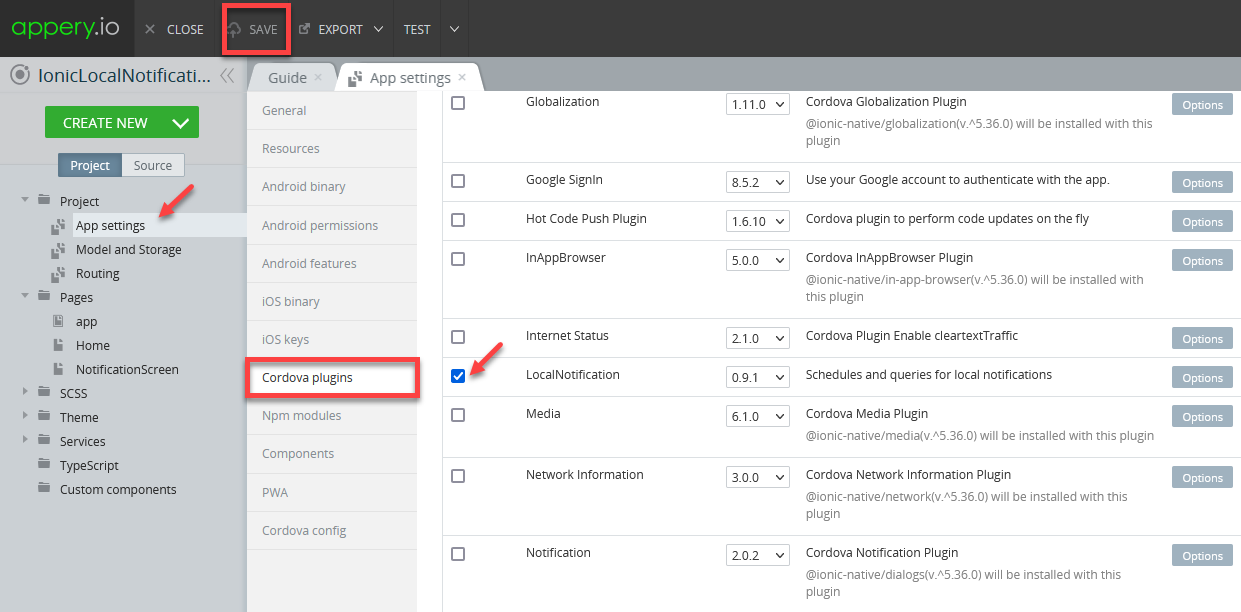
- So, inside the app, navigate to Project > App Settings >Cordova plugins.
- Select the Imported Cordova plugins tab, then enable the LocalNotification plugin and click the SAVE button at the top:
Ready!
Adding Dependency to App Module
- Unfold the Pages folder and choose the app page.
- Go to the page MODULE panel. In the Imports section, enter the following code:
import { LocalNotifications } from '@ionic-native/local-notifications/ngx';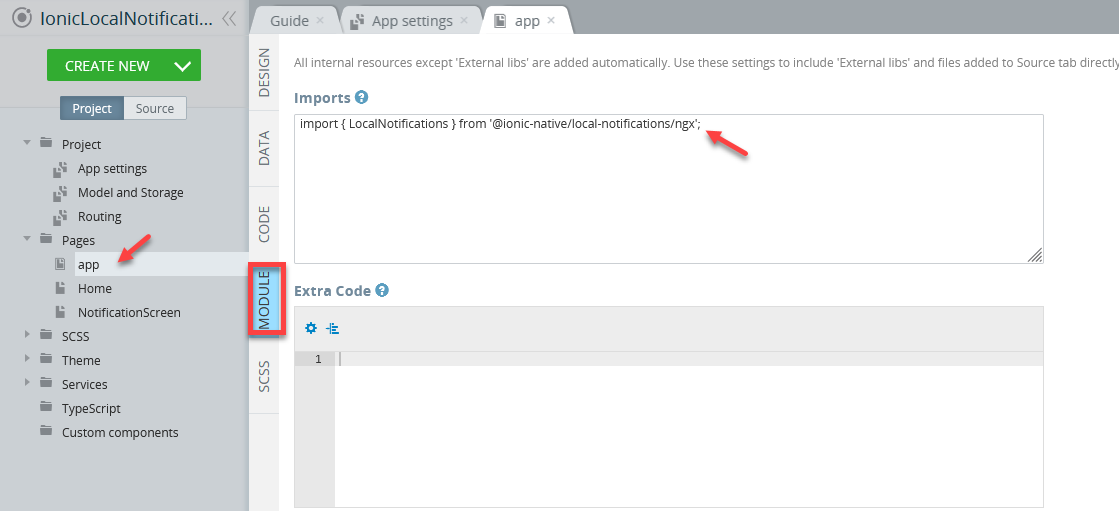
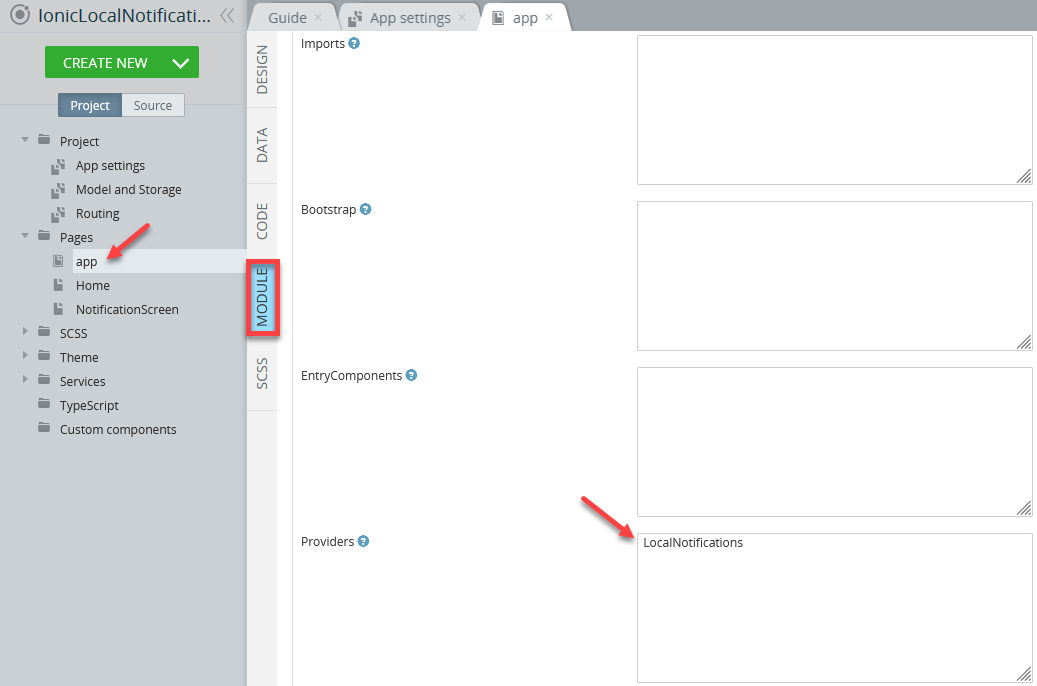
- In the NgModule Settings > Providers section, enter LocalNotifications:
Defining Home Page
Creating Page UI
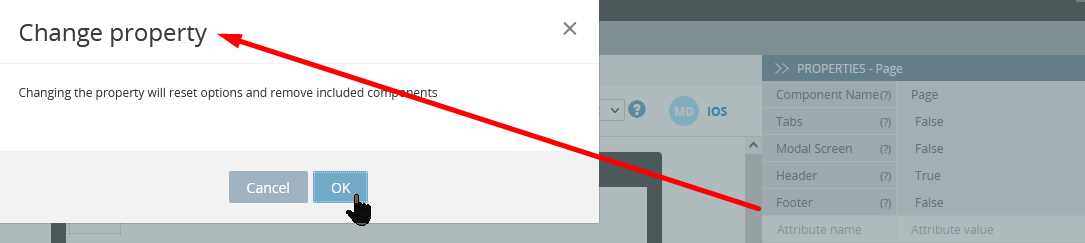
- Go to the page DESIGN panel and, under its PROPERTIES panel, set the Page Footer property to False (you will be asked to confirm you agree to this change - click OK to accept):
- Then, select its Toolbar title component and change its Text property to 📅 Remind me.
- Drag the Input component and drop it to the screen, then define it with the following Common properties:
- Type = Text
- Label > Position = Stacked
- Label > Text = Notification text:
- [(ngModel)] = text.

- Drag another Input to the screen and set it with the following properties:
- Placeholder = Enter N seconds
- Type = Number
- Label > Position = Stacked
- Label > Text = Remind me after:
- [(ngModel)] = time:

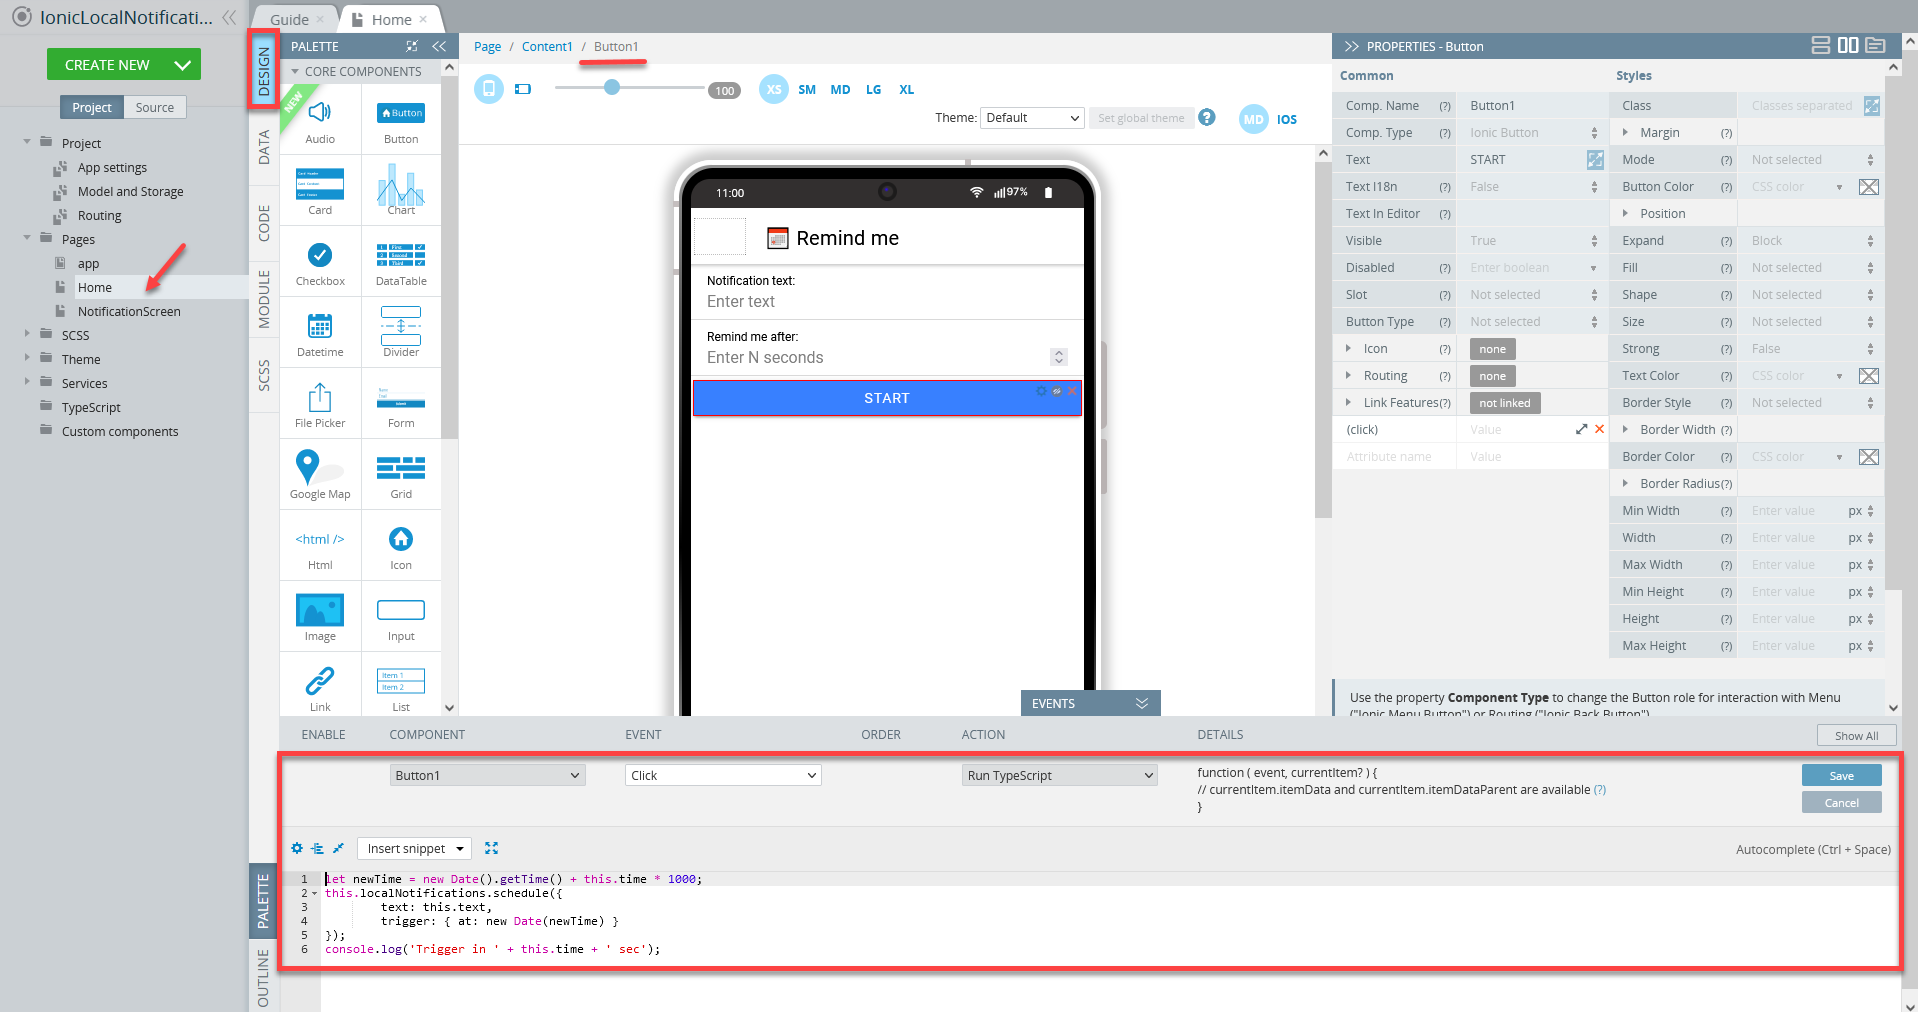
- Now, drag the Button component from PALETTE, set its Text property to START, and expand the EVENTS tab from bottom.
Then select the Click event for the button and set Run TypeScript for its action. - Enter the following code into the code editor and save:
let newTime = new Date().getTime() + this.time * 1000;
this.localNotifications.schedule({
        text: this.text,
        trigger: { at: new Date(newTime) }
});
console.log('Trigger in ' + this.time + ' sec');
The event should look like this:
Setting Local Notifications
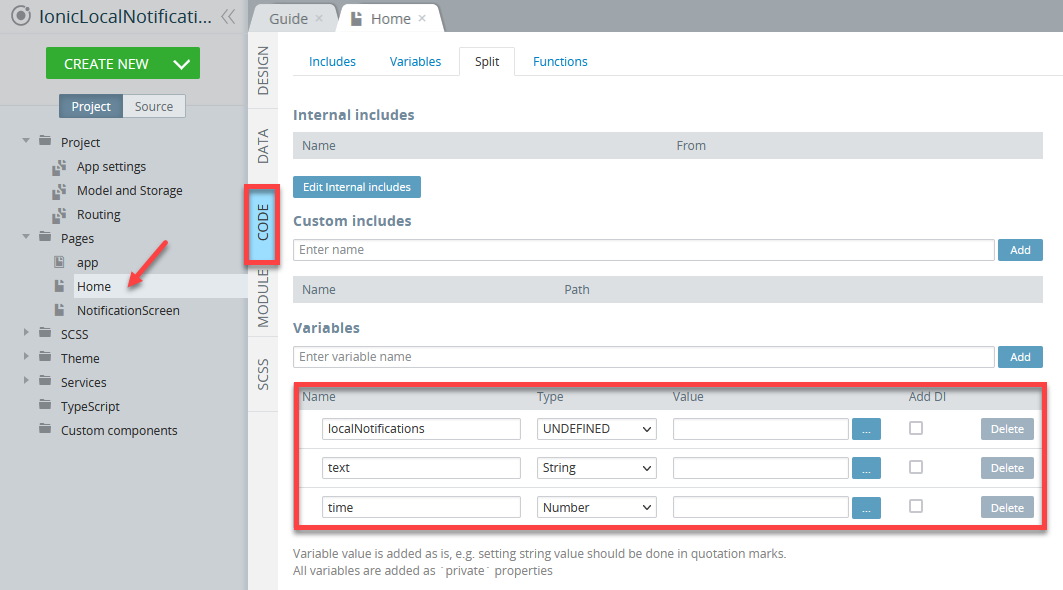
- First, let's open the Home page CODE panel.
- In the Variables section, add a new variable,
localNotificationswith type LocalNotifications and make sure that the Add DI check box is selected. - Also, add two more variables:
textof String type andtimeof Number type:
- In the Internal includes section, click the Edit Internal includes button, then select { LocalNotifications } from the dependencies list and save:
Finally, let's initialize the notificationEvent variable we created under the Modal and Storage > Storage tab.
- To do that, unfold the Home page EVENTS tab from bottom, and for the Page component Page create event, define the Run Typescript action. For the action details, insert the below code and save:
this.localNotifications.on('trigger').subscribe(event => {
	this.Apperyio.data.setVariable("notificationEvent", event);
	this.Apperyio.navigateTo("NotificationScreen");
});
Defining NotificationScreen Page
Creating Page UI
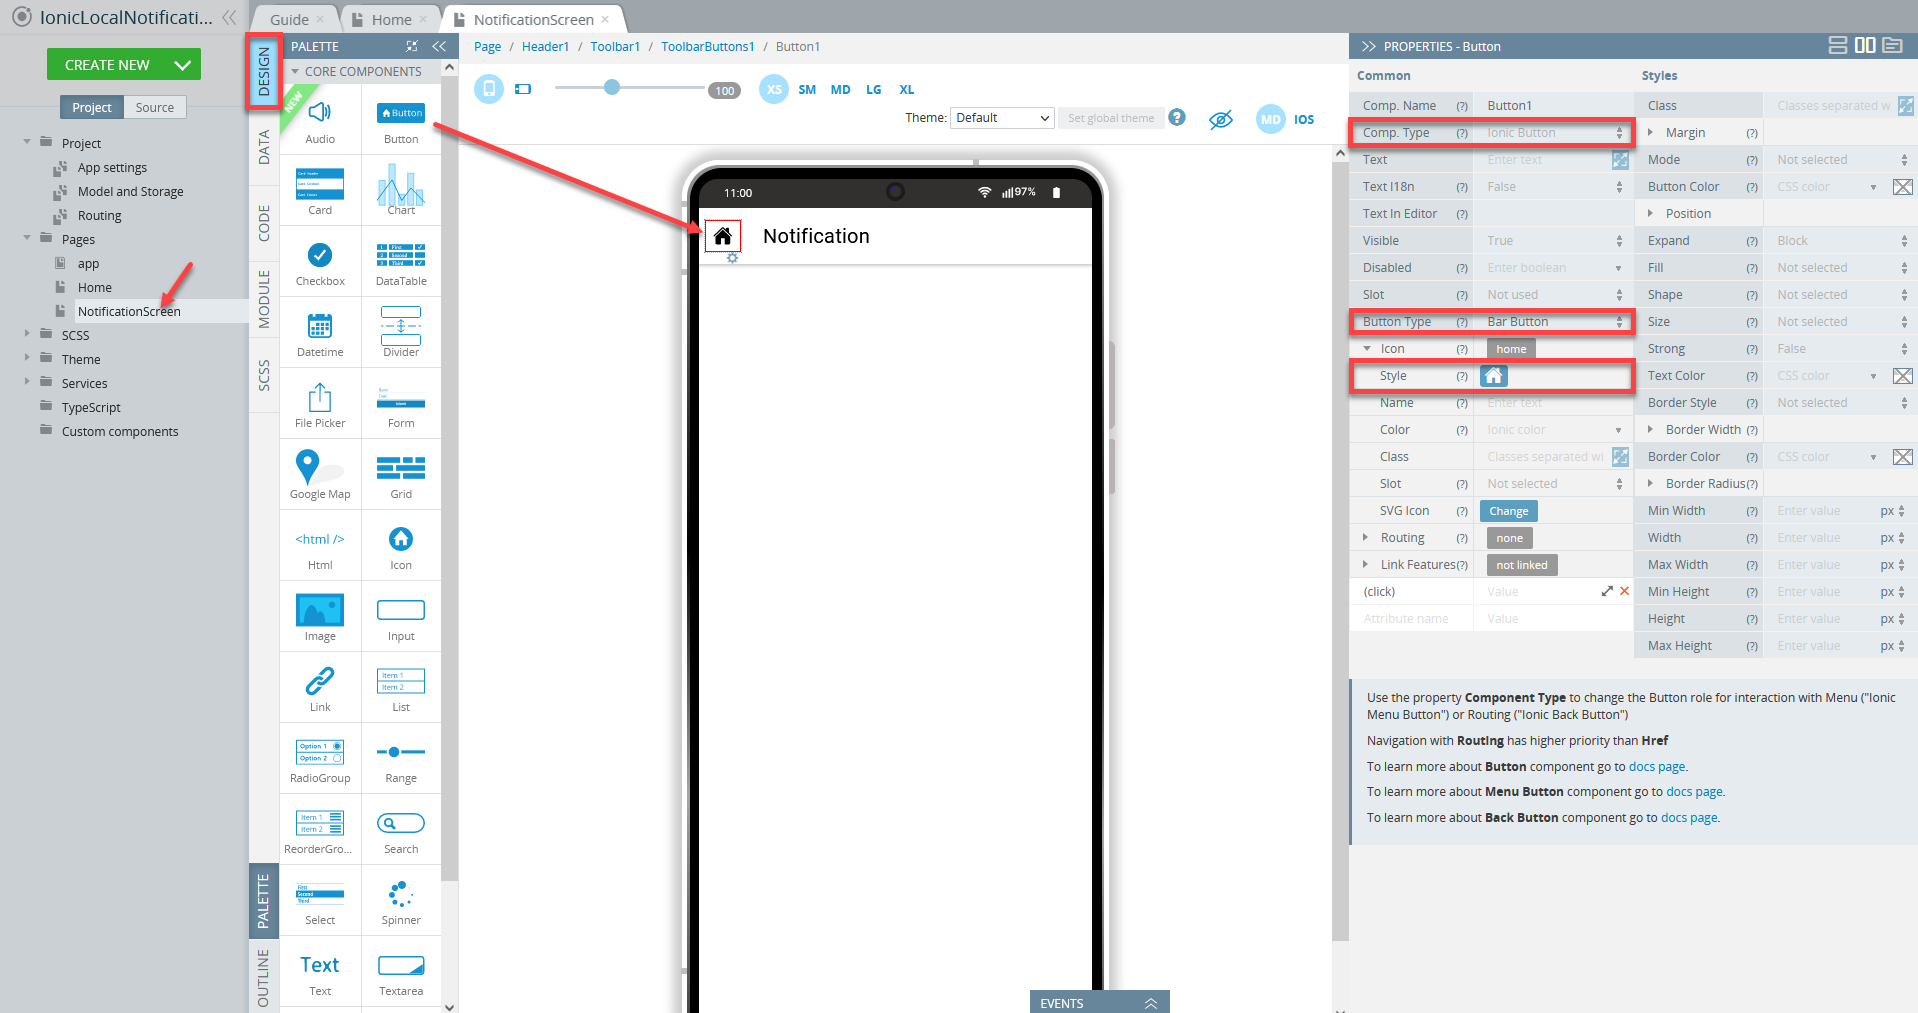
- Now, open the NotificationScreen page and go to its DESIGN panel.
Under the page PROPERTIES panel, set the Page Footer property to False (you will need to accept the change). - Then, select the Toolbar component and replace its default Text property with Notification.
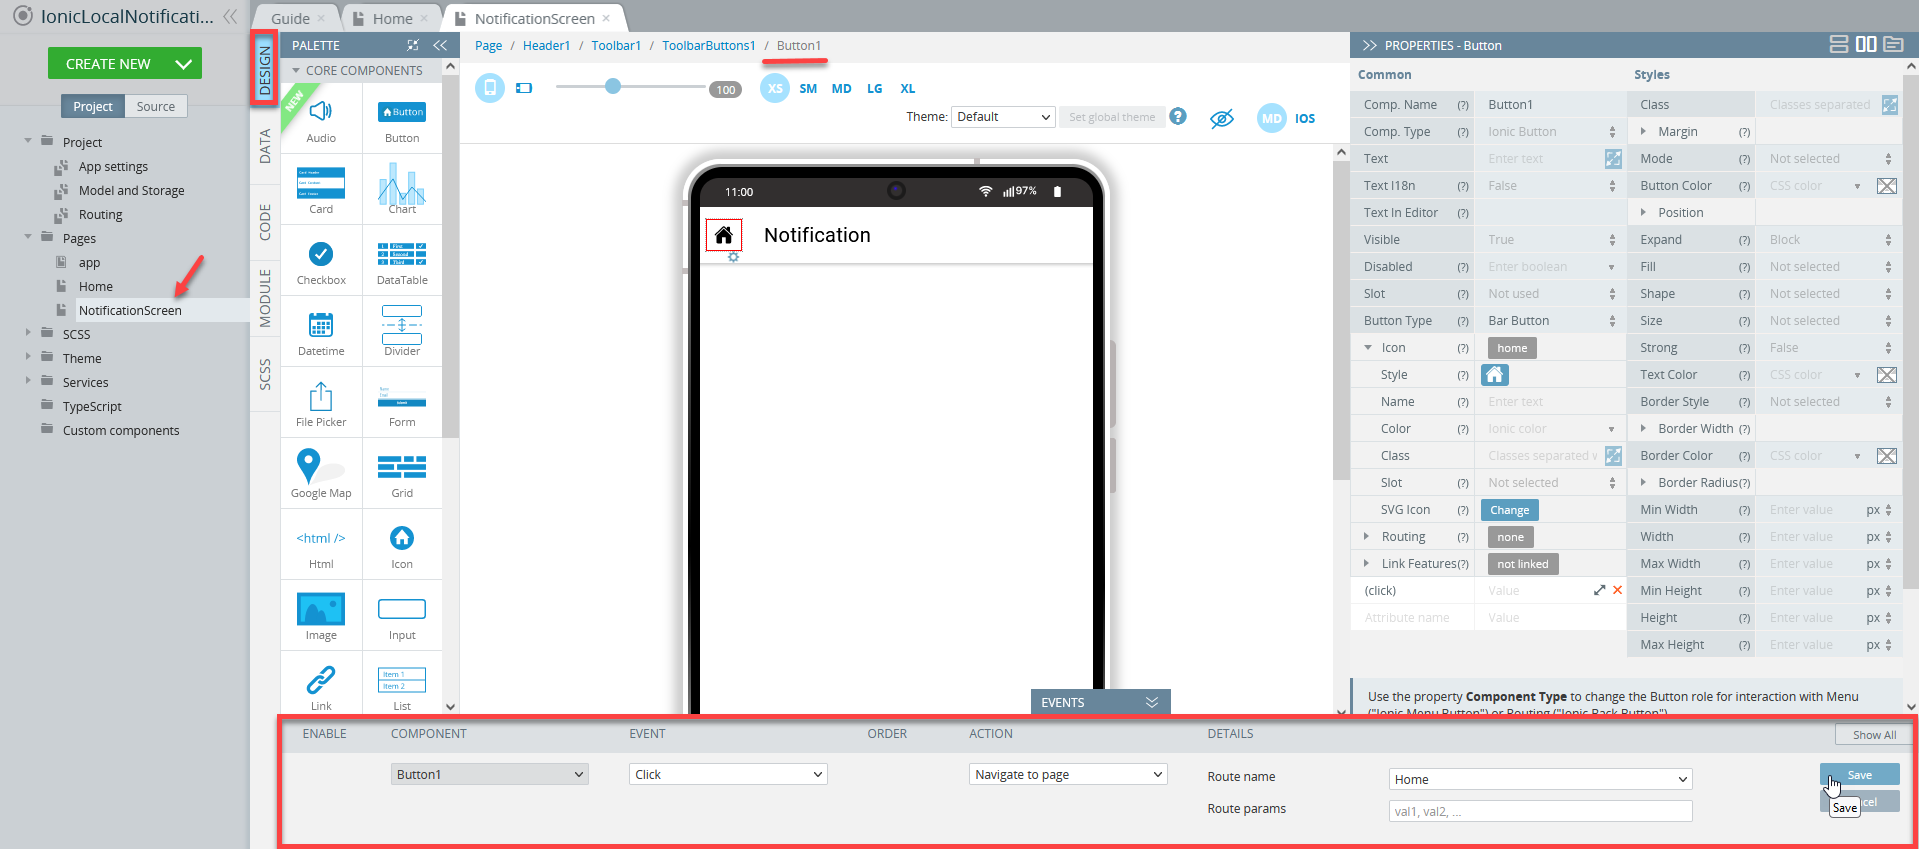
- Now, drop the Button component to the Toolbar buttons area, clear its Text value, and set its Button Type property to Bar Button.
- Unfold the Icon folder and set its Style property to home. Note that its Component Type should be set to Ionic Button:
- Now, unfold the EVENTS tab from the bottom, with the Button1 component selected; define its Click event with the Navigate to page action selecting Home for the route name and save.
As a result, the button configuration should look like this:
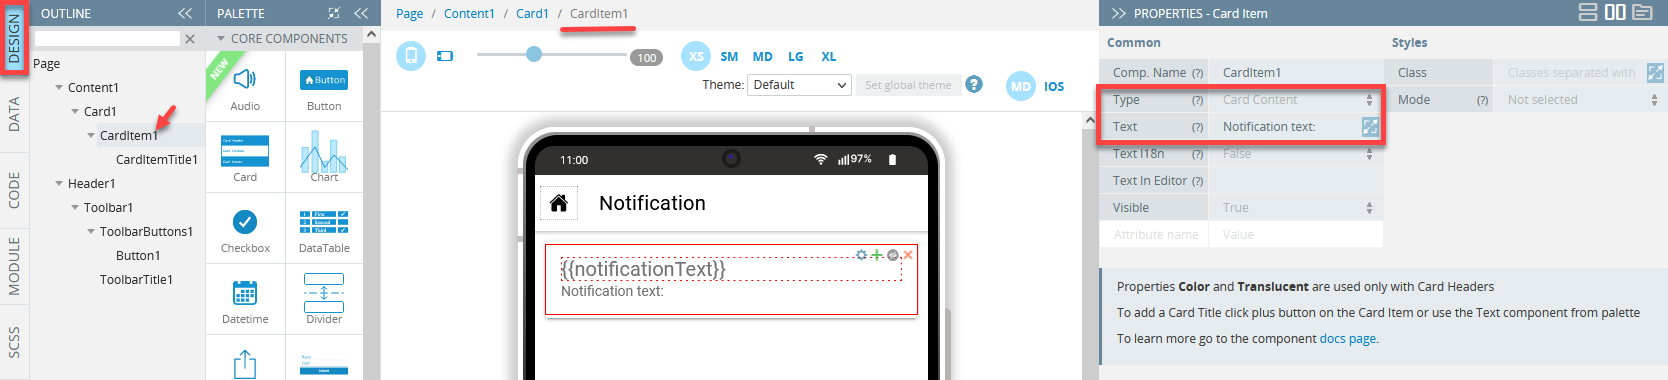
- Drop the Card component to the Content area. A card will be created nesting one default Card Item with a Card Item Title.
- Under the page PROPERTIES panel, select the Card Item and under the Common tab, define its Text property as Notification text:. Also, its Type should be set to Card Content:
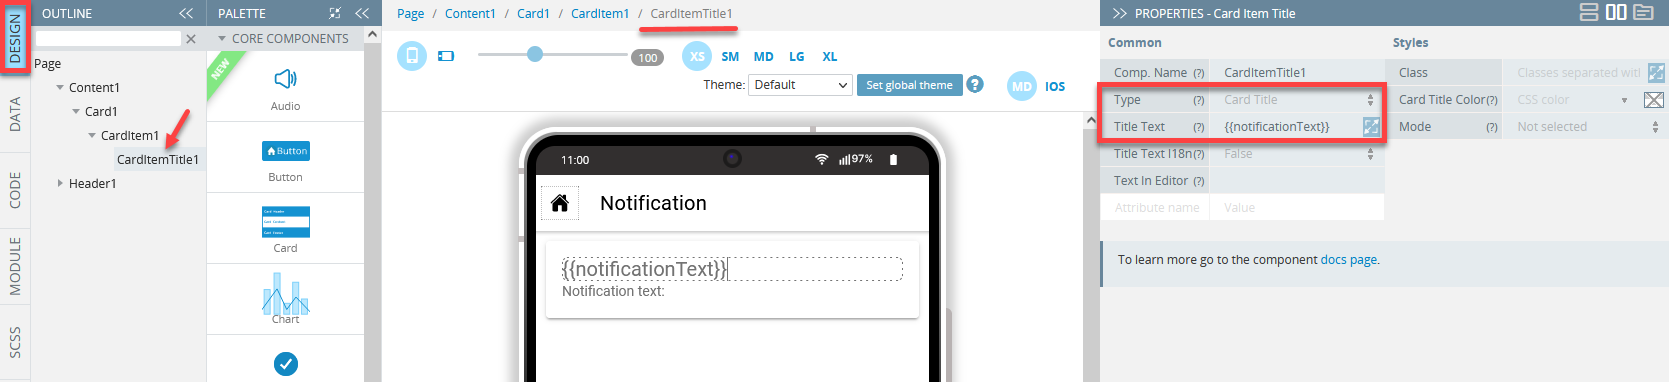
- Now, select Card Item Title and define its Title Text property as {{notificationText}} under the Common tab. The Type property should be set to Card Title:
- Finally, unfold the EVENTS tab from the bottom, and for the Page component Page create event, define the Run Typescript action with the below code and save:
let notificationEvent = this.Apperyio.data.getVariable("notificationEvent");
this.notificationText = notificationEvent.text;
this.notificationTime = new Date(notificationEvent.trigger.at);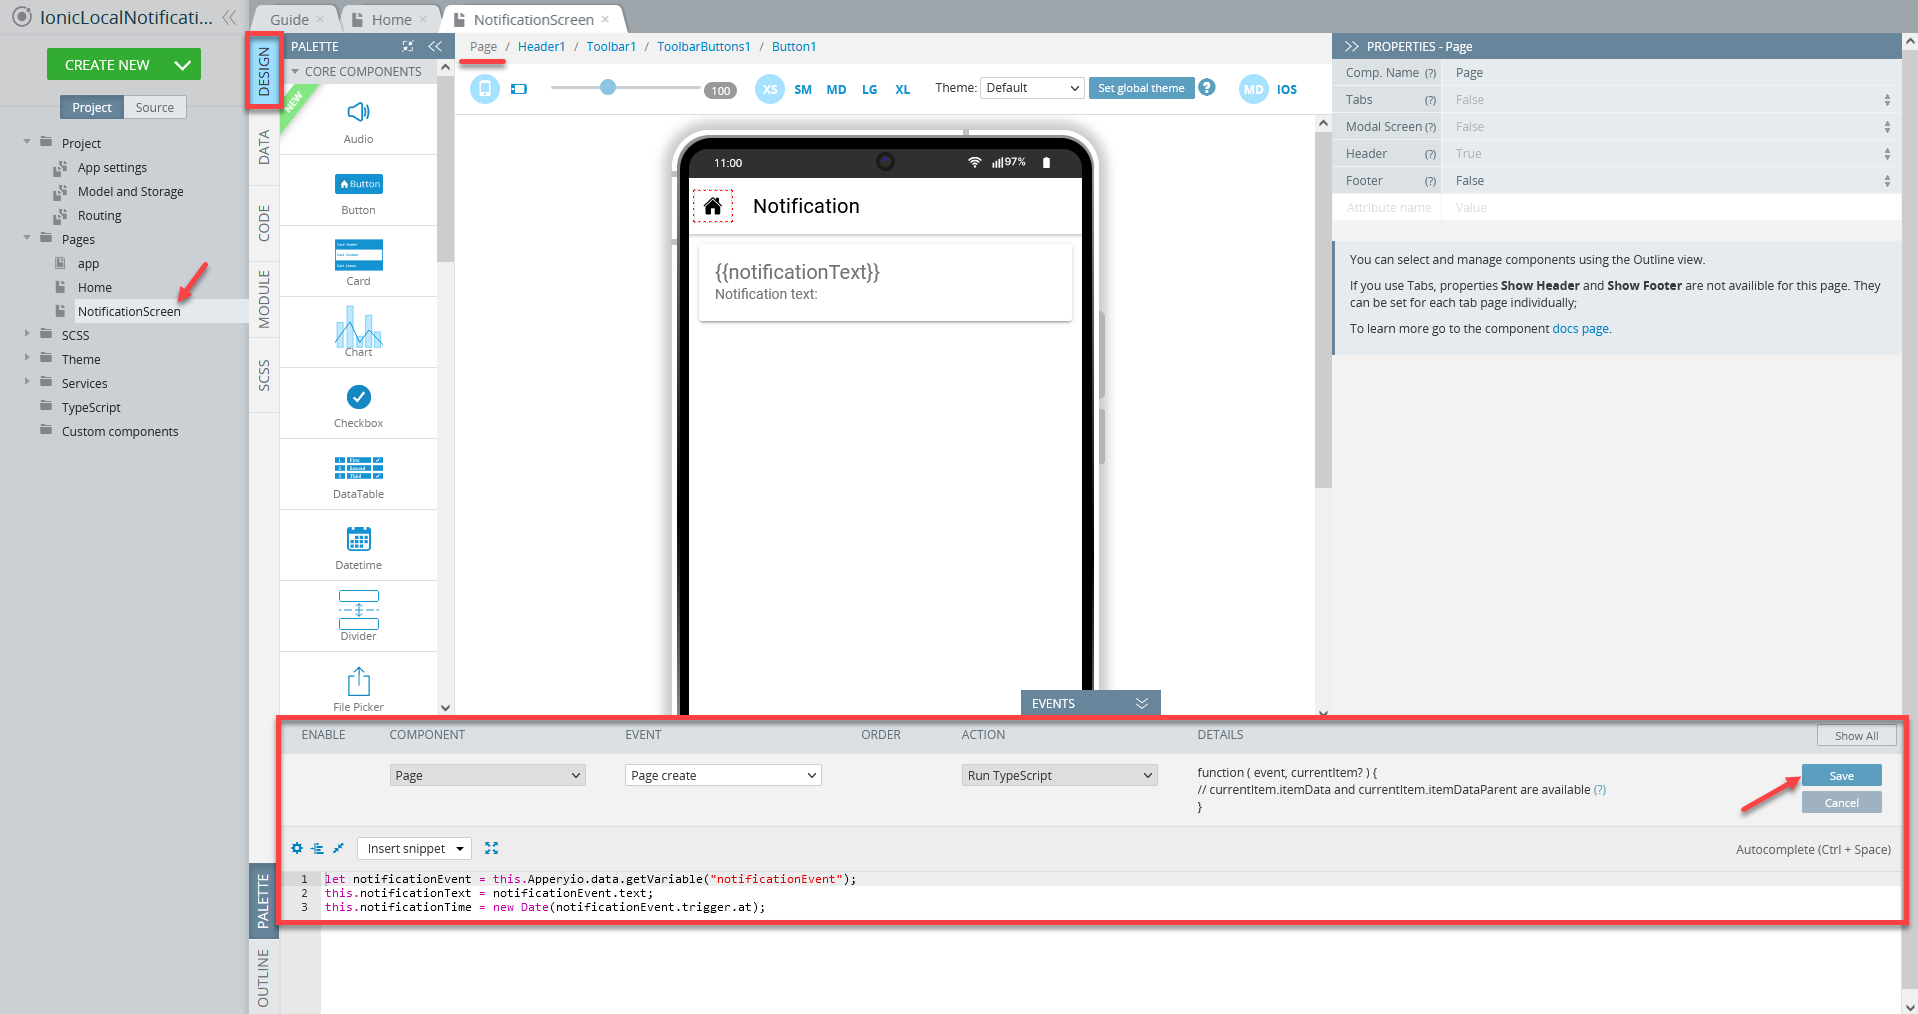
Setting Local Notifications
- Switch to the page CODE panel.
- In the Variables section, create 2 variables:
notificationTextvariable of String type
andnotificationTimevariable of Any type:
Congratulations! You are ready to test the app.
If you would like to learn how to modify notifications, please check the documentation below:
https://github.com/katzer/cordova-plugin-local-notifications.
App Testing
Note that to use the plugin, you will need to run the app on the device.
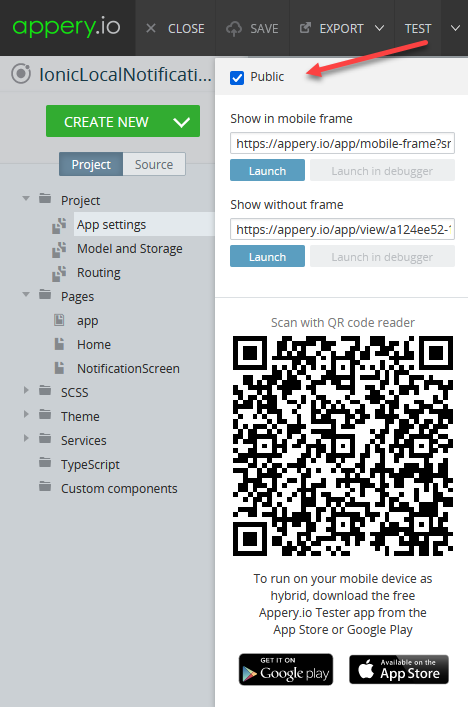
Appery.io Tester AppA great option to quickly test the app on the device is to use our Appery.io Tester app.
The app is free and available for both iOS and Android.
You can check out this page to learn more about using the Appery.io Tester app.
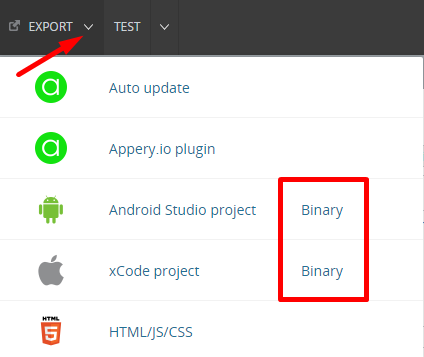
Also, you can export the app as an Android binary by clicking EXPORT > Binary (both iOS and Android options are available) in the top menu to install it on the device:
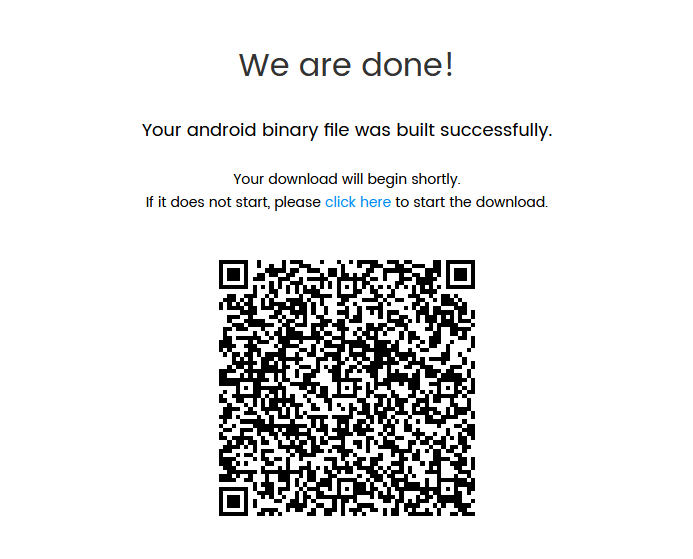
Once the build is completed, the file can be downloaded and you can also see the QR code:
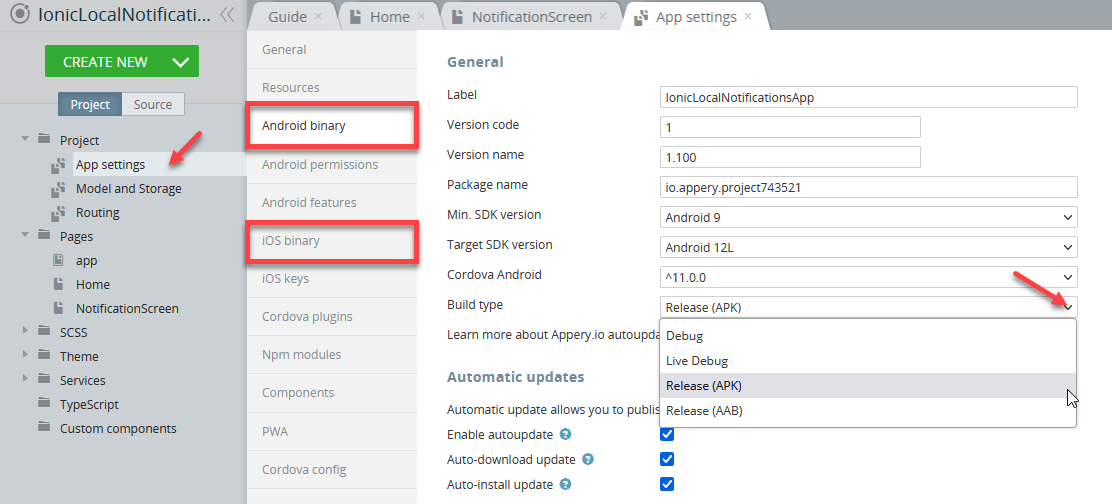
Note as well that before you can proceed with exporting your production app, you will need to go to Project view > Project > App settings >Android binary/iOS binary to select the Release build type (Debug is the default type for both and can be used for testing purposes only):
Important Note!Please note that you will need to generate the iOS certificate with the In-App Purchase capability to build an
.ipafile.
You can check this document in case you need help with exporting your application for iOS.
Here, you will find information on generating certificates for Android.
Note as well that starting from August 2021, new apps are required to publish with the Android App Bundle (.aab) on Google Play.
Please read more here.
You can also check this Appery.io YouTube video that shows how to create Android and iOS certificates:
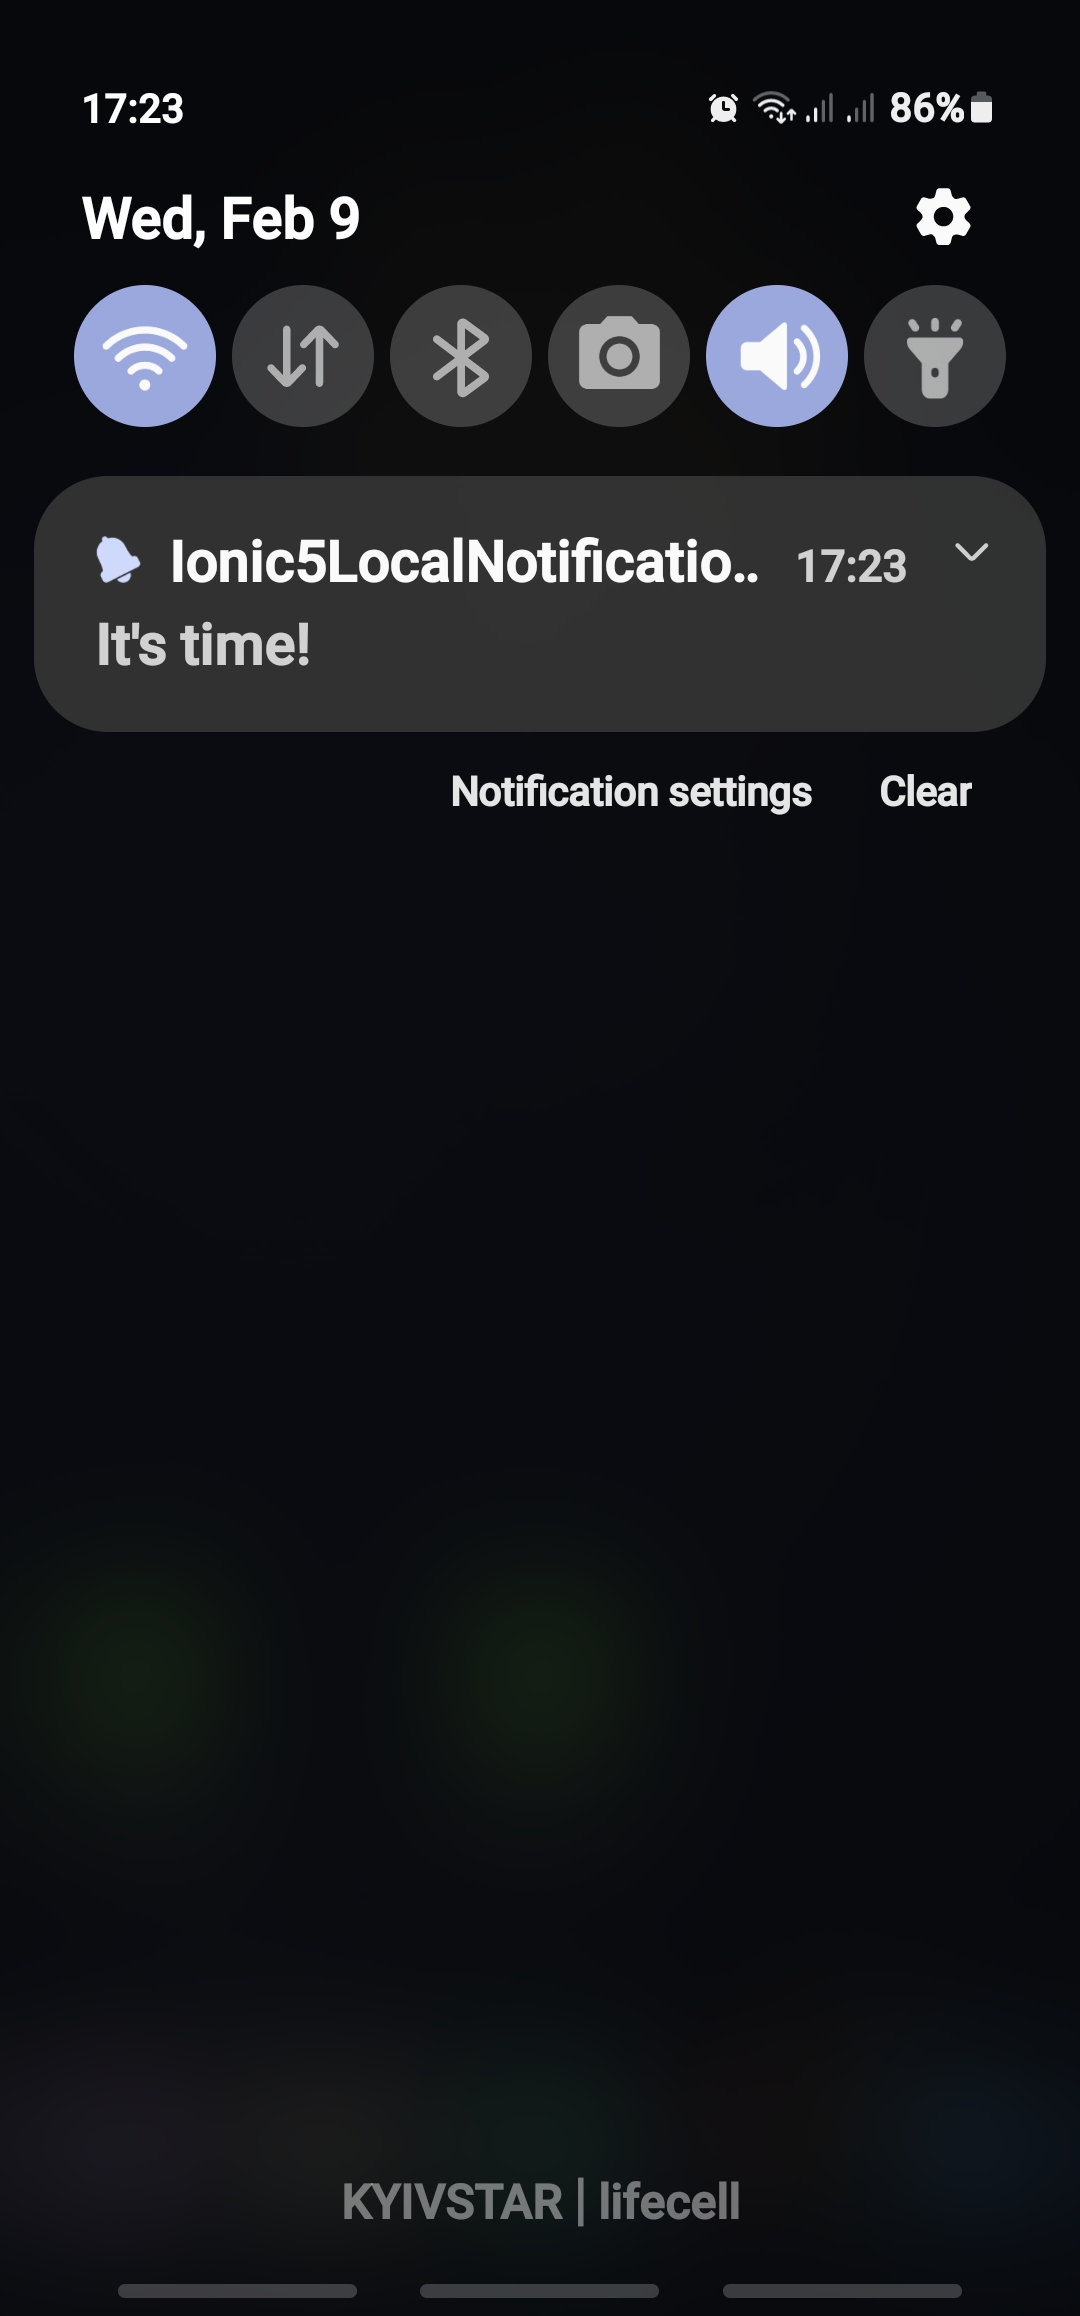
Here is how it should look on an Android device:
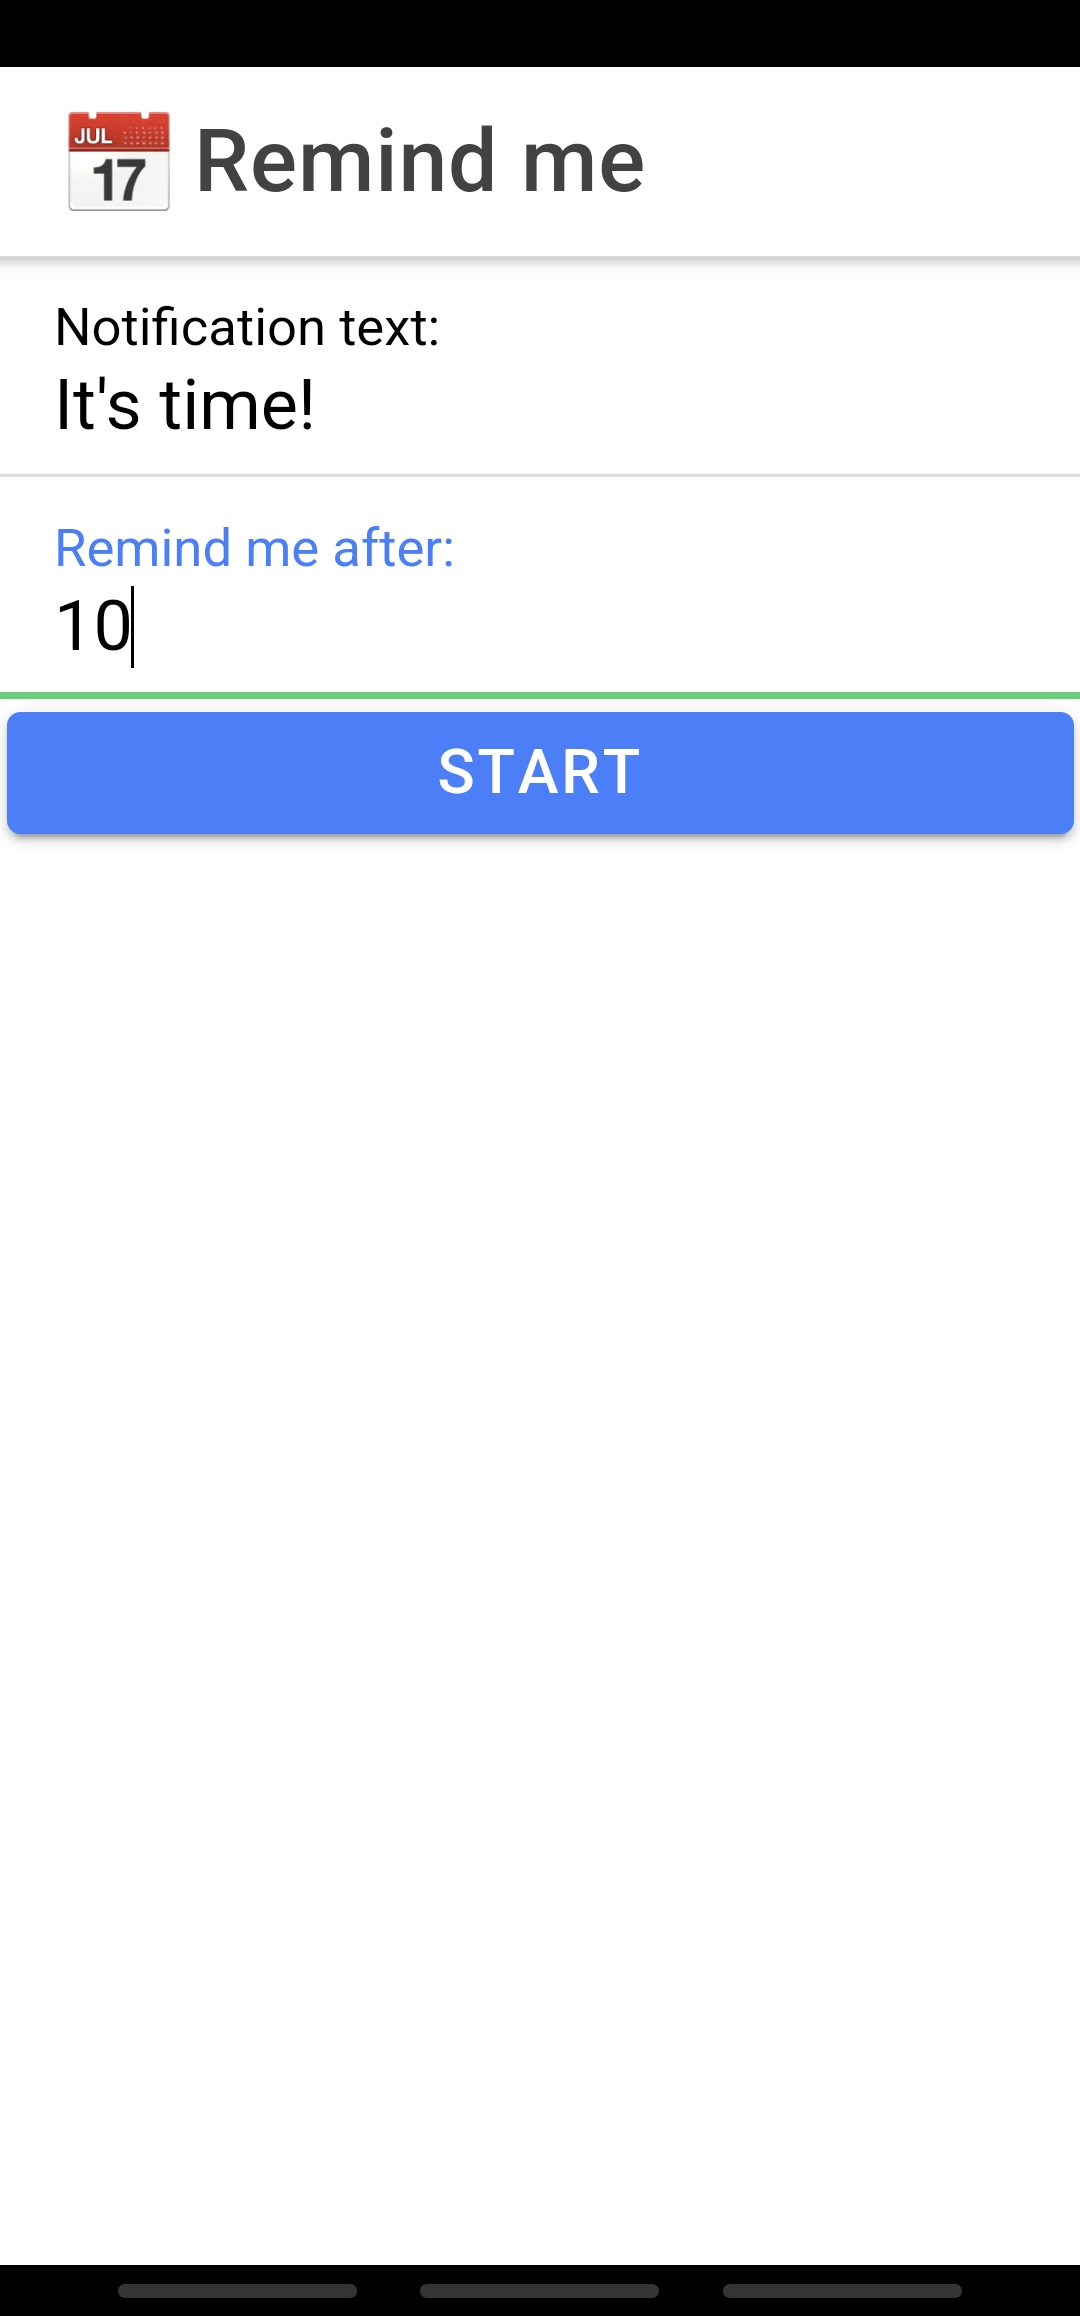
Enter the notification text and provide the time to elapse (in seconds) before you get notified, then click the START button and click the hardware power button of the device to move the device in background mode. Now, the application shouldn’t be paused and ‘background mode’ plugin keeps the application work in the background. That means when the entered time expires, the Local Notification plugin will show the native notification:
Updated about 1 year ago