Ionic Social Sharing plugin Sample App
Ionic sample app using Cordova SocialSharing plug-in
Introduction
In this sample app tutorial, we will show how to build an Ionic app, where you can use Cordova SocialSharing plugin to share links, images, and text messages out of the app on social platforms or by email.
Downloads and Resources
You can also try it yourself by creating from the backup:
- Download the app backup file.
- Click From backup and select the project backup file on your drive.
- Type in the app name.
- Click Create.
But if you are interested in the detailed tutorial, please follow the steps below.
Creating App
- From the Apps tab, click Create new app.
- Select Ionic Blank as the application type, enter Ionic Social Sharing App as the app name, and click Create.
- The app with two default pages, app and Screen1, will be created. Let's rename Screen1 to Share.
- Then, inside the app, navigate to Project > App Settings >Cordova plugins. Go to the Core Plugins tab, scroll down the list of plugins, and enable the SocialSharing plugin:
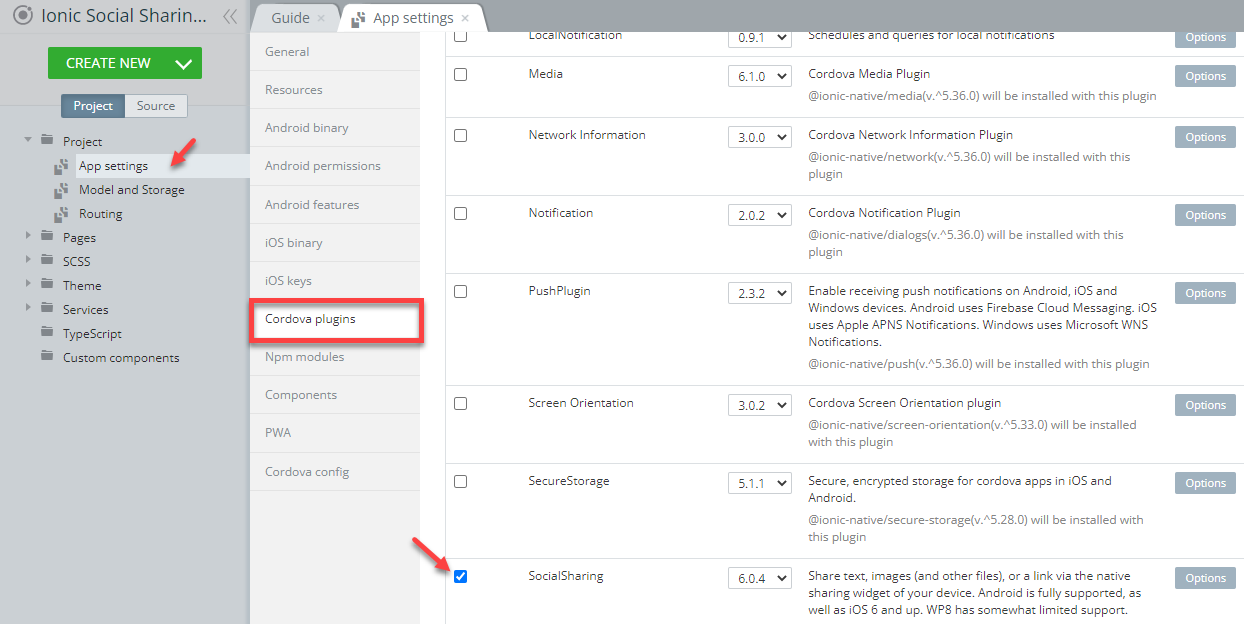
Enabling imported plugin
- Click the SAVE button in the App BuilderToolbar.
Adding Dependencies
Adding NPM Module
- Now, switch to Project > App settings >Npm modules and add a new Dependency: @ionic-native/social-sharing of version ^5.20.0:
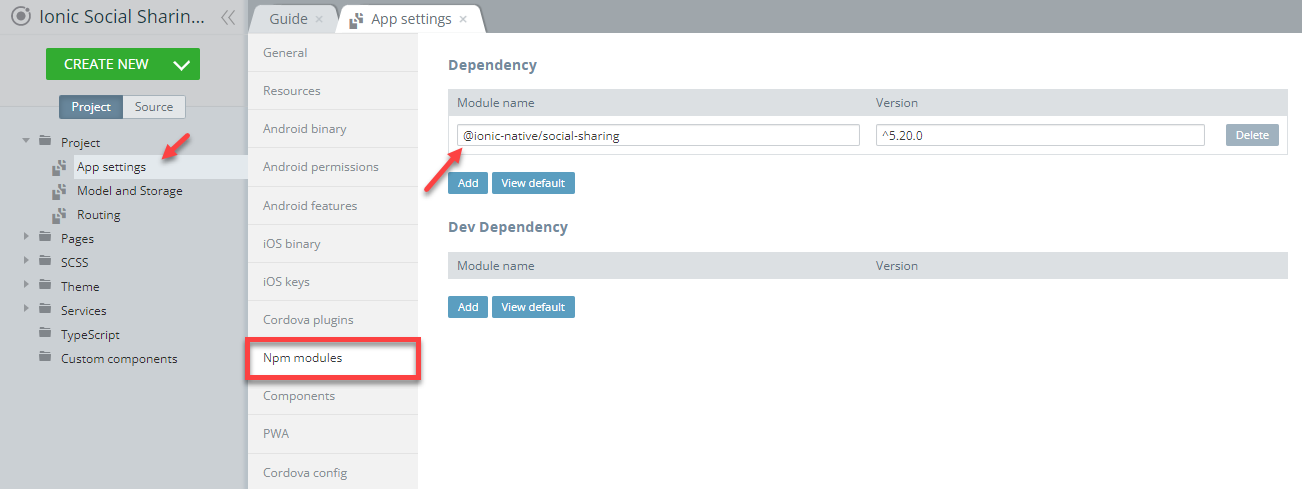
Adding dependency
- Save the app changes by clicking the SAVE button in the App BuilderToolbar.
Importing Ionic Native Plugin
- In the Project view, under the Pages folder, select the app page.
- Open the MODULE panel of the app page.
- In the Imports section, type in import { SocialSharing } from '@ionic-native/social-sharing/ngx';:
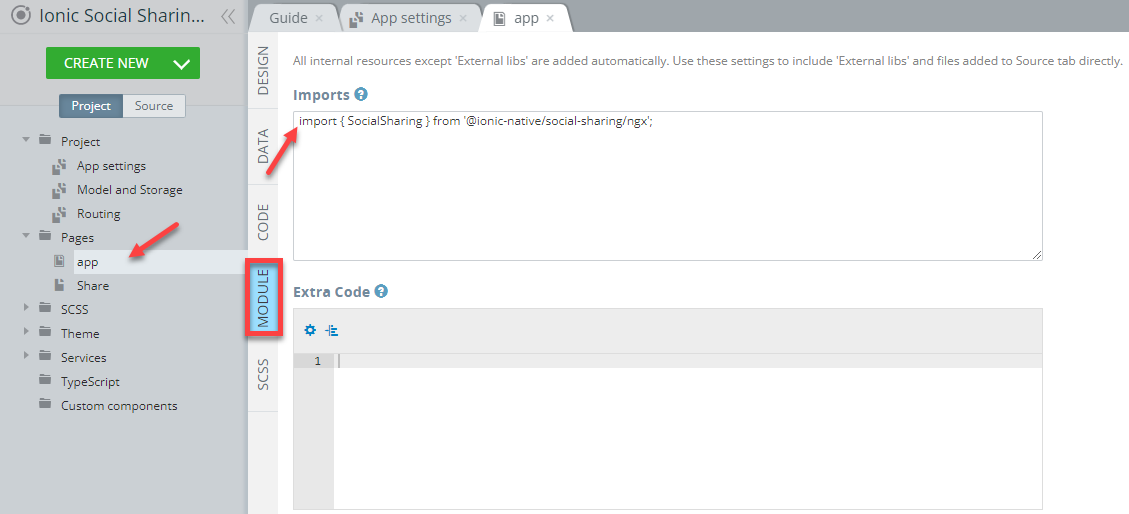
Imports
- Then, scroll down to the NgModule Settings > Providers section and type SocialSharing into the text field:
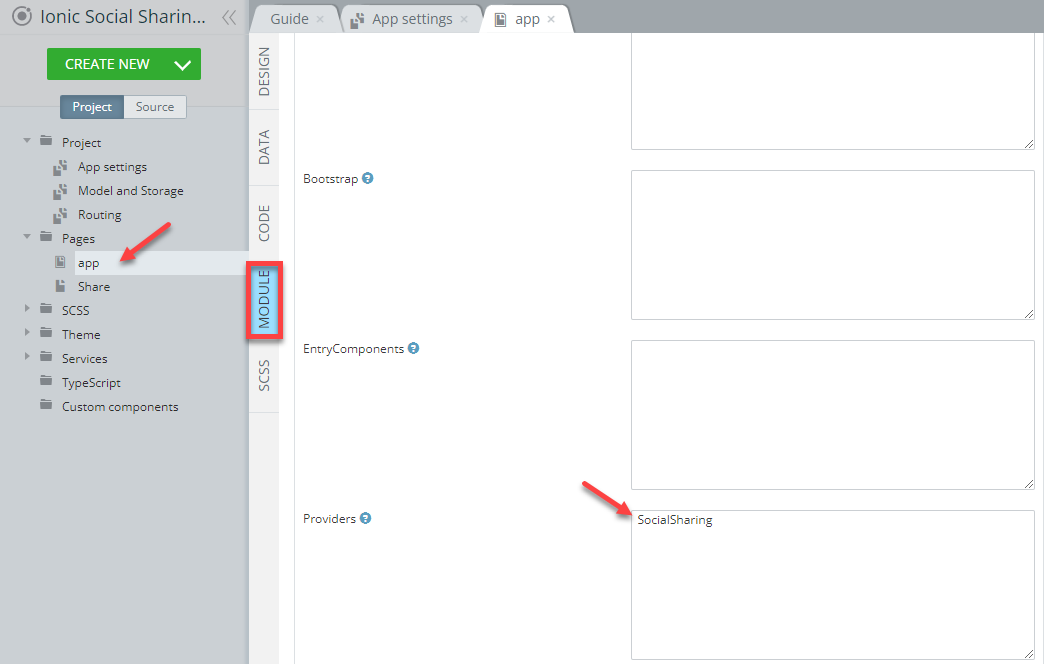
Providers
- Save the changes.
Building UI
- Navigate to Pages > Share and select the DESIGN panel.
- Now, under the PROPERTIES panel, set the page Footer property to False.
- Then, select the Toolbar title component and change its Common > Text property to Sharing App.
- Add the Text component to the screen, and under the Common tab, set its Text property to {{textToShare}} and the container property to p:

Text component
- Create a new Image element and under the Common tab, set its src property to {{imageToShare}}. Alt. Text is set to Image error:

Image component
- Then, add the Button component to the page. Under the Common tab, change its Text property to Share. To modify button appearance, unfold the Icon section, click the button next to the Style property and select share-social icon in the popup menu. Also, set the icon's Slot property to Start.
- Clicking on the Share button will open an action sheet with sharing options. So, we need to add a button click event handler. Change the Button component's (click) property to share(), as in the screenshot below:
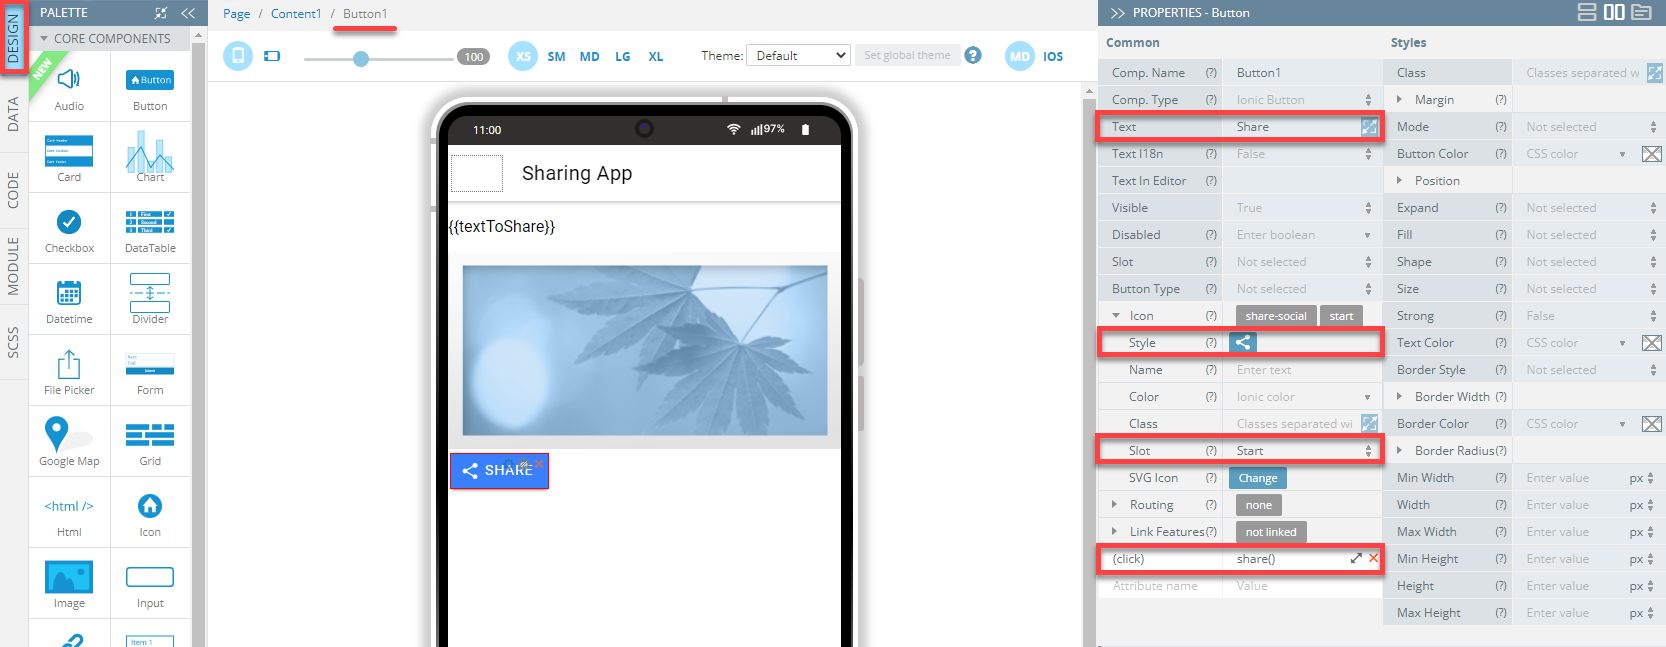
Button component
What is an Action Sheet?An action sheet is a specific kind of alert that appears in response to a control or action and presents a set of two or more choices related to the current context. In our app, we'll use an action sheet to let users choose what app to use for sharing the content.
The app UI is ready.
App Logic
Now we can move on to defining the app logic.
- Navigate to the Share page CODE panel.
- Under the Custom includes section, add a new dependency with the { SocialSharing } for its Name and @ionic-native/social-sharing/ngx for its Path:

Custom include
- Then, let's scroll down and define some necessary variables:
- variable
socialSharingof SocialSharing type. The Add DI check box should be selected. - variables
urlToShare,imageToShareandtextToShareof String type.
- Also, add the next values to the following variables added before (you can add your own values):
urlToShare- 'https://appery.io/'.imageToShare- 'https://appery.io/wp-content/uploads/nature-bg.jpg'.textToShare- 'Hello Appery! (optional message, may be ignored by Facebook app)':
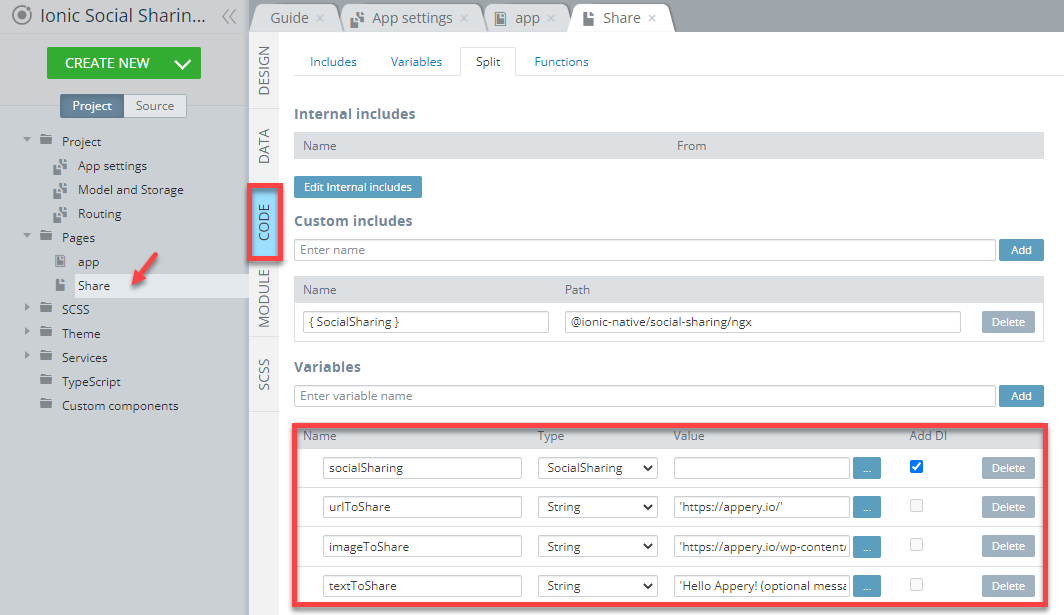
Variables
- Then, in the Functions section, create a new Method with
sharefor its name. In the code editor, type the following code:
const options = {
  message: this.textToShare,
  subject: 'Share',
  url: this.urlToShare,
  files: [this.imageToShare]
};
this.socialSharing.shareWithOptions(options);
This is how the function should look like:
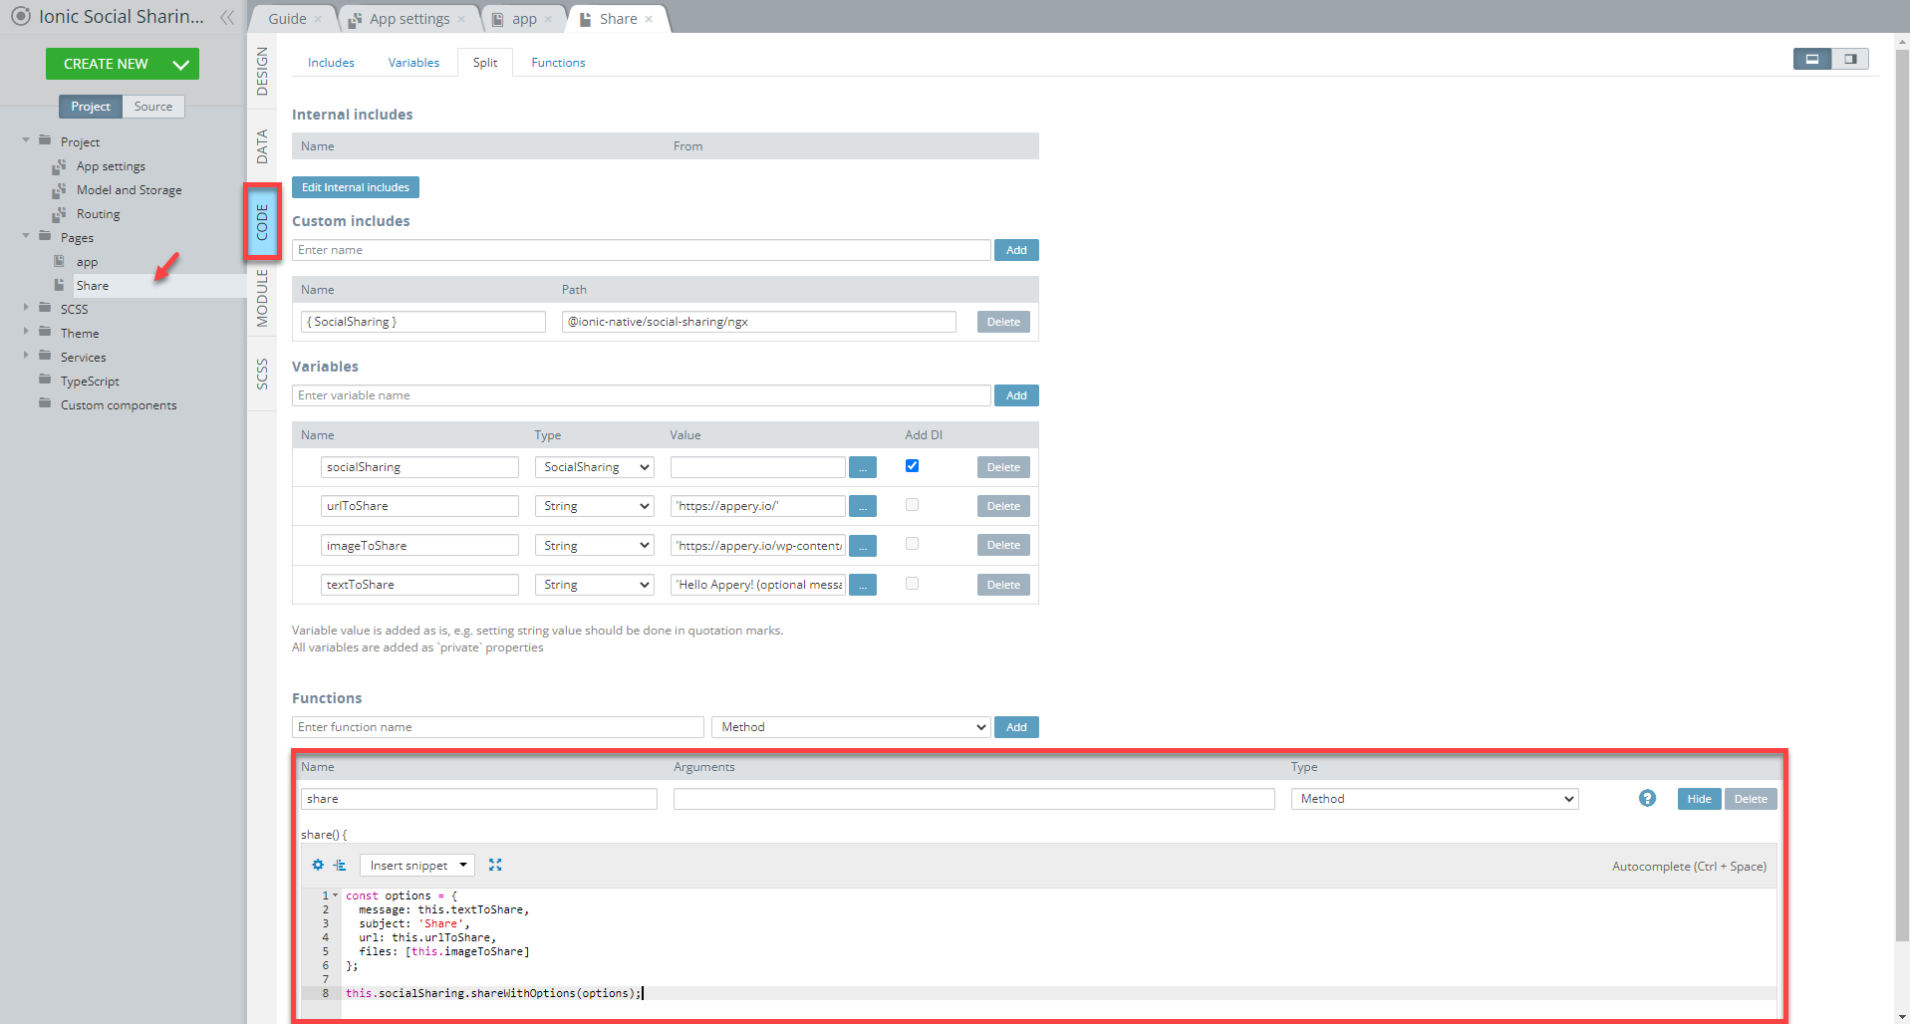
share function
Save all the app changes.
Testing App
Congratulations! You are ready to test the app.
Note that to use the Sharing plugin, you will need to run the app on the device.
Note as well that you will also need the apps (Twitter, Facebook, Instagram, email app, etc) to be installed on your mobile phone.
Appery.io Tester AppA great option to quickly test the app on the device is to use our Appery.io Tester app.
The app is free and available for both iOS and Android.
You can check out this page to learn more about using the Appery.io Tester app.
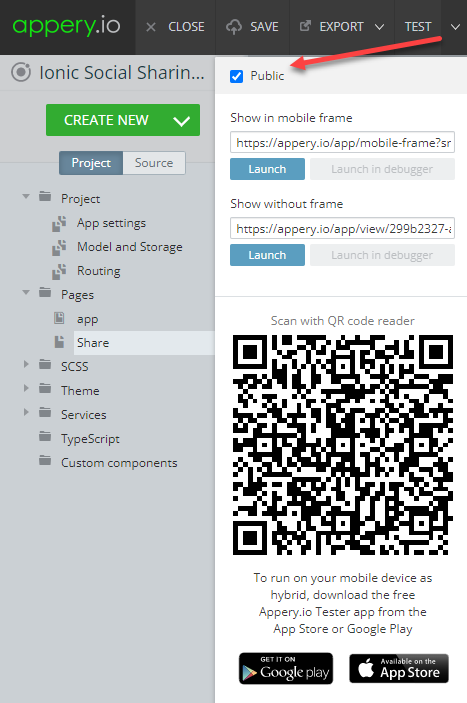
Tester QR Code
Click the Share button and choose one of the available options:
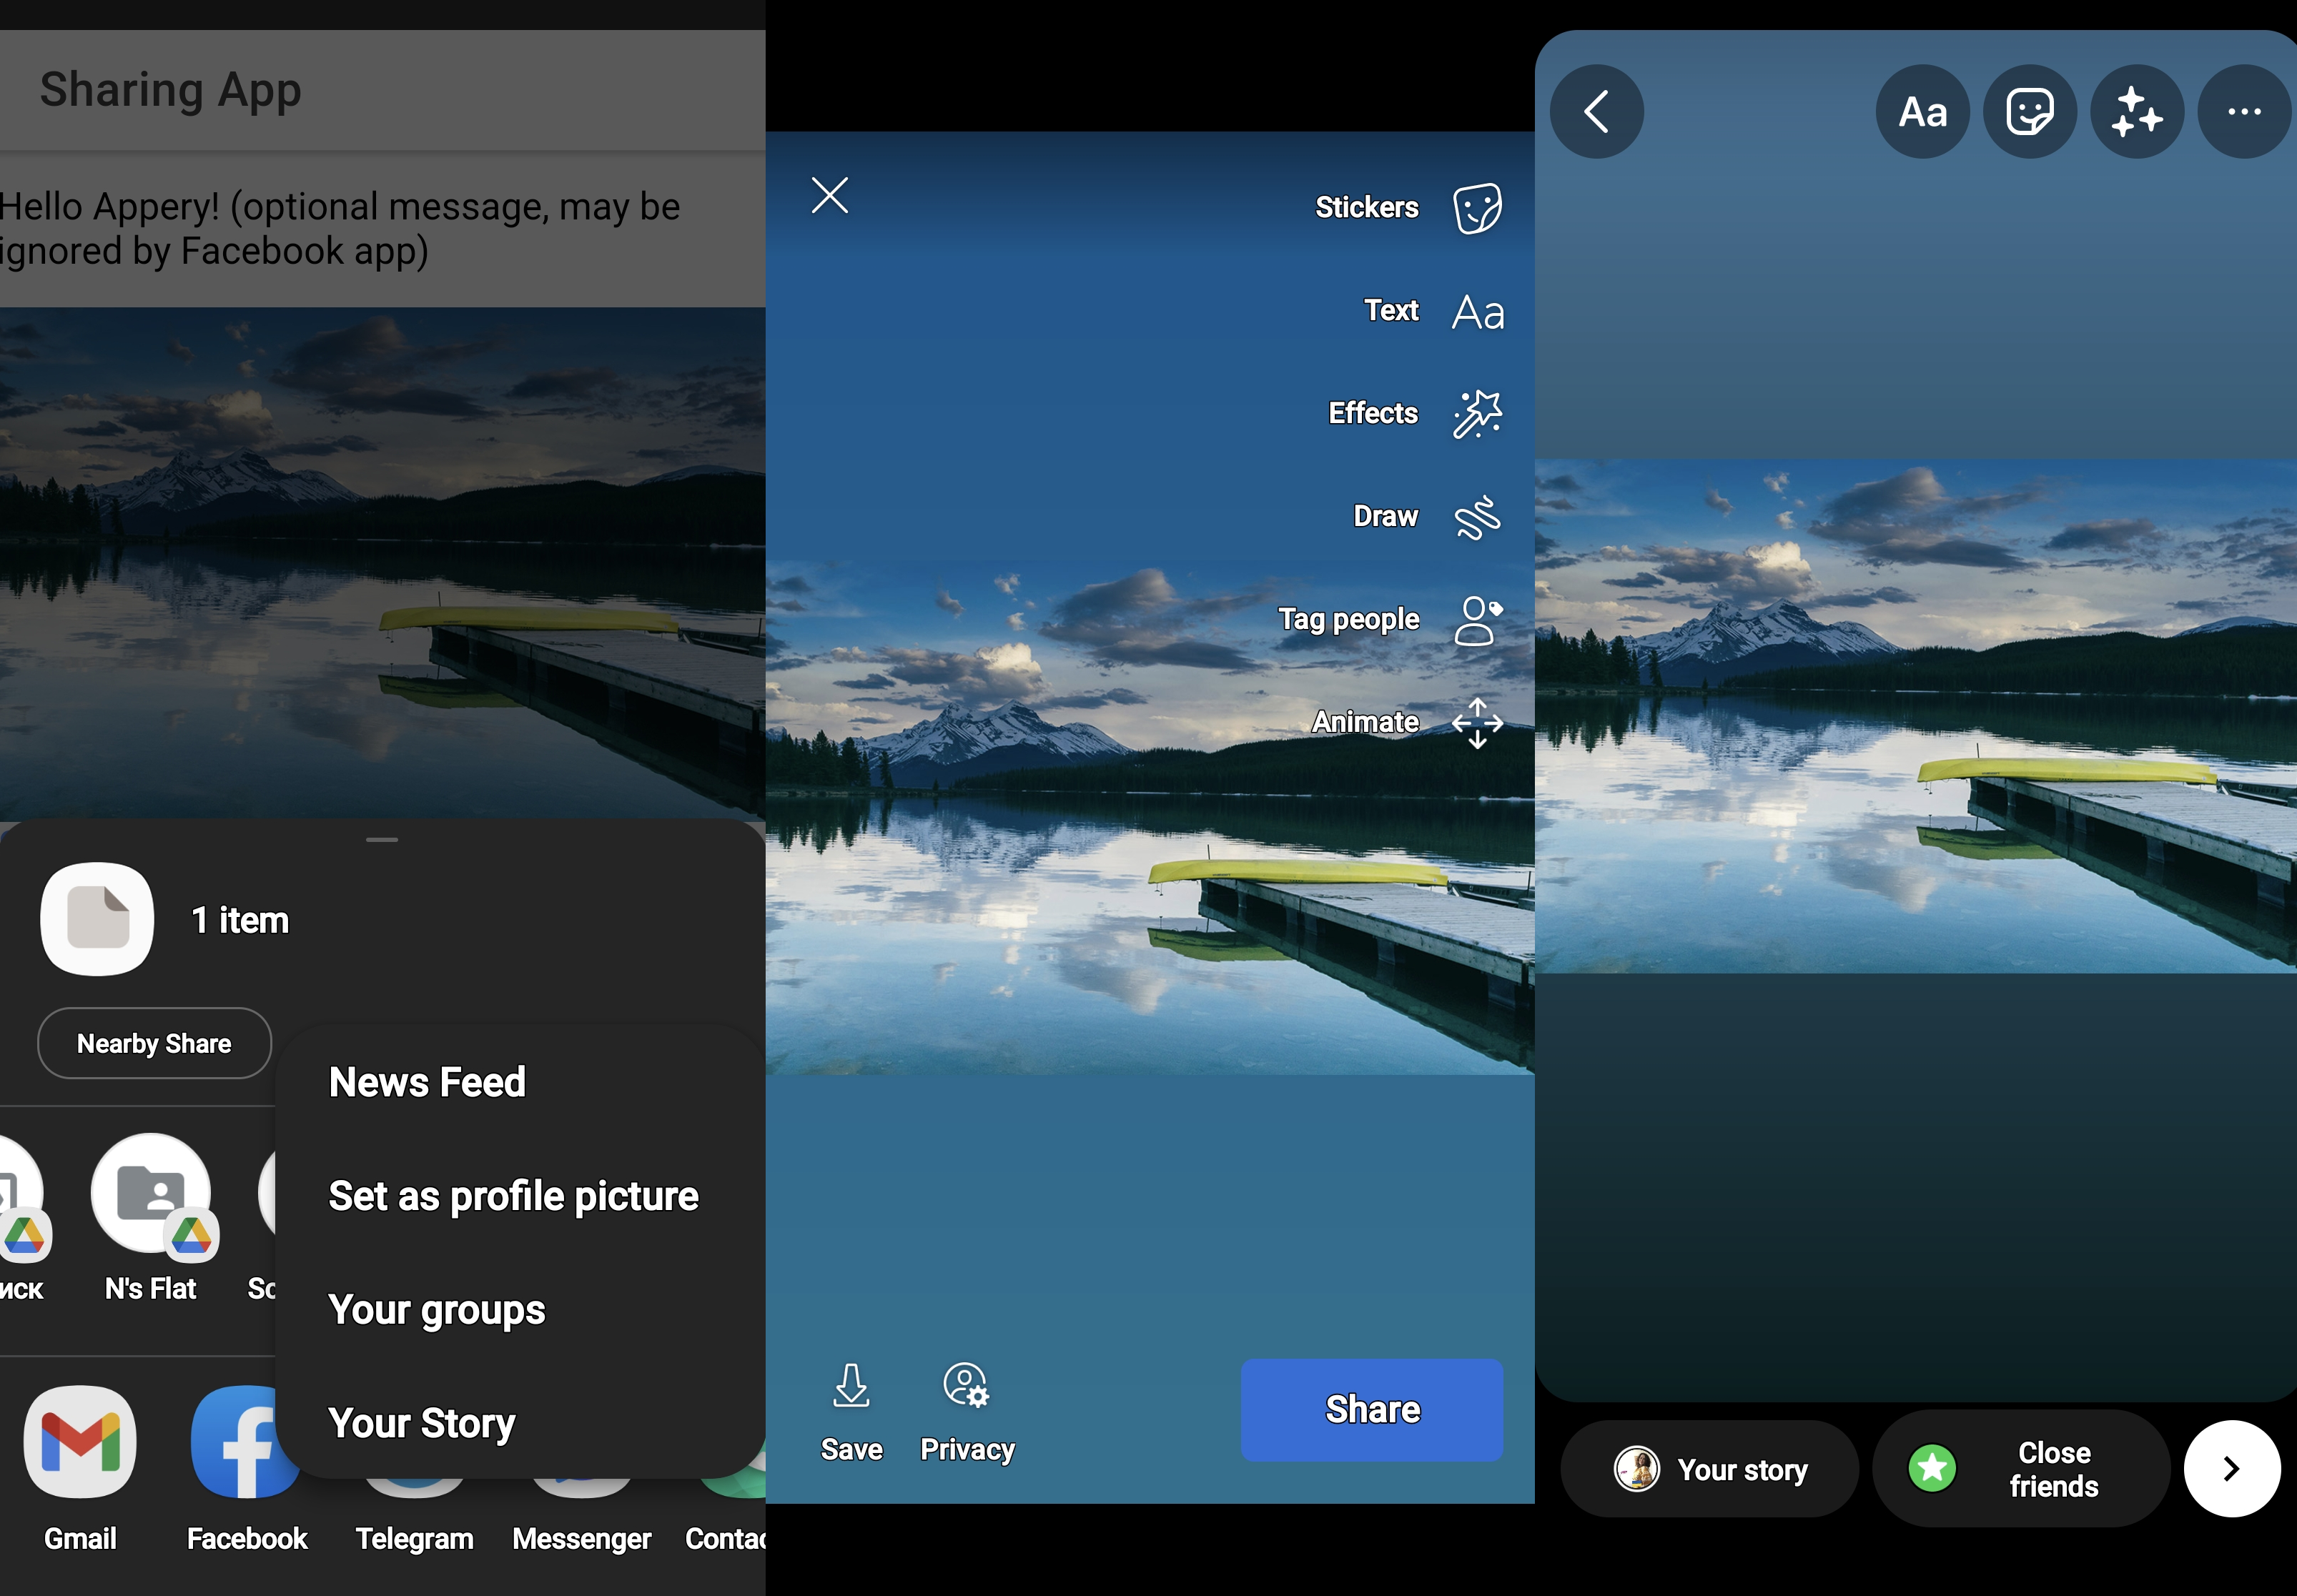
App in action
After selecting one of the available options, you will be redirected to the corresponding application (for example sending an email with Gmail).
Here is how the delivered sample email can look like in the Gmail inbox:
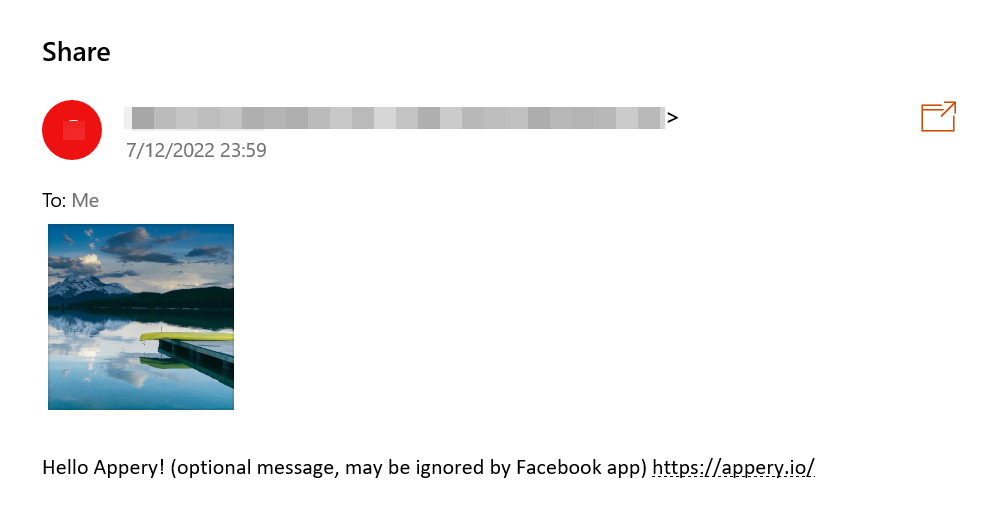
Sample email message delivered
Troubleshooting
If you can only see the Cancel button in the action sheet, check if the necessary apps (email app, Facebook app, Instagram app, etc) are installed on your phone.
Plugin Limitations
Facebook: sharing a text message is not possible (on both iOS and Android). You can share either a link or an image (not both), but a description cannot be prefilled.
Instagram does not allow you to prefill the message either. But you can offer users to paste the message that you passed to the plugin because it will be added to the clipboard.
Further information on limitations can be found in this section of the plugin documentation.
Updated 7 months ago
