Ionic ngx-datatable Tutorial Basic
Introduction
This sample app tutorial and part 1 (basic part) of the ngx-datatable Ionic application tutorial that provides step-by-step instructions to walk you through the process of developing a basic DataTable Ionic application where you can apply sorting:
Downloads and Resources
You can also download the basic Ionic DataTable basic app backup file to import it under your account. In this case, the database and the database service will be imported automatically.
Pre-conditionThere are some important pre-conditions to make your app work: you will need to make sure the database and a related database service are created; please, check Steps 1 and 2 for details.
Step 1: Creating Database
Let's start by creating a database where the data will be stored.
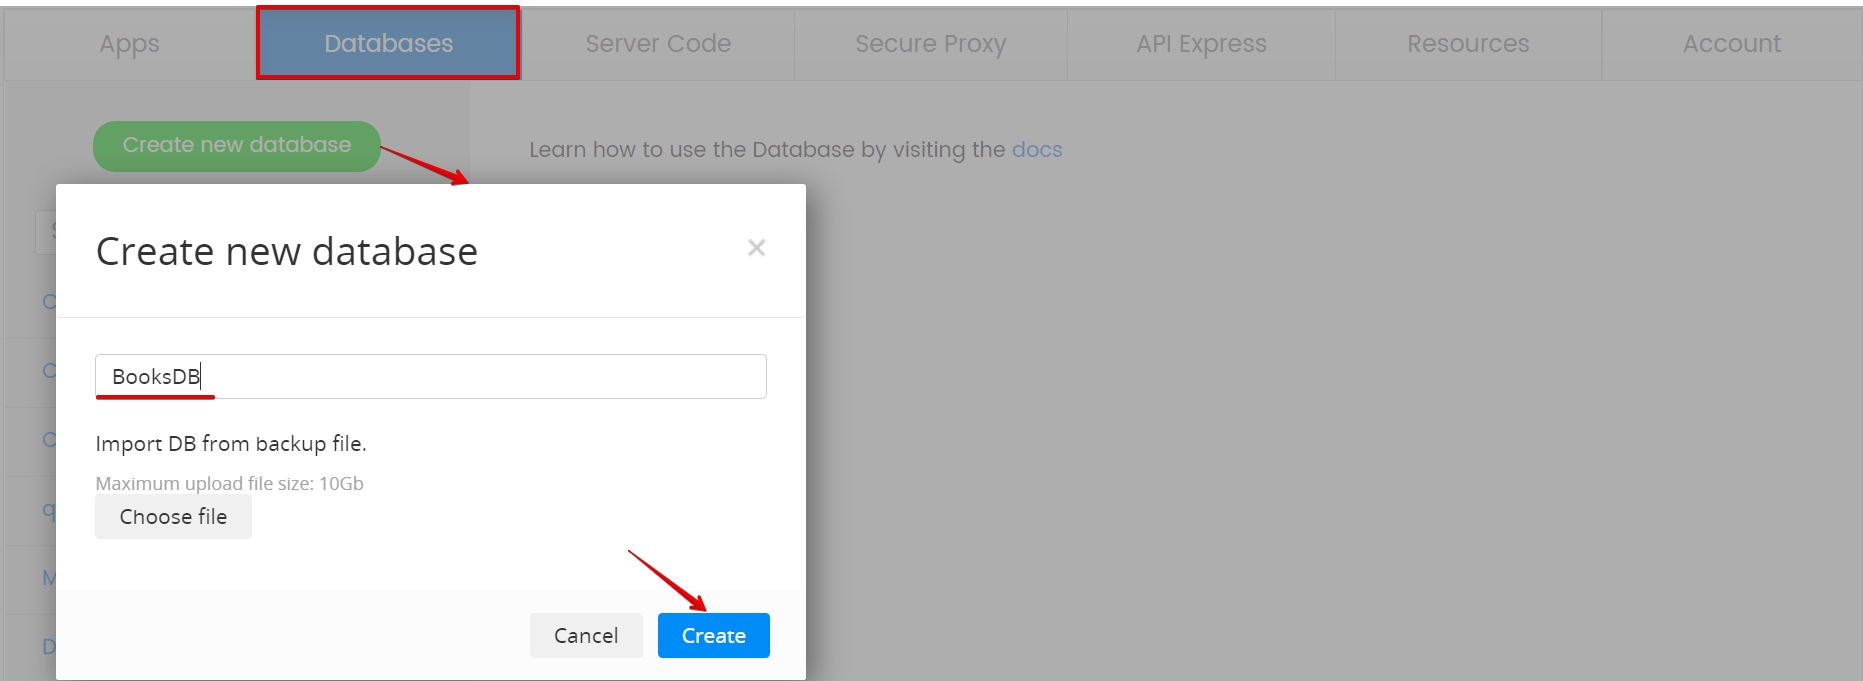
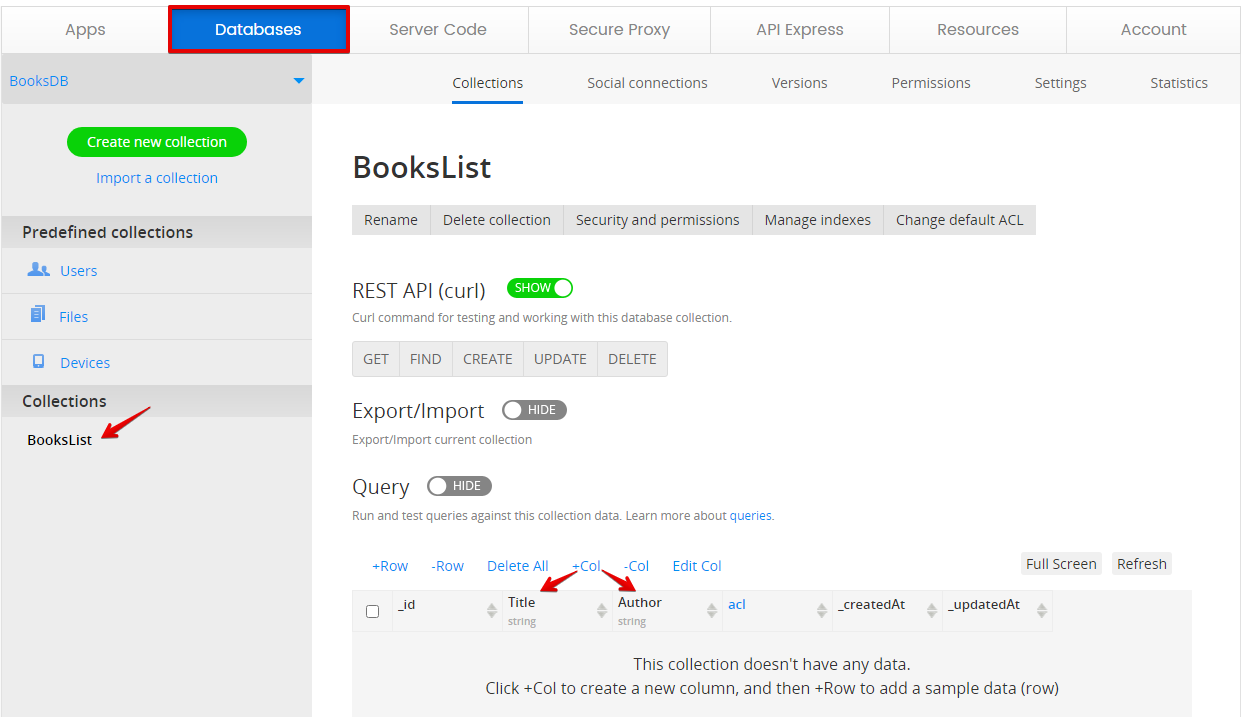
- Click Create new collection and, in the new window, enter the new custom collection name: BooksList.
- Click +Col to add two columns both of String type: Title and Author:
- Then, add another column with Name= Year and type = number.
- Finally, add one more column: Image of the file type for uploading all the needed book cover images:
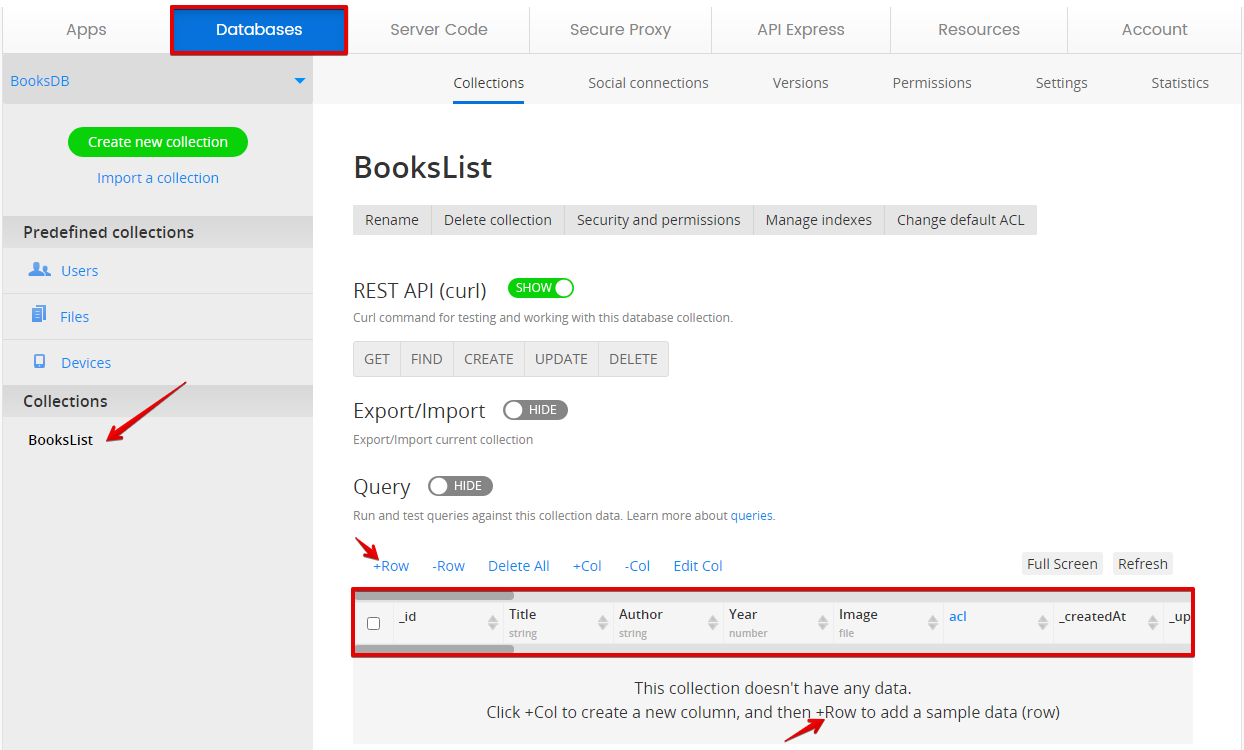
- To add some sample data, click +Row and fill in the table rows.
Uploading Media to DatabaseTo upload the images for the book covers (need to be prepared beforehand), use the Media Manager tool:

- When ready, click Refresh to see the table with sample collection data:

BooksDB
Downloads and Resources
- You can also download the database backup file from this step to import it to your own app.
- You might like to get more information from Appery.io Database documentation.
Step 2: Creating Database Service
To create a new database service:
- We need to, first of all, create a new Ionic app (Blank); you can name it Ionic DataTable Basic App:
- Now, we can proceed with creating a service for our database. Click CREATE NEW > Database Service:
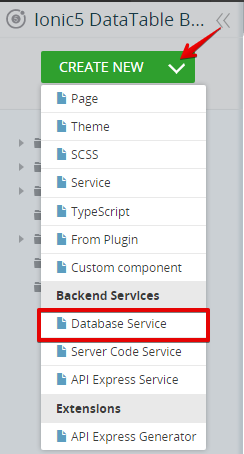
- In a new window, select the database we have just created (BooksDB), select the List service of the BooksList collection (expand it first) and confirm import:

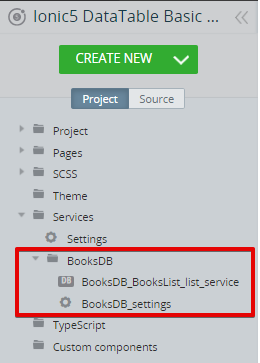
Importing DB sevices
The services will be instantly imported under the Project tabServices folder:
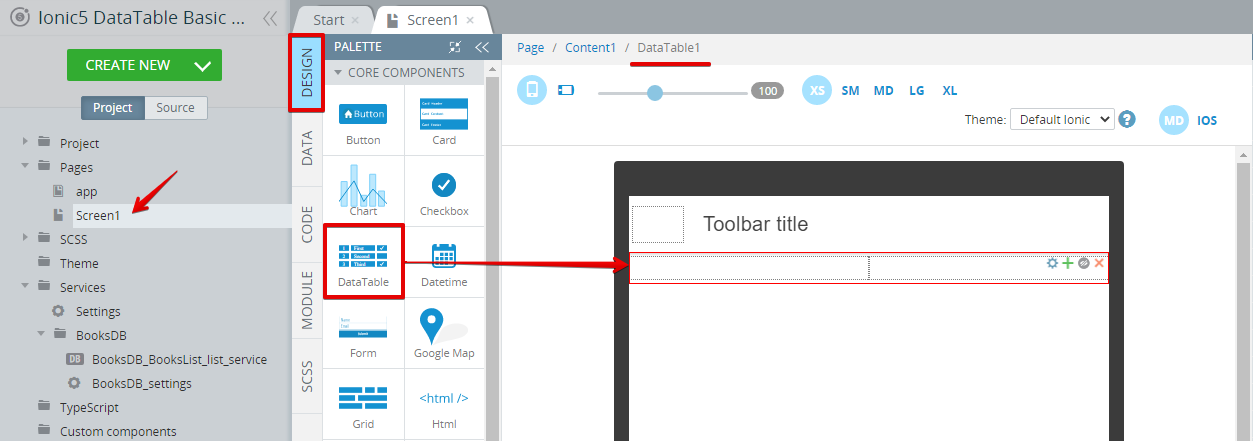
- Hover the mouse cursor over the DataTable Context menu and click the green plus icon to add two more DataTable columns so that there are 4 of them in the table:

Adding DataTable columns
- Now, switch to the screen DATA panel and, for datasource, select the created before BooksDB_BooksList_list_service and click the Add button:
Customizing Service NameYou can change the name of your service to for e.g. BooksList.

Adding new datasource
- Click the Success mapping button and, in the mapping editor, click the Expand all link for both Service response and Page. We should relate our service with the DataTable component and bind the service scope with the rows of our DataTable as well as the columns of the table. To do it, create the below mapping and save:

Service Success mapping
- Go back to the DESIGN panel and select the DataTable1 component.
You can also use the OUTLINE view menu or the Breadcrumbs for navigating between the app UI components:
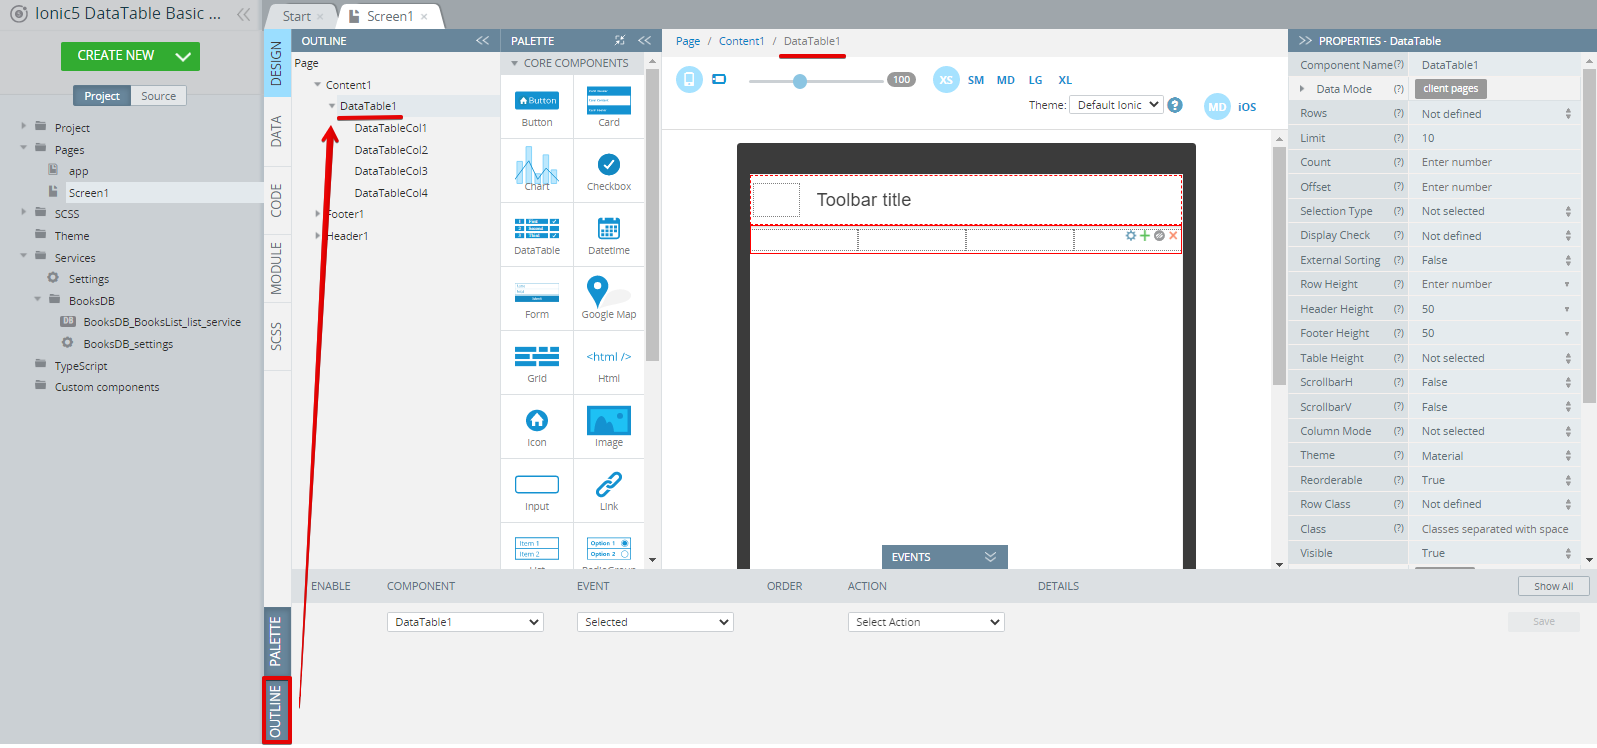
- Under the PROPERTIES panel, expand the Data Mode property, leave Client Pages for Mode, then select our service (BooksList) for Service Name.

Configuring Data Mode
- To initialize the table, expand the EVENTS tab and select the Page component from the list. For EVENT, select Before page showing and then select [DataTable update](https://docs.appery.io/docs/5-event-handling#datatable-update) for the ACTION drop-down with indicating our DataTable1 component. Save the event:

Setting up Page event
Step 3: Defining App UI
- On the Screen1 DESIGN panel and use the Breadcrumbs to select the Page component. Then, under its PROPERTIES panel, set the Footer property to False. After that, select the Header Toolbar title component and enter Books to read for its Text property:

Defining Toolbar Title
- Now, select the DataTable1 component and go to its PROPERTIES panel to define it as follows:
- Selection Type: Checkbox;
- Limit: 2;
- ScrollbarH: true.
- Expand Messages and type in Data is missing for Empty Message.
- Now, expand Sorts and, for Column Name, insert Year; for Direction, select asc:

Defining DataTable properties
-
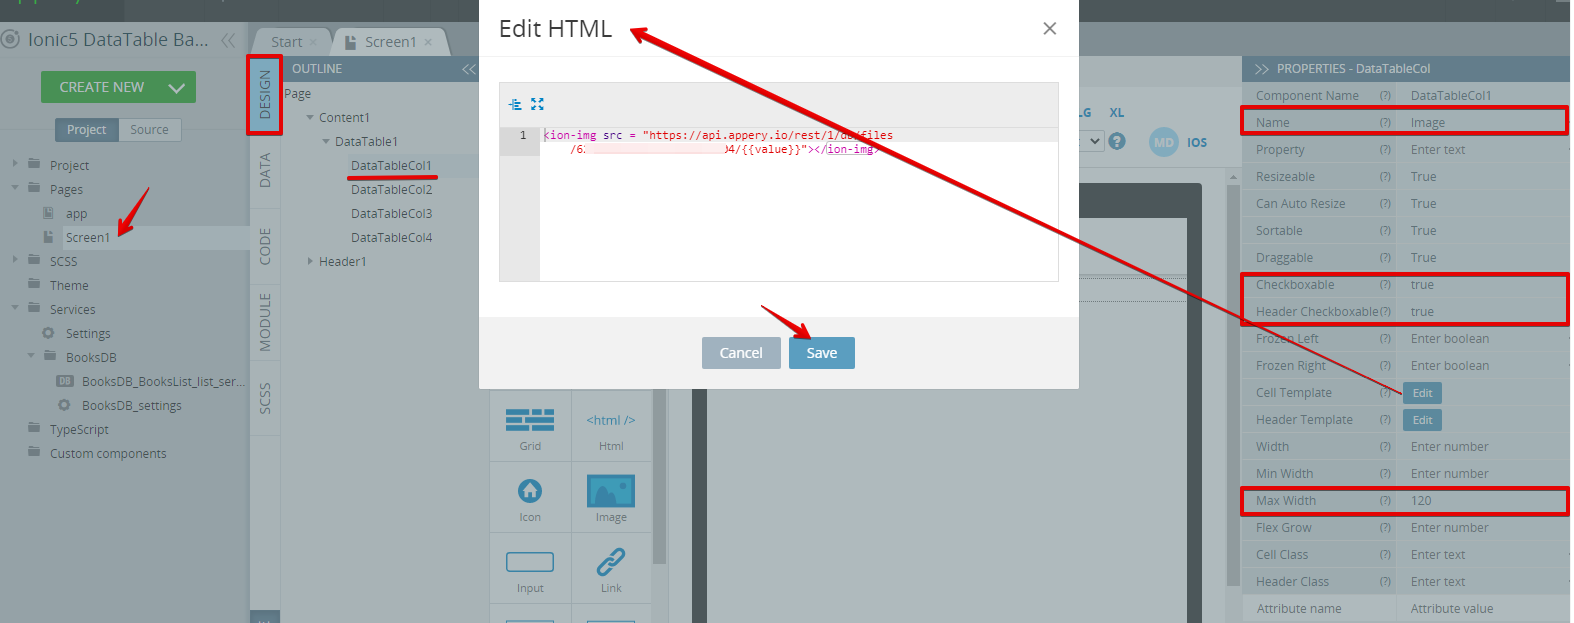
Next, select the first column of the table, DataTableCol1, this is where the database image files will be mapped to. Under the PROPERTIES panel, define the following DataTableCol1 properties as follows:
- Checkboxable: true;
- Header Checkboxable: true;
- Max Width: 120;
- Name: Image.
-
Also, click the Editbutton of the Cell Template property and enter the next code:
<ion-img src = "https://api.appery.io/rest/1/db/files/PUT YOUR DB ID HERE/{{value}}"></ion-img>The DataTableCol1 component's properties should look like this:
Database ID CredentialsNote that inside the script, you will need to replace the PUT YOUR DB ID HERE template with your database ID (can be found in the browser search field or in YOUR DB > Settings > API keys):

Locating your database ID
Note!You might also like to adjust the UI components properties of other table columns to fit the needed content, for example, we used the next Max Width property values for our table columns:
- DataTableCol2 = 150,
- DataTableCol3 = 120,
- DataTableCol4 = 80.
Step 4: Testing App
Now, your app looks well-rounded and should work as expected.
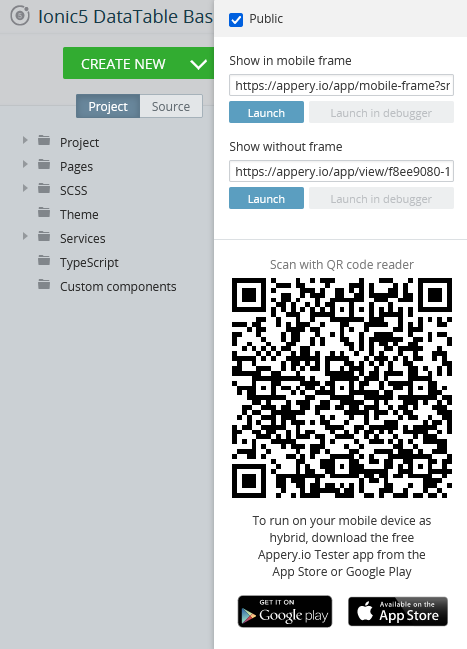
Click TEST in the App BuilderToolbar to check:

App in work
Testing on Device
When your app version is ready, you might also like to test it on the device.
Appery.io Tester AppA great option to quickly test the app on the device is to use our Appery.io Tester app.
The app is free and available for both iOS and Android.
You can check out this page to learn more about using the Appery.io Tester app.
Updated about 1 year ago
What’s Next
It's time that we proceed with the Advanced tutorial that shows how to create an Ionic app by using API Express service.