Ionic Barcode Scanner Plugin Sample App
In this step-by-step tutorial, we'll demonstrate how to use Appery.io BarcodeScanner plugin in your Ionic app.
Introduction
This document explains in detail how to build an app that launches a QR / barcode scanner on a button click. After the scan is completed, the scan information will be displayed.
Before You Start
- Tutorial level: beginner; your first mobile app.
- Prerequisites: an Appery.io account.
Downloads and Resources
You can also try it yourself by creating from the backup. In this case, follow the steps:
- Download the app backup file.
- Click From backup and select the project backup file on your drive.
- Type in the app name.
- Click Create.
Want to know more?Check below for the up-to-date video tutorial where you will learn how to build a mobile app with a QR, Barcode, as well as PDF417 scanner in three different ways:
Also, if you are interested in the detailed tutorial, please follow the steps below.
Creating App
- From the Apps tab, click Create new app.
- Select Ionic Blank for the application type, enter Ionic BarcodeScanner App for the app name, and click Create.
Creating App UI
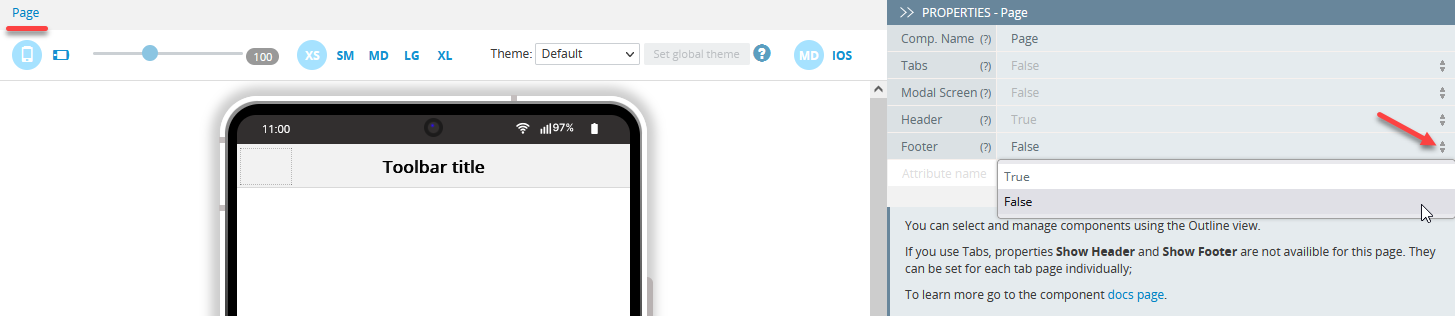
- Every new app comes with a default Screen1 page. Let's open it: Pages > Screen1 and under the page PROPERTIES panel, set the Page Footer property to False as we won't need the bottom app toolbar:
- Click the Toolbar title of the screen header and change its Common > Text property to Barcode Scanner App (you can also edit it right in the mobile frame):

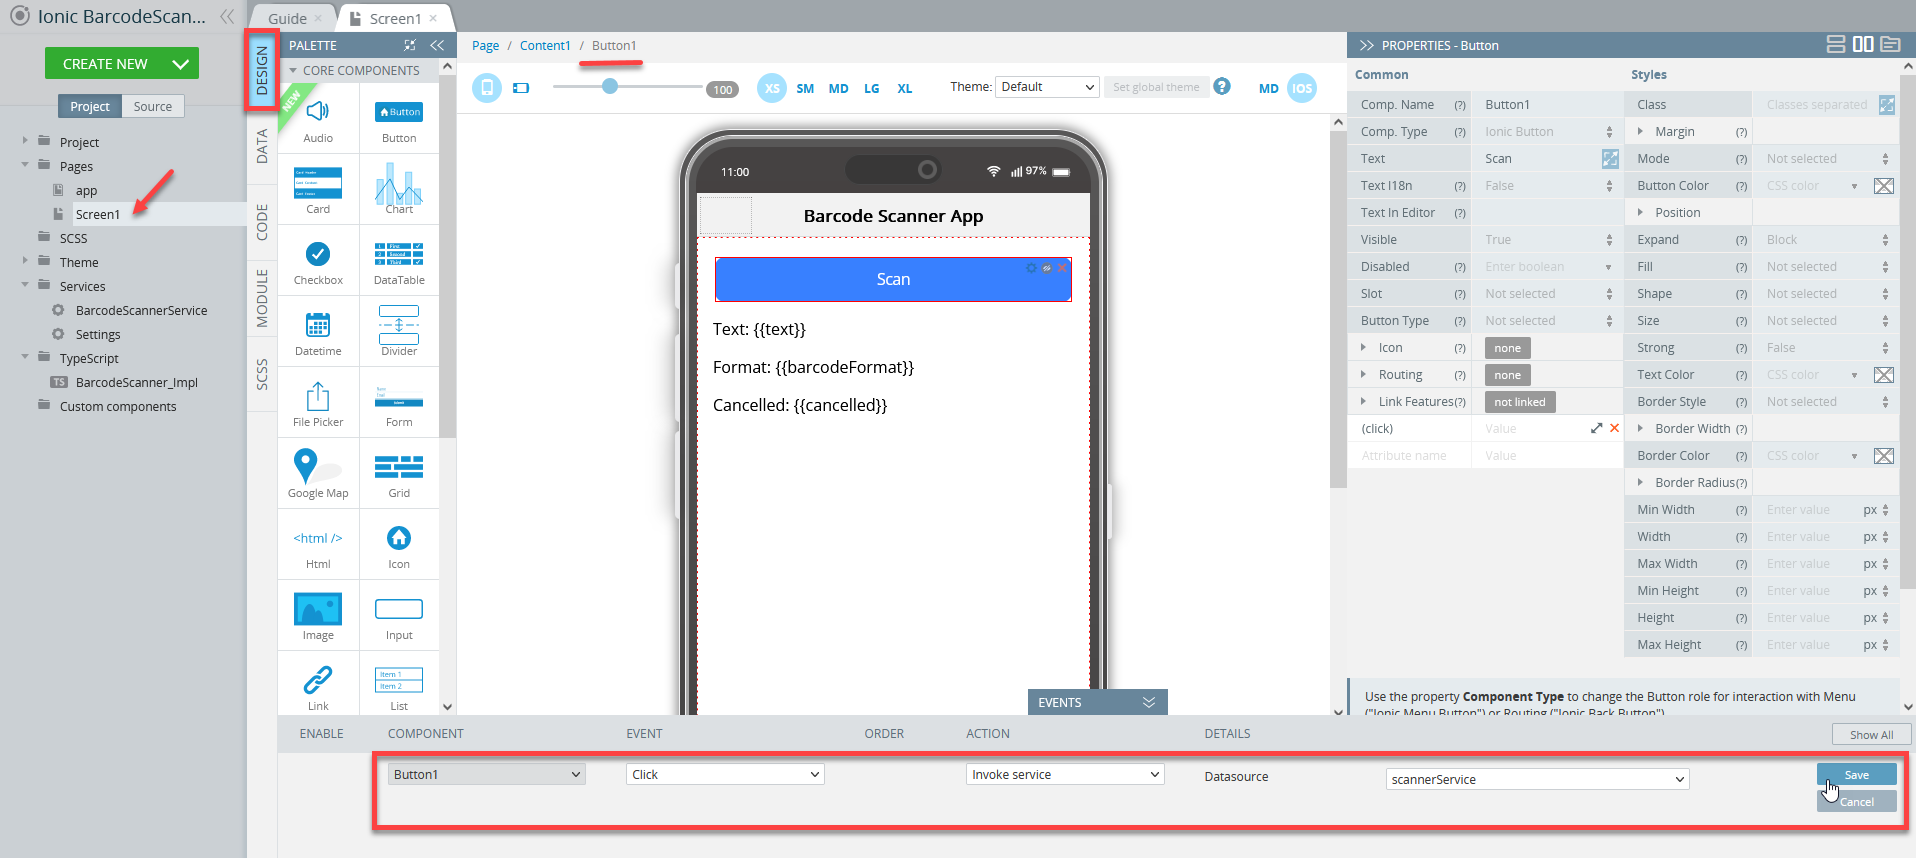
- Drag the Button component from PALETTE and drop it to the page; then change its Common > Text property to Scan.
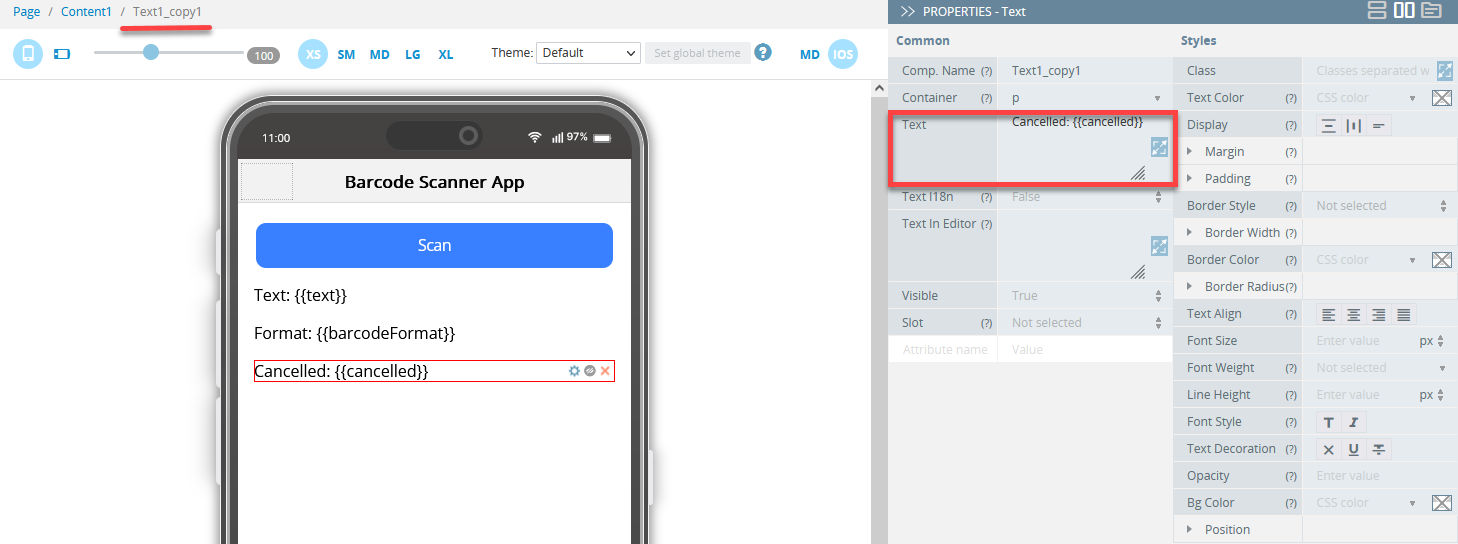
- Next, place a Text component under the button and set its Common > Container property to p. Then select the created component and click on the small cog icon in the upper right corner to open the Context menu. Select Clone and create 2 more copies of the component:

- For the three resulting text components, replace their default Common > Text properties with:
- Text: {{text}} for the first component,
- Format: {{barcodeFormat}} for the second,
- and Cancelled: {{cancelled}} for the last one:
It's also a good practice to give the components unique names, so you can replace the generated text copy name with the name you like.
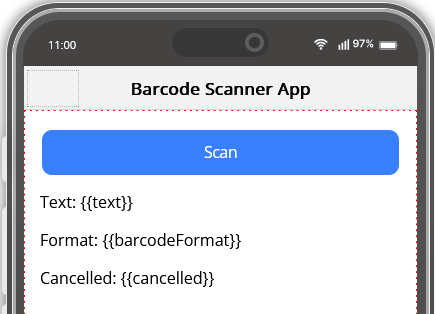
The resulting UI is simple:
Defining App Logic
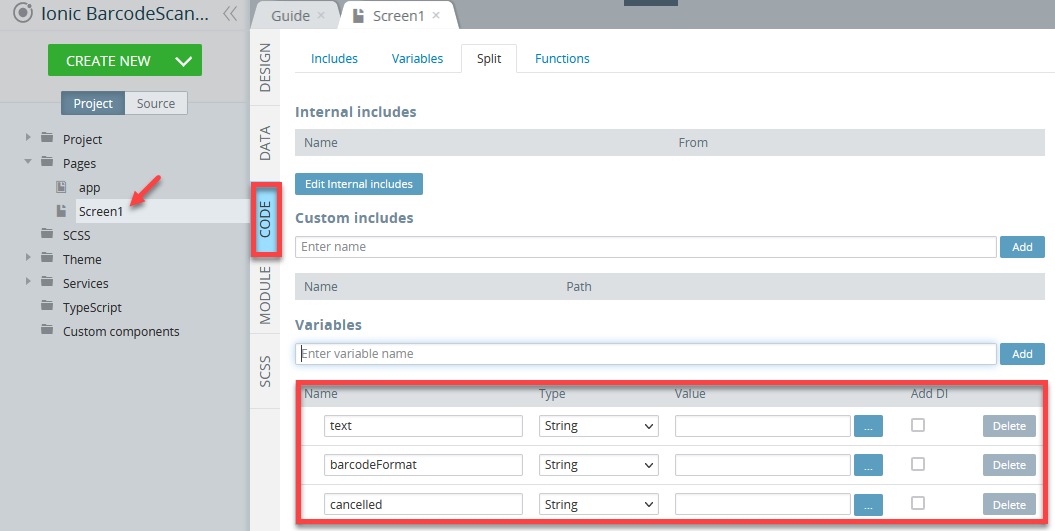
- Go to the Screen1 CODE panel and under the Variables section, create three new variables:
text,barcodeFormatandcancelled, all of String type:
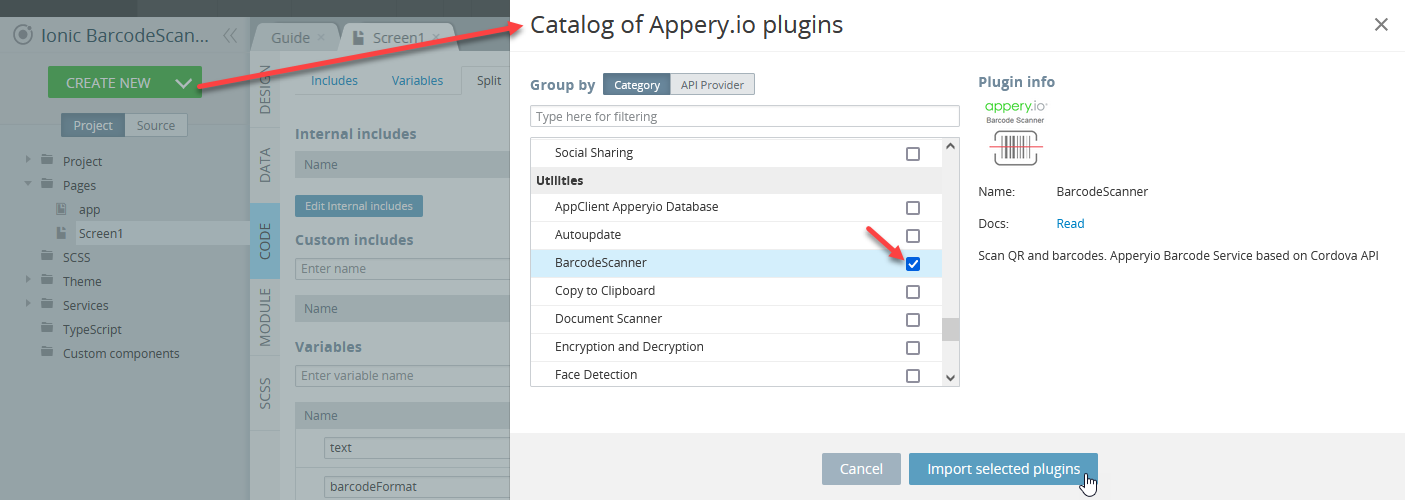
- Now, click CREATE NEW > From plugin and under the Utilities category, select the BarcodeScanner plugin. After that, click Import selected plugins:
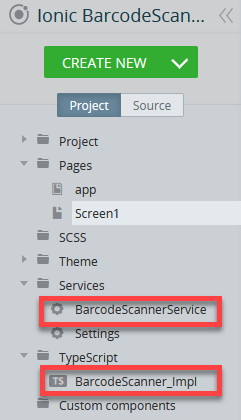
You should now see the BarcodeScannerService and BarcodeScanner_impl entries on the Services and TypeScript lists of the Project view:
- Now, navigate to the Screen1 DATA panel. Here, add the imported service as a datasource. Change its local name to scannerService:
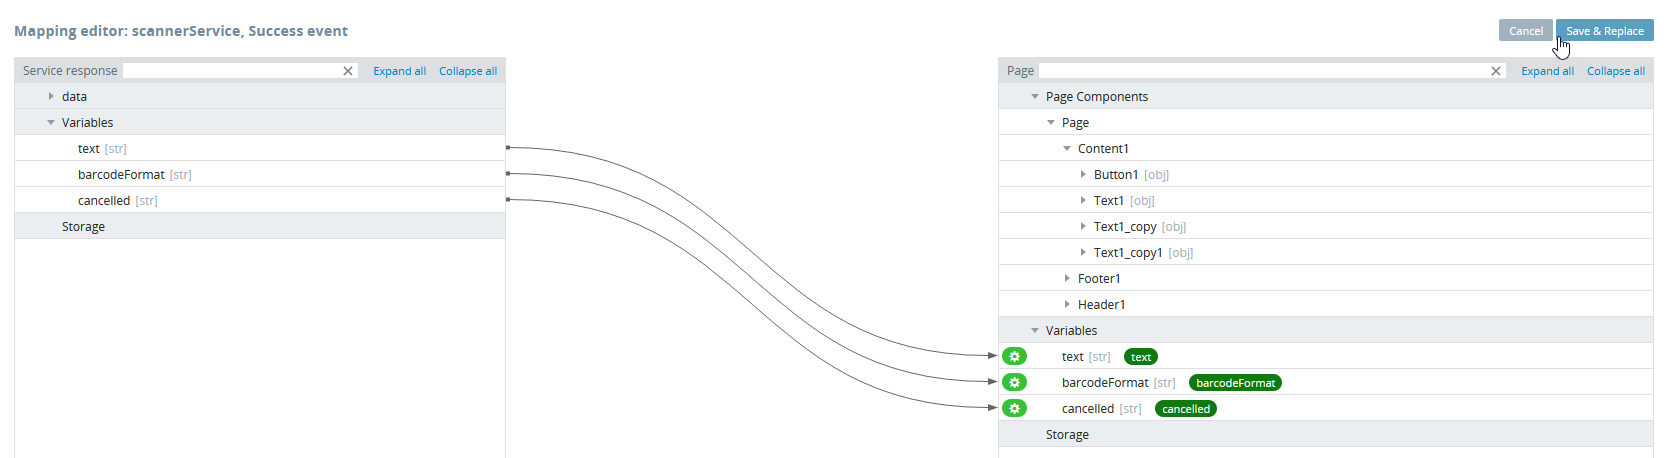
- Then, click the Mapping button next to the Success event and create the following mapping. After editing, click the Save & Replace button. Here:
- text is the text representation of the barcode data.
- format is the type of barcode detected.
- cancelled indicates whether or not the scan has been cancelled by the user.
- Return to the DESIGN panel to modify the Scan button behavior. A click on the Scan button should trigger the scan. So, unfold the EVENTS tab panel from the bottom, and for the Button1 component, create a new Click event. Select Invoke service as the Action and scannerService as the Datasource. Save the event:
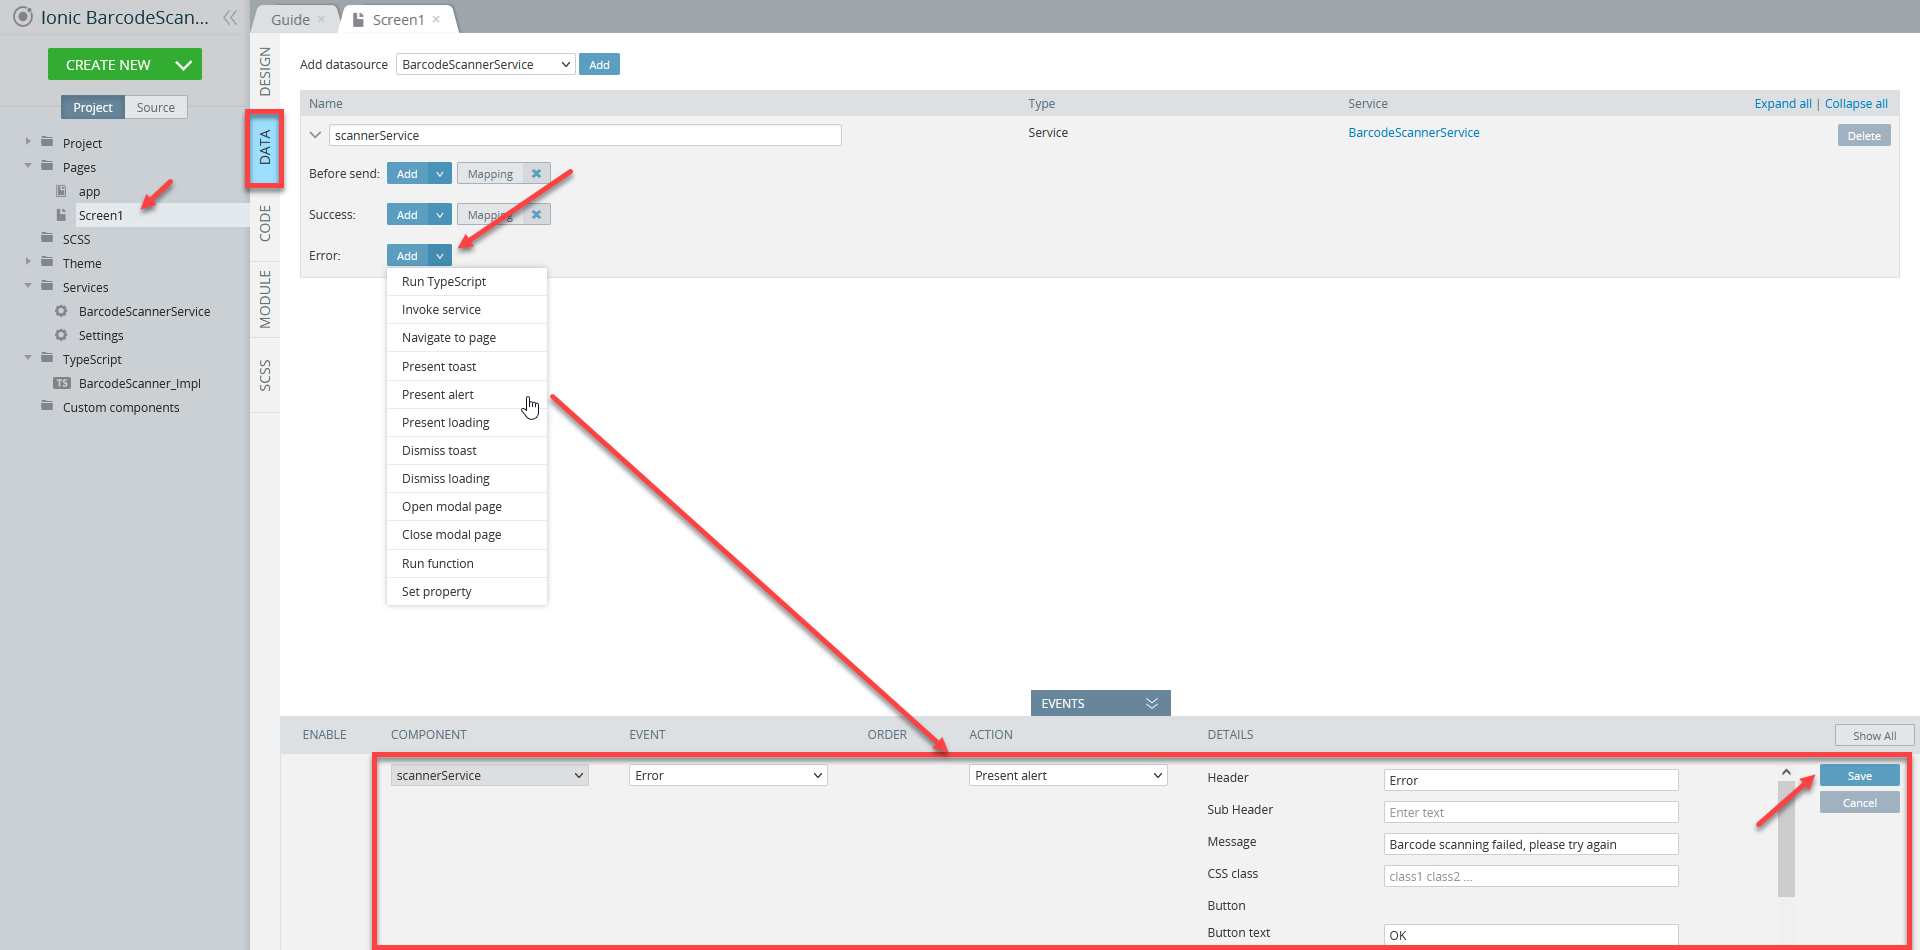
Error Handling
Let's add an alert that will be shown in case of any scanning errors. Go to the DATA panel tab and click Add to the right of the Error event of the scannerService. Select Present alert for the action and provide some details: Error as the alert Header and Barcode scanning failed, please try again as its Message. Don’t forget to save all the changes:
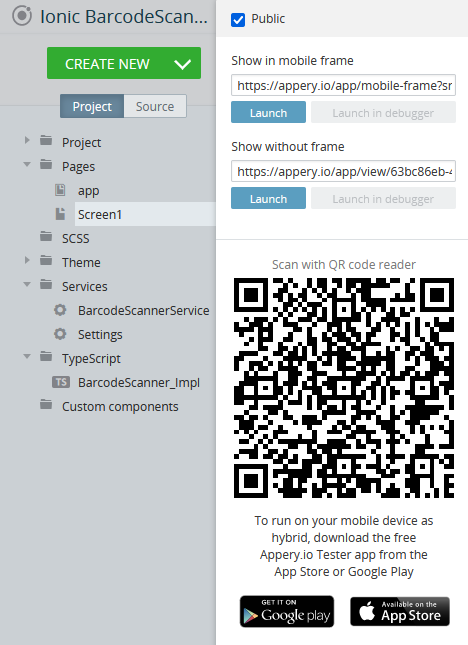
App Testing
Since we are using a native component (barcode scanner), the app cannot be tested in a browser. To test the app, you need to build (.apk / .aab for Android or .ipa for iOS) and install it on your device.
App ExportYou can check below for how to export your app:
- for Android: (https://docs.appery.io/docs/appexport-android)
- for iOS: (https://docs.appery.io/docs/appexport-ios)
Also, you will need to allow the app to take photos, record videos and access photos, media, and files:

App work on the device
Once you get the value from the scan, you can save it in your local storage and use it as input to another API to get more details about the scan. For example, if you have a product barcode number scanned, you can then invoke a service to get the product details.
Testing on Device
When your app version is ready, you might also like to test it on the device.
Appery.io Tester AppA great option to quickly test the app on the device is to use our Appery.io Tester app.
The app is free and available for both iOS and Android.
You can check out this page to learn more about using the Appery.io Tester app.
Updated about 1 year ago