Ionic Property: AI Assistant
How to set up the AI Assistant property for your mobile app
Introduction
The AI Assistant property allows to generate UI for your Ionic apps created with Appery.io and is available for the Content and Html components only.
Working with AI Assistant Property
Content Example
In this sample, using the AI Assistant property is demonstrated for using with the Content component.
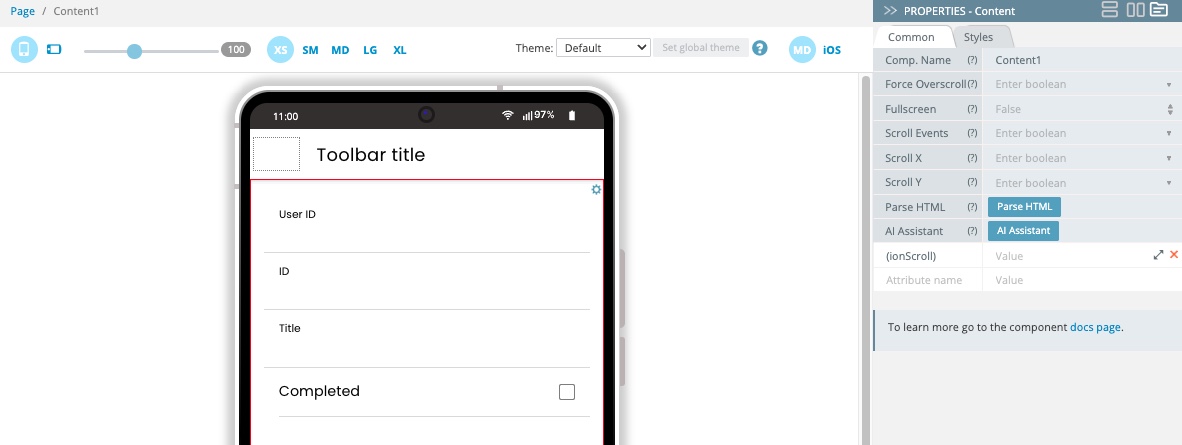
- In the DESIGN panel of the App Builder Screen1 page, select the Content component.
- Go to the PROPERTIES view on the right to check out the AI Assistant property.
- Now, click the corresponding AI Assistant button.
- The AI Assistant editor will open in the modal window:

- From the drop-down menu on the right, select the language for your request, then enter your query or use speech recognition to input your request.
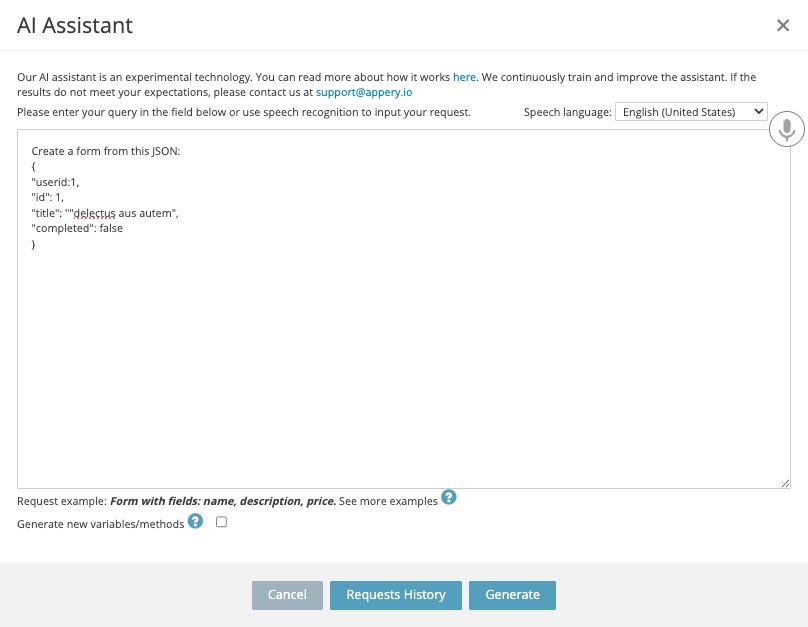
- Click Generate.
- The requested form is generated:
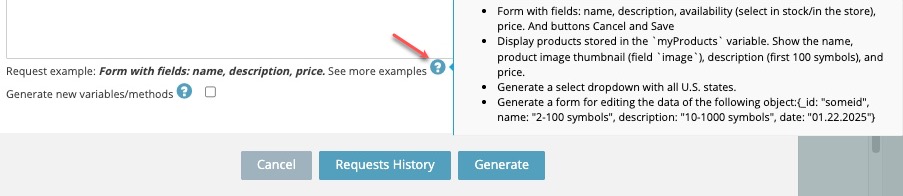
TIPYou can use the tooltip for more request examples:
HTML Example
For this example, we will use the Html component.
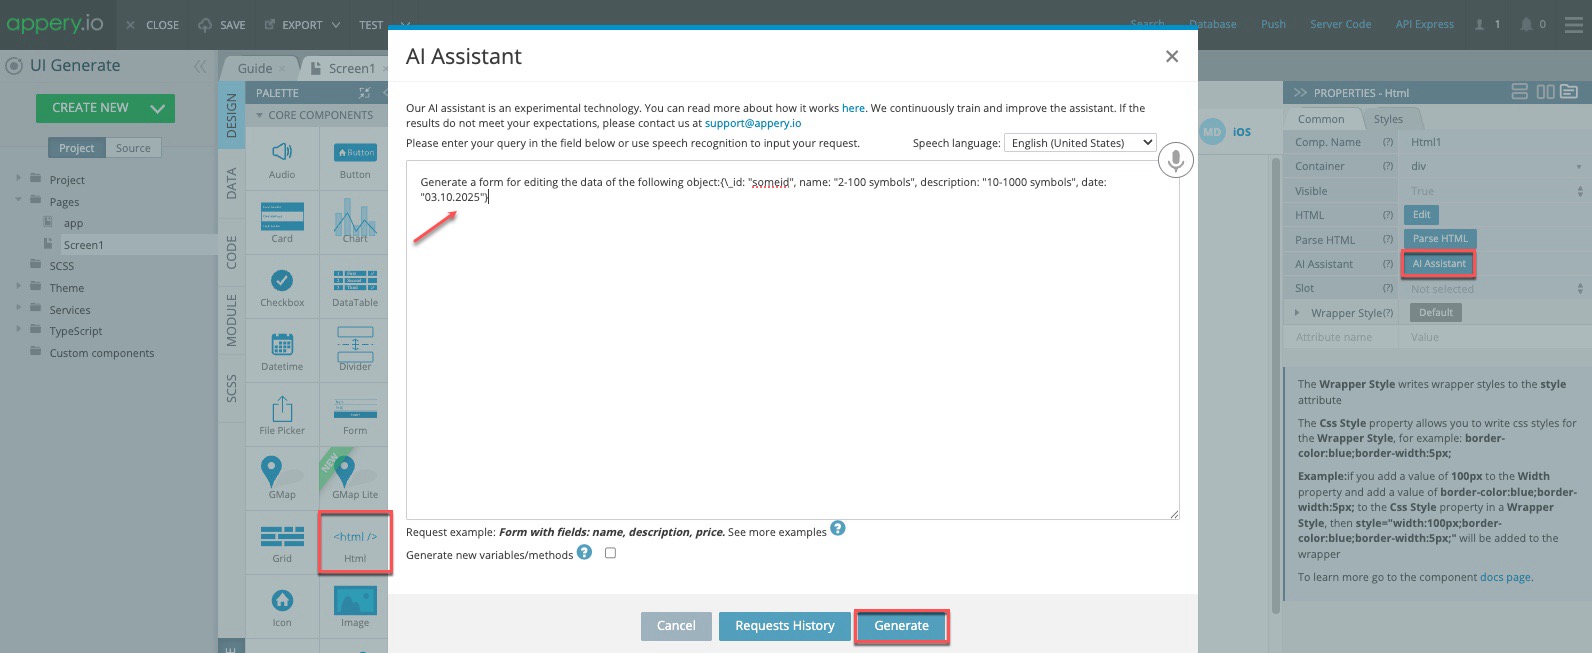
- In the DESIGN panel of the App Builder Screen1 page, go to the PALETTE panel on the left.
- Drag the Html component and drop to the Content area.
- Select the Html component and click the AI Assistant button on the right.
- In the AI Assistant editor, enter the following query:
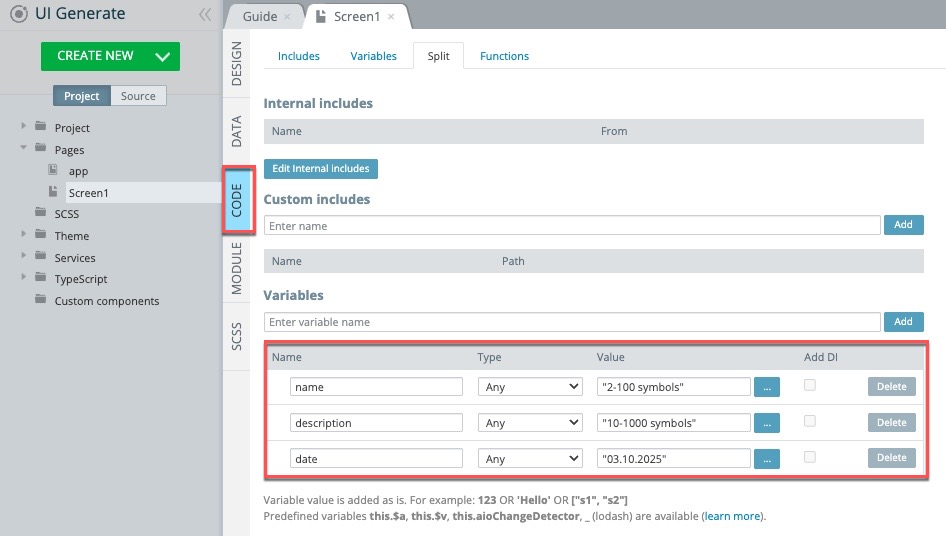
Generate a form for editing the data of the following object:{_id: "someid", name: "2-100 symbols", description: "10-1000 symbols", date: "03.10.2025"} - Hit Generate:
- Now, check that the AI Assistant option did the trick and the Html component is instantly filled with all the nested components defined by the query above:
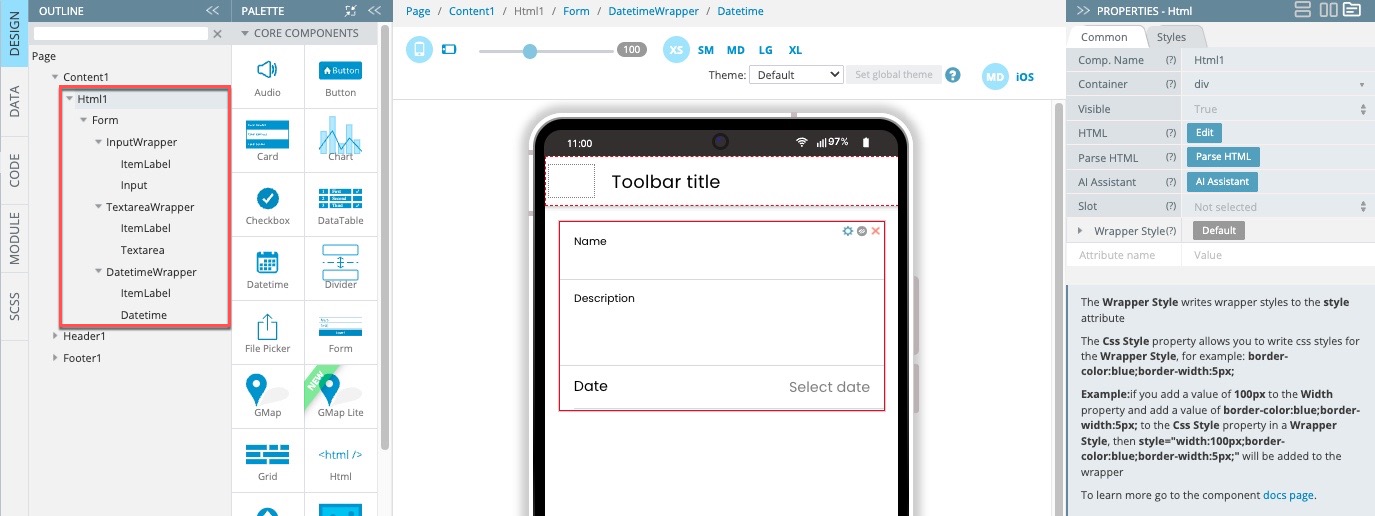
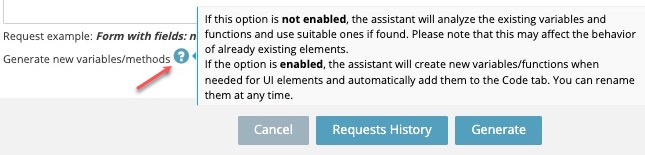
NOTEEnable the Generate new variables/methods checkbox to automatically create new variables/functions needed for new UI elements.
These variables/functions will be automatically added to the CODE tab and can be renamed at any time.
Updated about 1 year ago
Did this page help you?