Overview
Using Webhooks.
Introduction
A Webhook is a method of augmenting the behaviour of a service with custom callbacks, which may be maintained, modified, and managed by Appery.io users. Simply speaking, it’s an HTTP POST that occurs when an event occurs. Currently, Appery.io supports two categories of webhooks: app-level Webhooks and account-level Webhooks. Each category contains its own events.
App-level Webhooks
- App version created.
- App version removed.
- App version restored.
- App published on Appery.io.
- Android build success.
- Android build failure.
- Android build abort.
- Android build start.
- iOS build success.
- iOS build failure.
- iOS build abort.
- iOS build start.
- App test.
Account-level Webhooks:
- App created.
- App removed.
- App renamed.
For example, let’s say a system needs to be notified when an Android build is successful for a particular app; you would use an Android build success event. When the build is successful a POST request will be invoked to the URL you specify.
Creating and Attaching a Webhook
- Create a callback to collect and inspect webhooks. You can use a RequestBin service, or any URL you have for this purpose.
- To register the URL as a webhook in Appery.io , open your Webhooks tab, and click Create new Webhook:
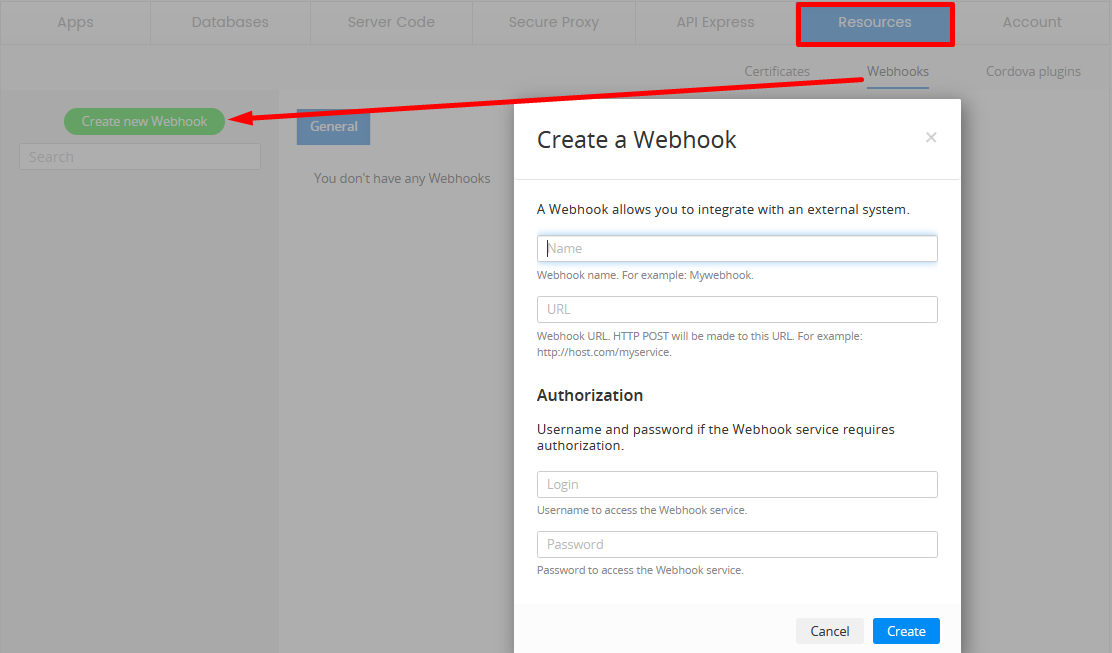
- Enter the webhook parameters, and click Create. A list of webhooks appears in the tab - any line can be edited or deleted.
- To attach the Account webhooks, choose the needed webhook and events. If successful, you will see a message.
- To manage permissions to your webhooks, go to the Permissions tab.
- To attach a Project webhook to your app, open the Apps tab, select the project, and scroll down to the Webhooks section.
- Click Attach Webhook. In the pop-up, choose the webhook, check all the events you need, and click Attach.
- The specified webhook appears in the area. It can be configured or deleted at any time.
When any of the checked events occur, your app POSTs data to the specified URL.
If the callback is unavailable, the webhook call is postponed and attempted several times during the following 24 hours after which, if it’s unsuccessful, it will be deleted. The webhook call history isn’t stored.
Using Several Webhooks
You can specify different event notifications to be sent to different URLs.
- Open your Webhooks tab, and create several webhooks.
- When attaching webhooks to your project under Apps tab, check only the events with the data you need to be posted to the selected URLs.
- The same events can be checked for different webhooks, which means that event notifications will be posted to several URLs. If every event is selected for a webhook, Attach Webhook becomes grayed-out.
Updated about 1 year ago