jQM Camera App
Using the Camera component in a jQuery Mobile app
Important Note!The option of creating new apps with thejQuery Mobile framework was removed but we still support the projects that were created with it earlier.
Final App
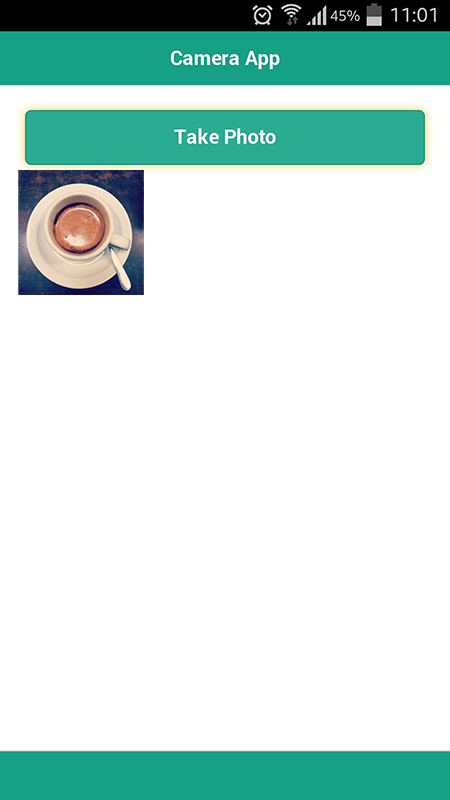
In this quick tutorial, you are going to learn how to use the Cordova camera API. The app will look like this:

Camera app.
Ionic Camera and File Upload TutorialYou can also check our Ionic Camera and File Upload Plug-ins App, where we show how to add the files and/or photos preview and upload functionality without using a line of code.
Creating App UI
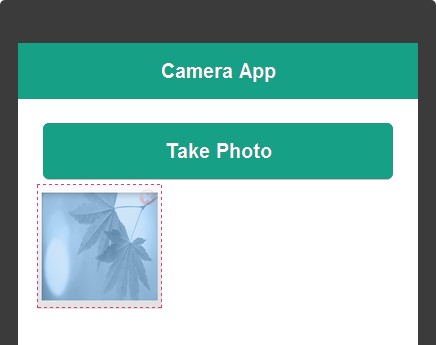
Design the UI to look like this:

Camera app page.
Once you built the UI, complete the following steps in the PROPERTIES panel:
- Rename the Button component to takephotobutton.
- Rename the Image component to photopreview.
Adding Camera Service
To add the camera service:
- Inside the App Builder: CREATE NEW > Service > Camera, and click Create Service.
- The service will be listed under the Services folder.
As the camera service is based on Cordova API, the service's request and response are preconfigured.
Binding Camera Service
- Open the DATA tab.
- For datasource, select Device > CameraService > Add. The camera service will be added to the page. Name it camera_shot
- Click Mapping for Before send event. Since this is a pre-configured service, everything is set under Service request.
- Click Mapping for the Success event.
- Since we want to display the photo we just took, create the following mapping:

--- Update image as it's not readable. ---
- Save.
Launching Camera
- Open the DESIGN tab.
- Select the button, open the EVENTS tab, and add the following event:
takephotobutton > Click > Invoke service > camera_shot, and click Save. - Save.
Testing App
Since we’re invoking a native component, this app has to be tested as a hybrid app, or installed on the device. Testing in the browser won’t work.
Running on Android
Testing on Android is relatively simple, since you can quickly install any app on your device.
To do it, build the Android binary and install it on your device. When the build is completed, you’ll see a QR code. Scanning the QR code will download the app to your phone. You can also email the app to your device.
Running on iOS
Build the app and install it on your device.
Important NotePlease, note that to export the app for iOS, you will need to upload your distribution certificate and provisioning profile obtained from Apple under the App settings > iOS binary tab.
You can check this document in case you need help with exporting your application for iOS. Here, you will find the document that explains how to manage certificates in Appery.io.
iOS Quirks
Since iOS 10 it's mandatory to add a CAMERA_USAGE_DESCRIPTION and PHOTOLIBRARY_USAGE_DESCRIPTION to plugin options.
Before building .ipa file go to App Settings > Cordova plugins and click the Options button for the Camera plugin.
You should add CAMERA_USAGE_DESCRIPTION and PHOTOLIBRARY_USAGE_DESCRIPTION variables there, otherwise .ipa build process will fail.
Further details can be found at https://docs.appery.io/docs/appexport-ios#section-keys-and-settings.
Updated 7 months ago
