OAuth App Template
Introduction
This document provides information about our OAuth app template, which is fully customizable and designed to help you effortlessly interact with OAuth 2.0 protocol.
Using OAuth App Template
No special knowledge or experience is required to use our OAuth app template — just follow the simple steps below to install the app and enjoy the results of low-code development with Appery.io!
Important!Please rest assured that you are the creator and you are the only owner of this application (actually, like any other app created with Appery.io).
For more details, you can check our Copyright, Trademark, and Content Ownership section here.
Creating App from Template
- From the Apps tab, click Create new app.
- Select OAuth, enter the name for your project (for example, OAuth App), and click the Create button.
In a few moments, refresh the browser tab to see that the app will be created with the autogenerated name extension. If you like, you can now rename your project under its General tab or do it later:
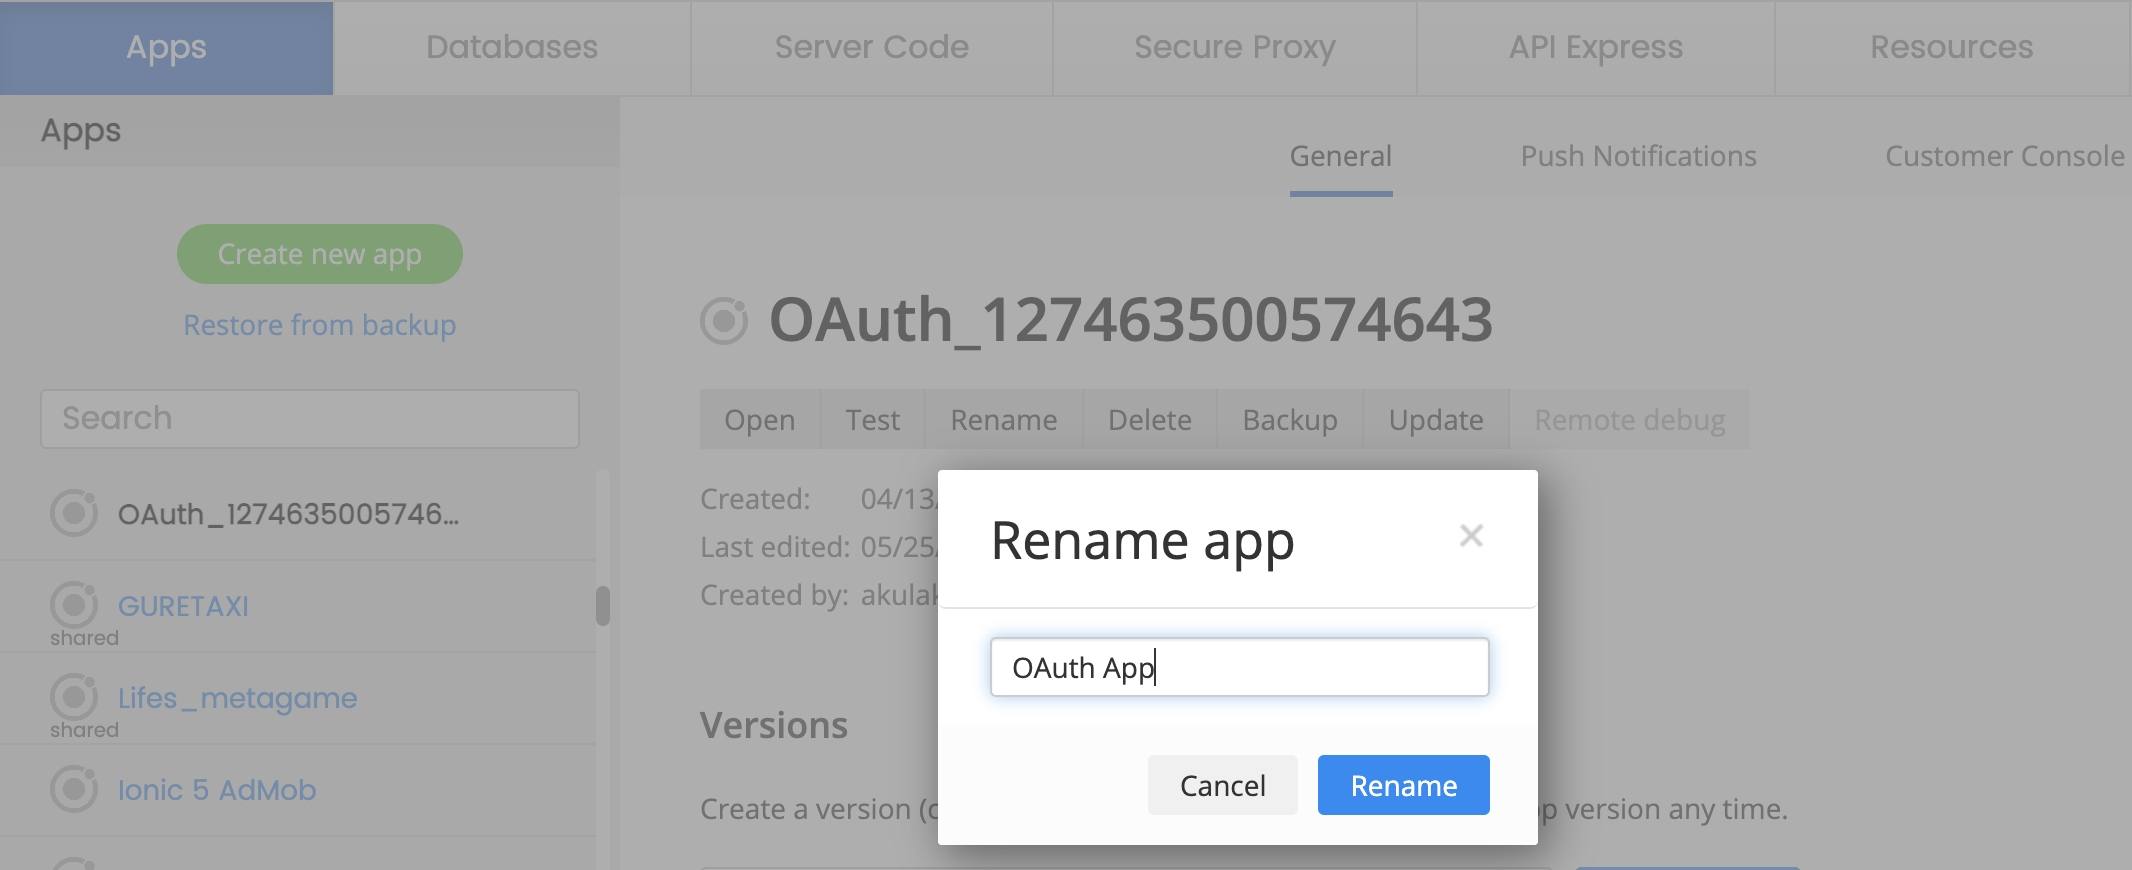
After the app is renamed, you can open it.
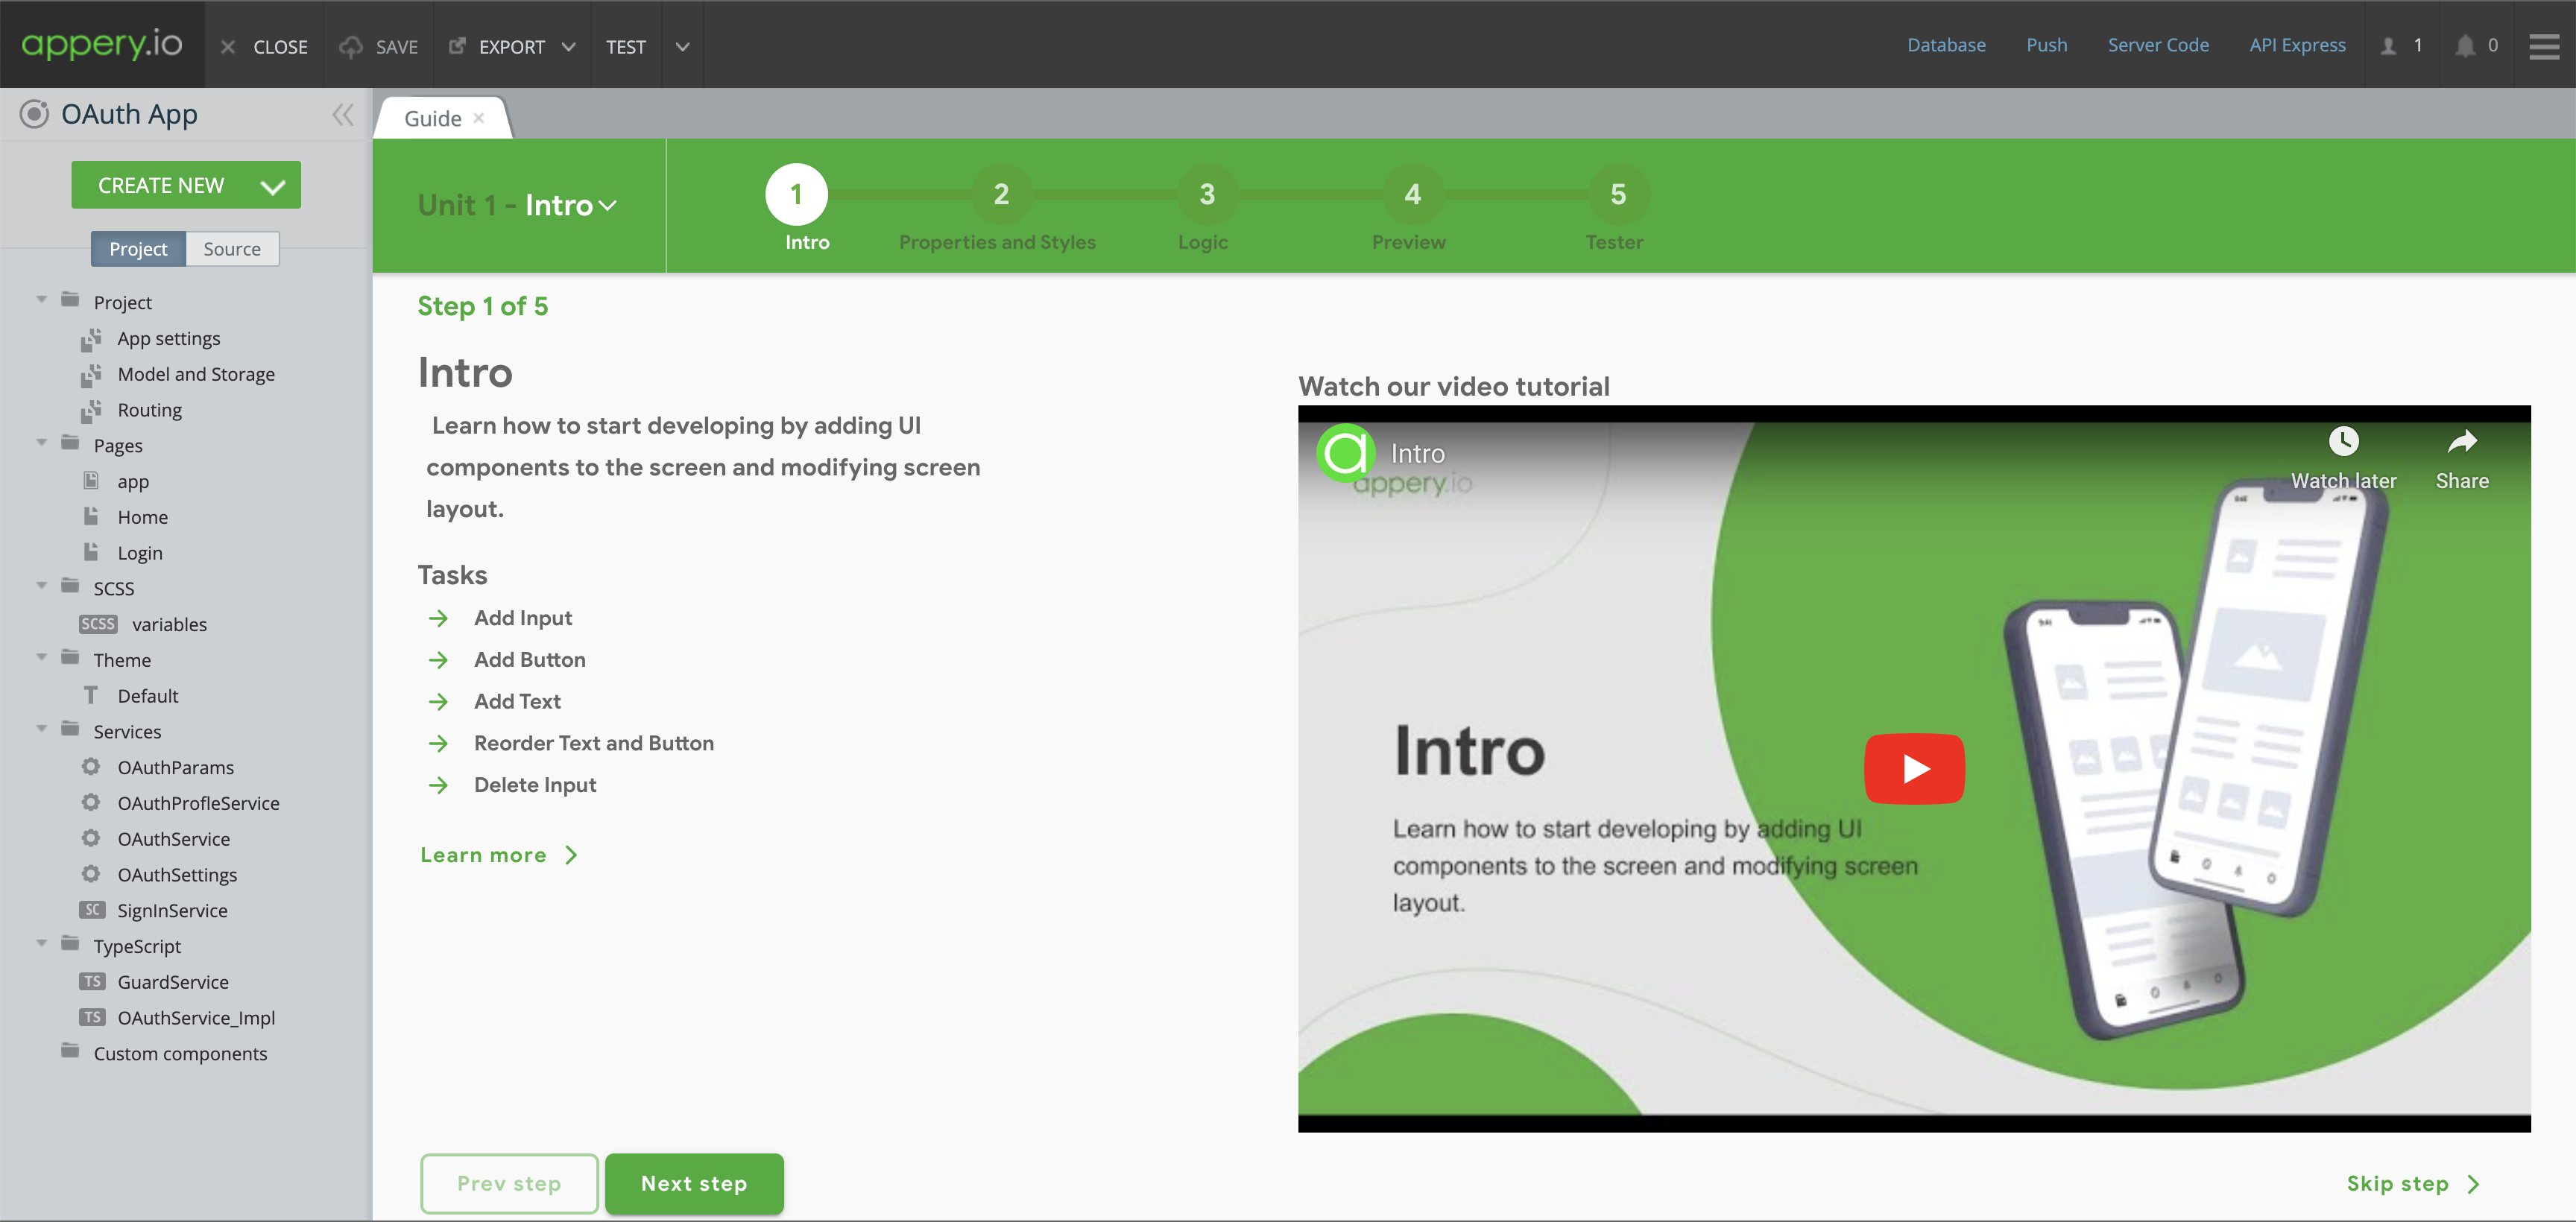
The first thing you can see is our App Builder Educational Video Guide page with the Project View section on the left where all the predefined project data (pages and services) can be found:
ImportantIn order to proceed with the subsequent instructions, it is necessary to possess an OAuth server. In this particular case, we will be utilizing the Google Identity Services.
Creating Google OAuth project
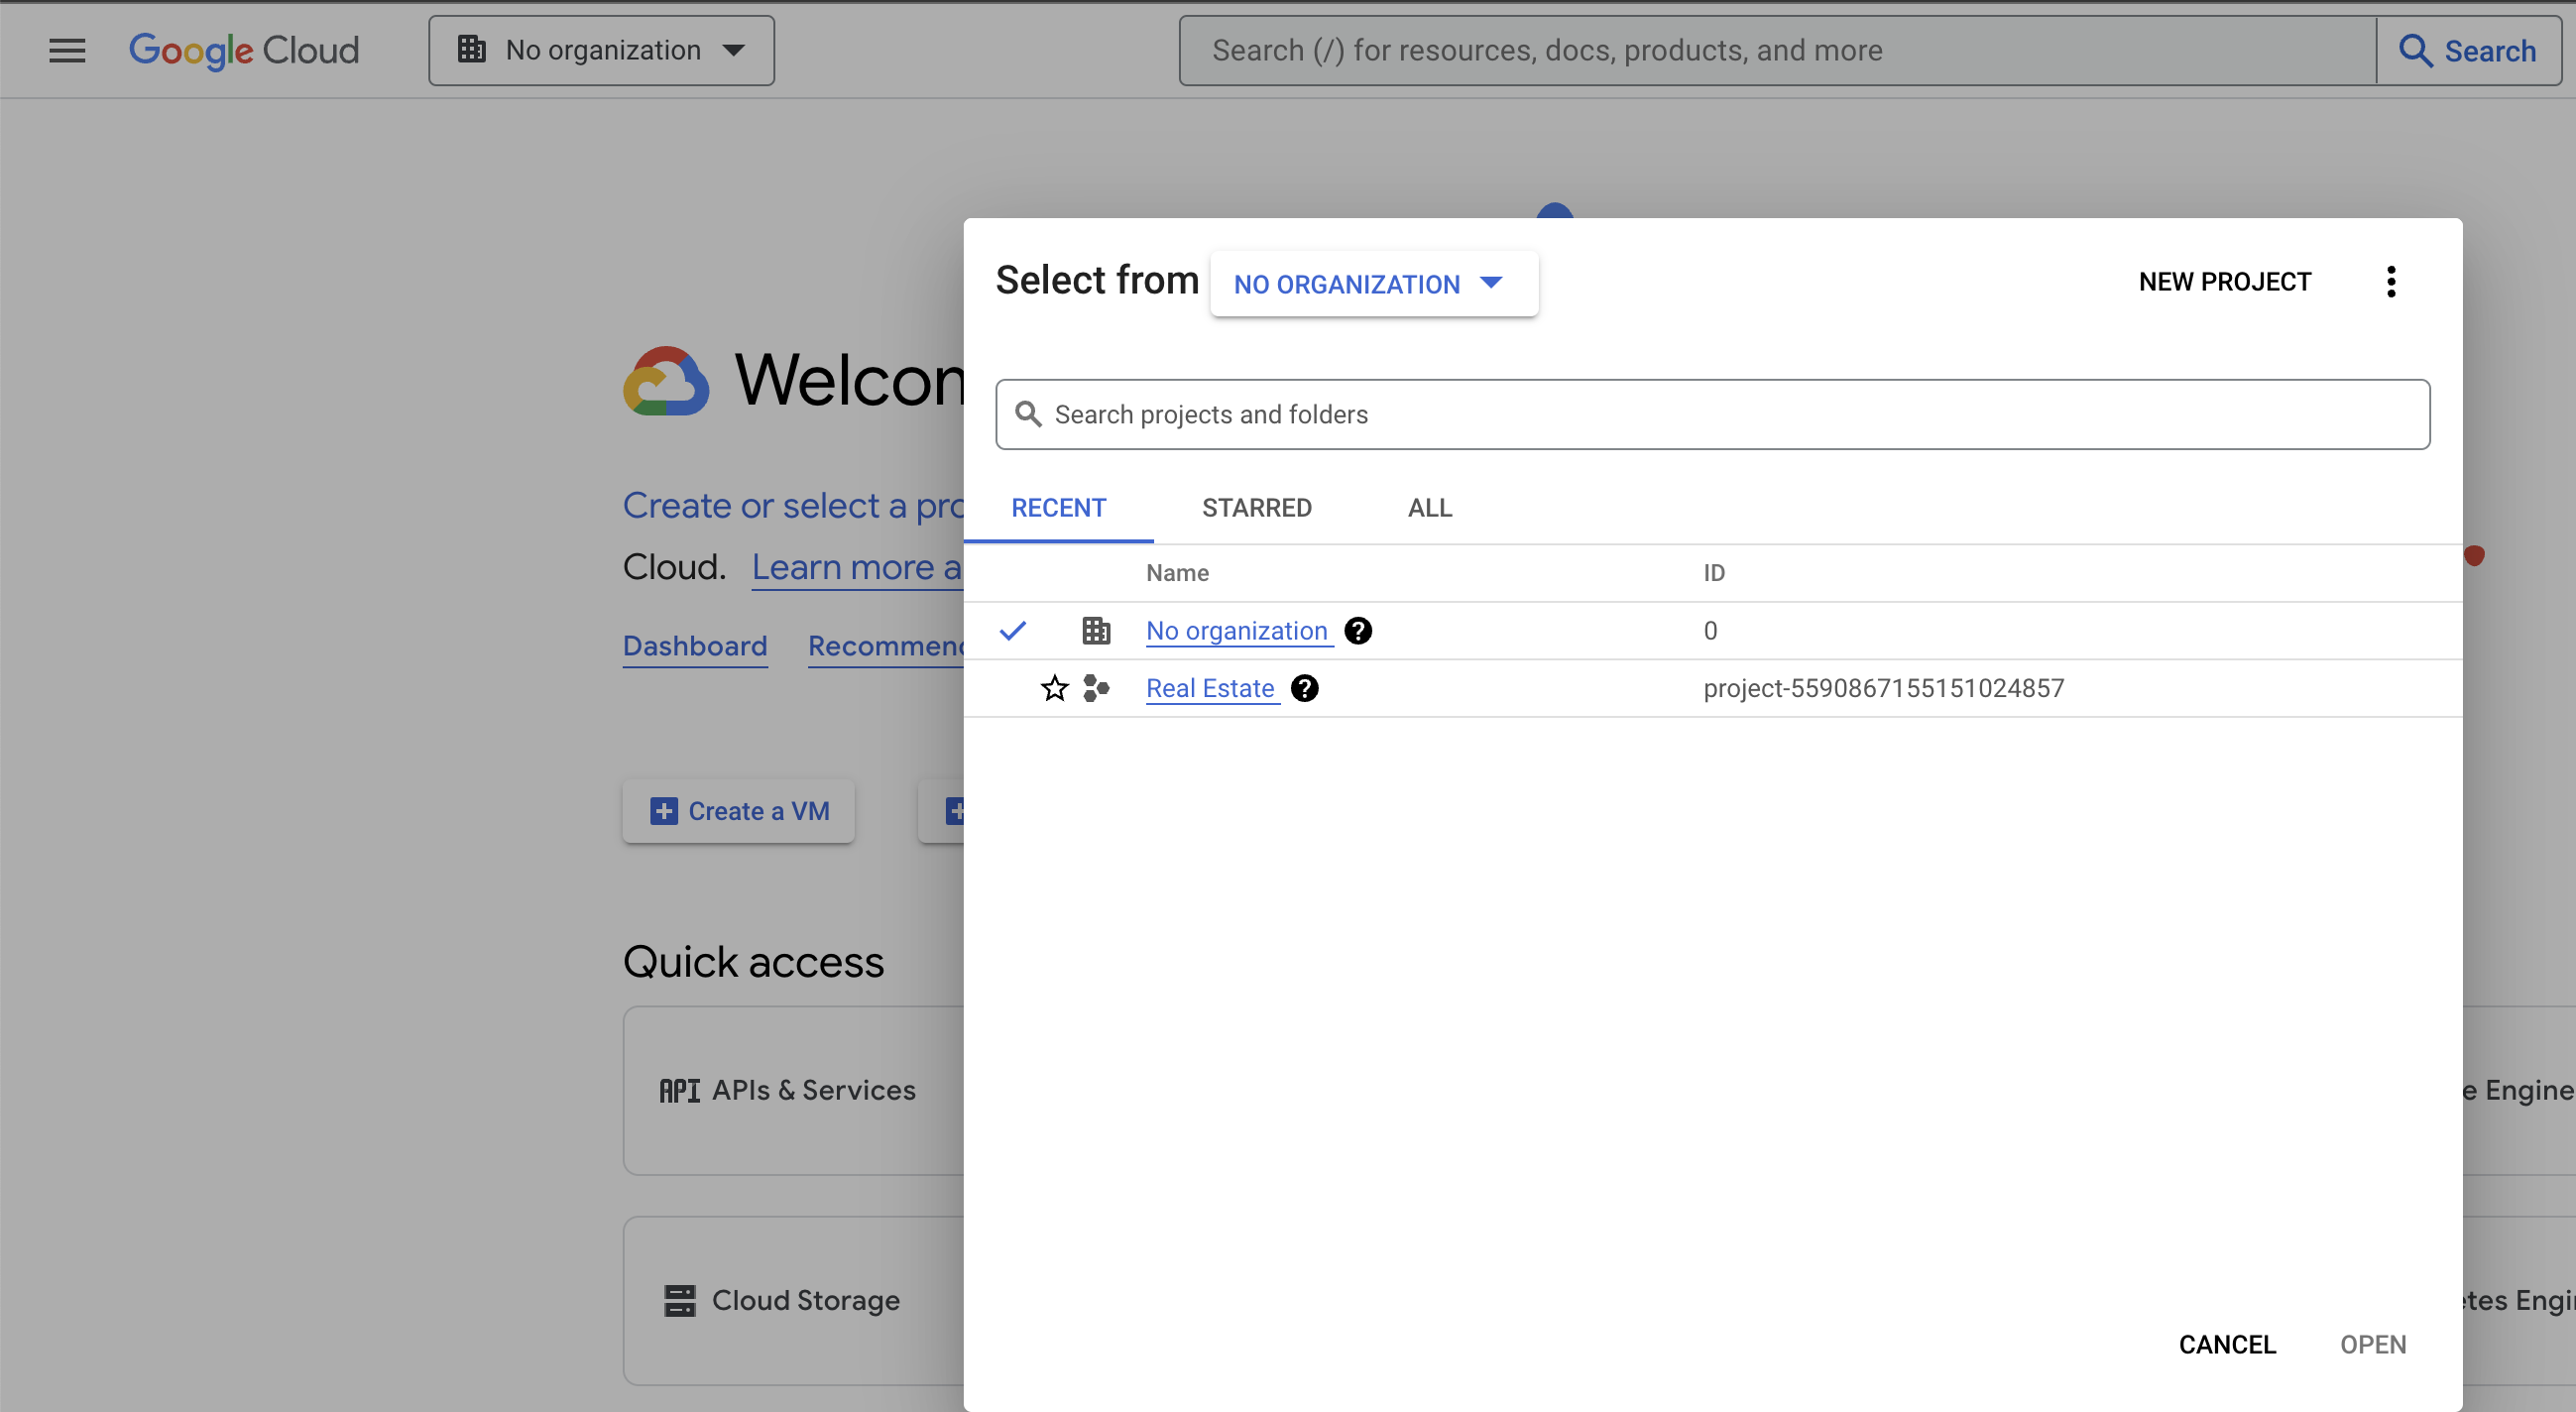
- Open a Google Cloud Console.
- If you already have an existing project, please make use of it. Alternatively, you can create a new project.
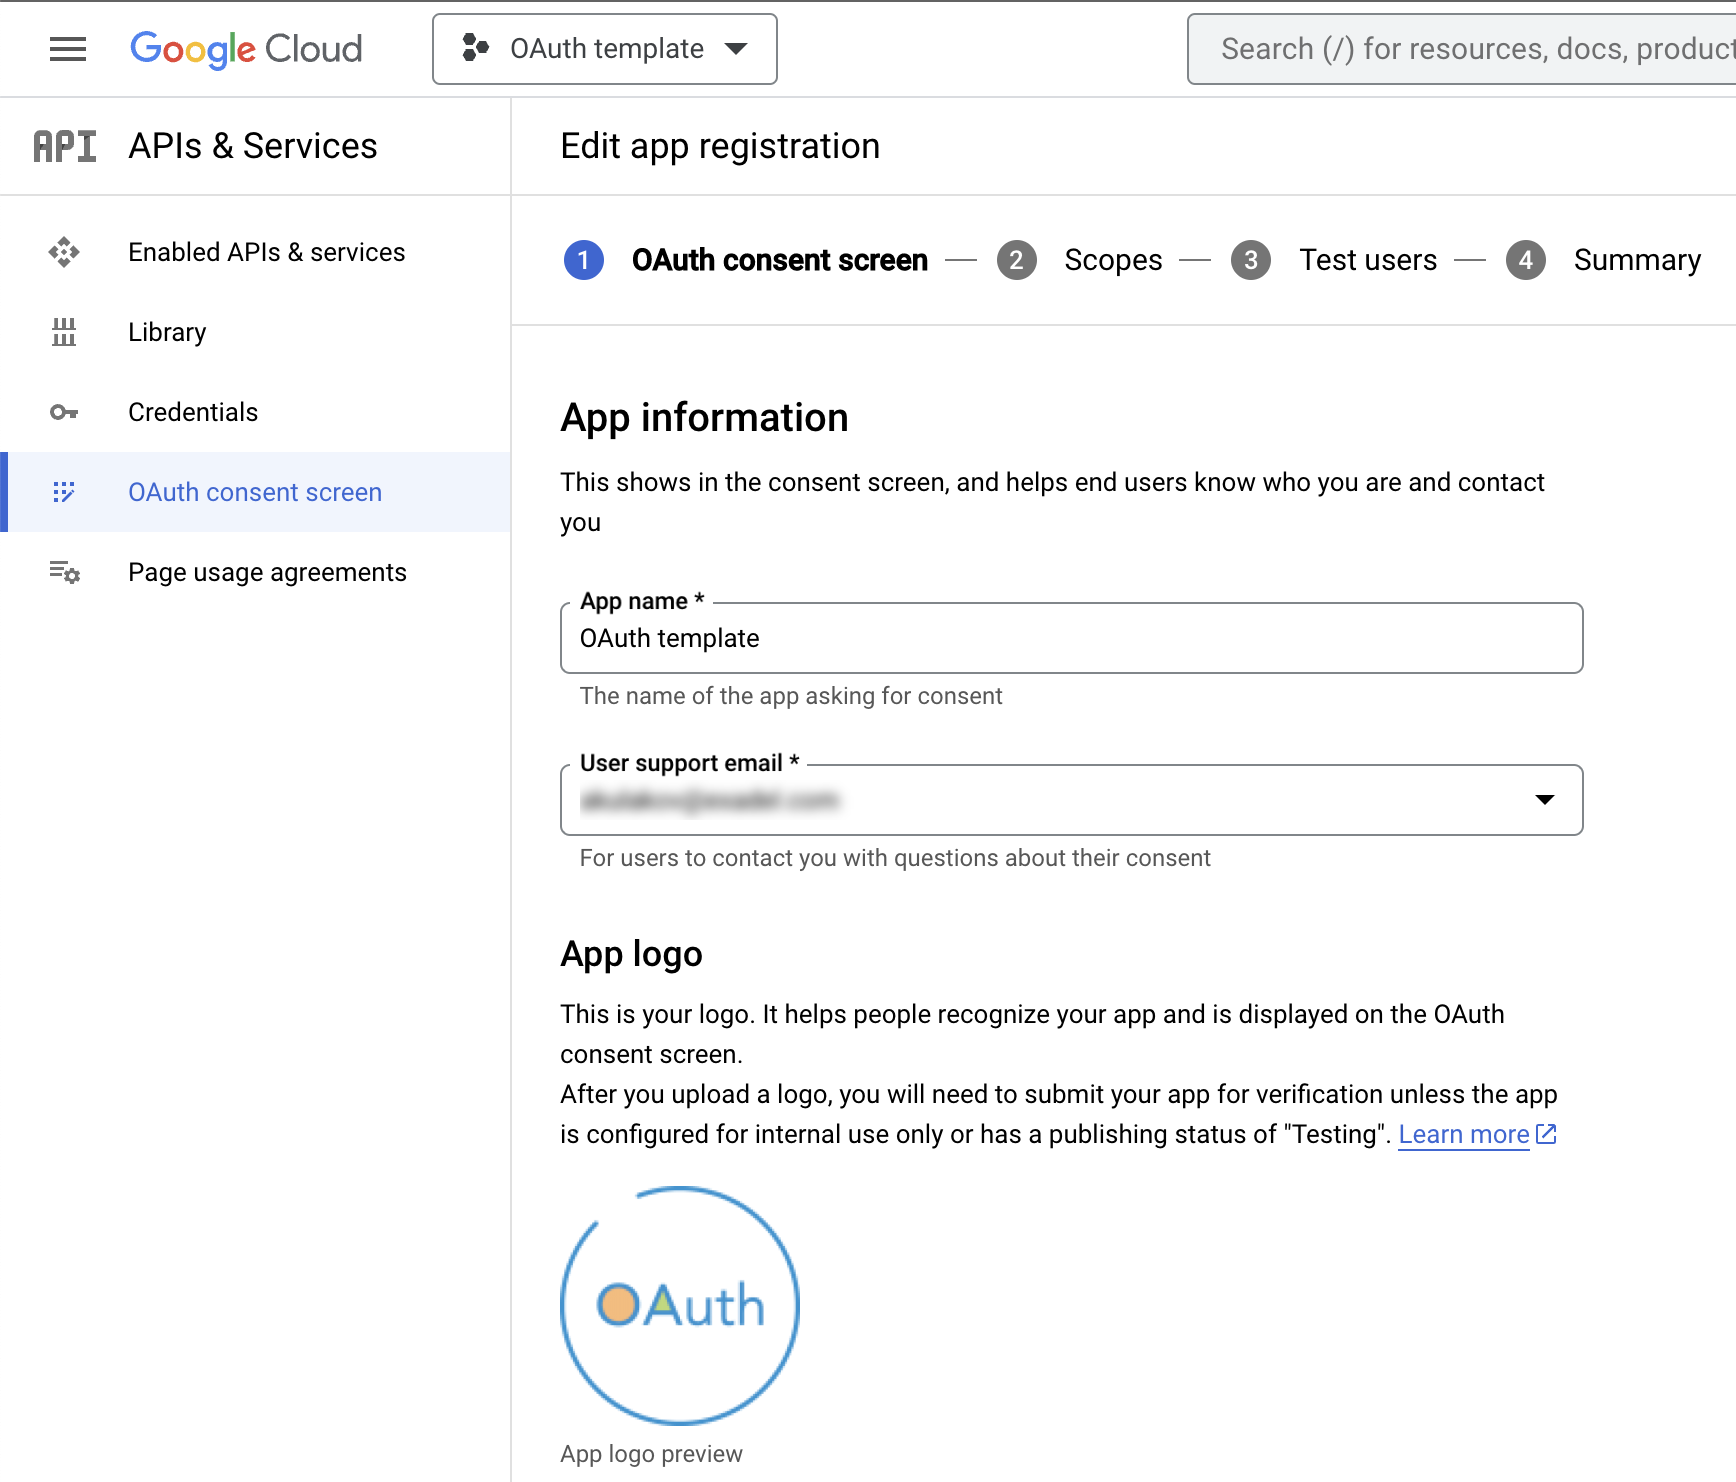
3.. Open OAuth consent screen and select External user type. Click on CREATE button.
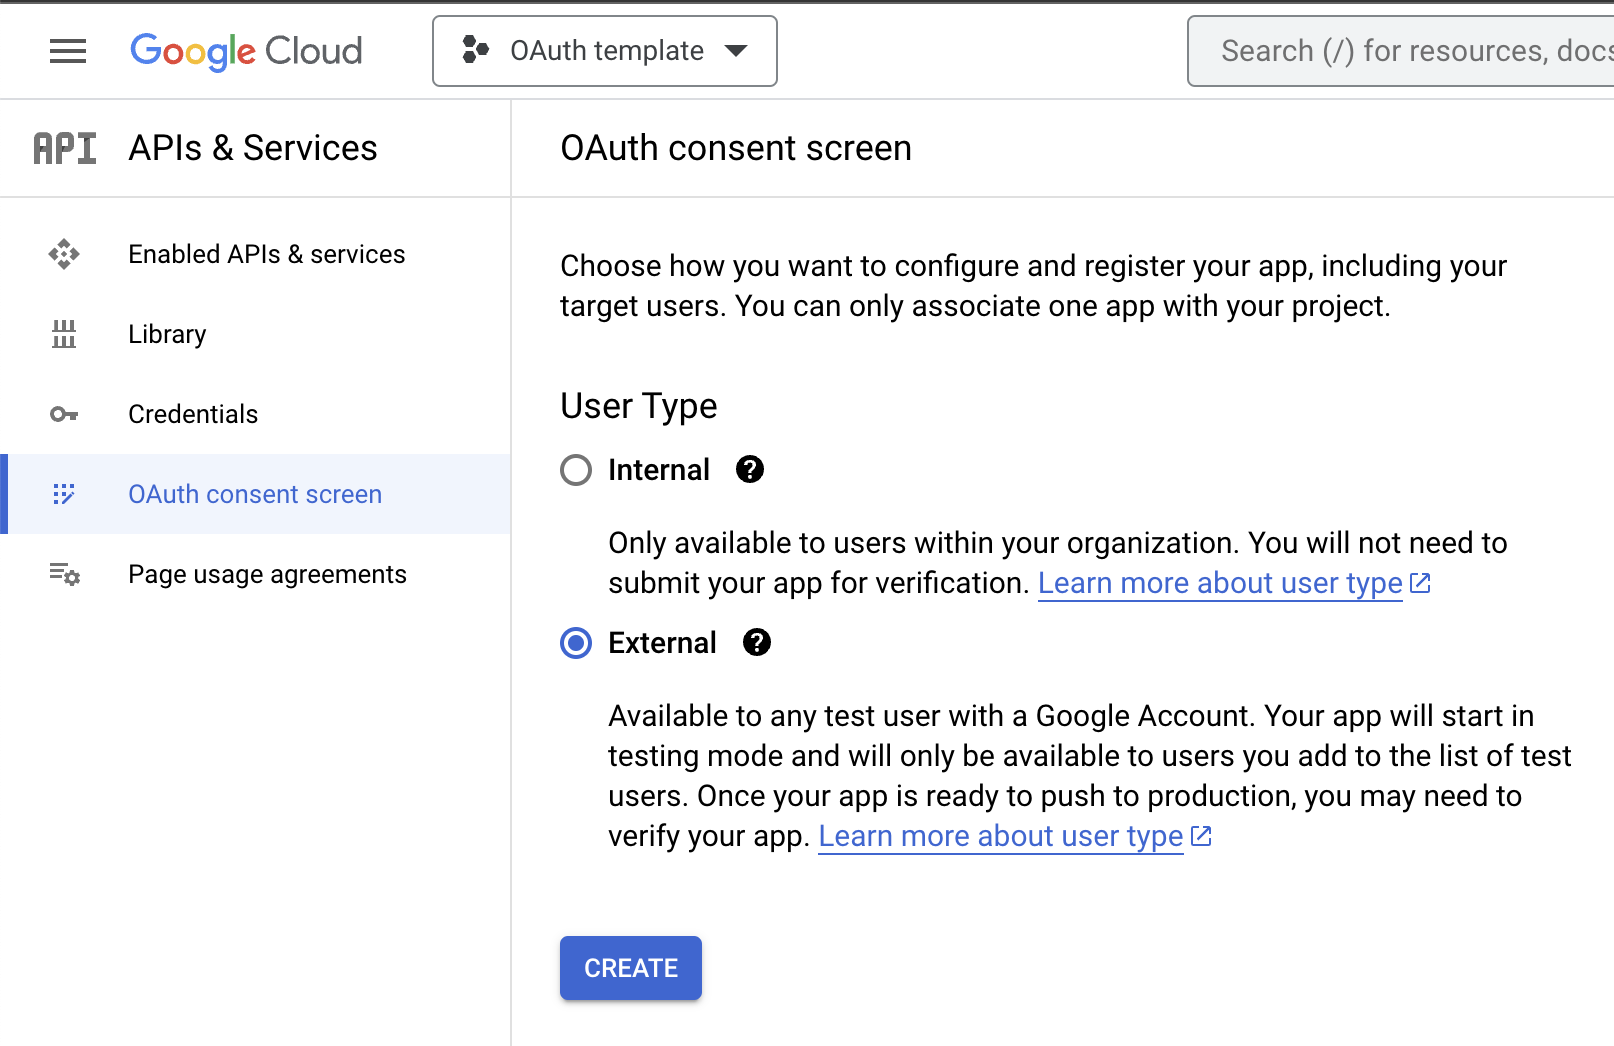
- In App information section specify the App name. Select from the list your email as User support email. Upload logo image for the OAuth consent screen.
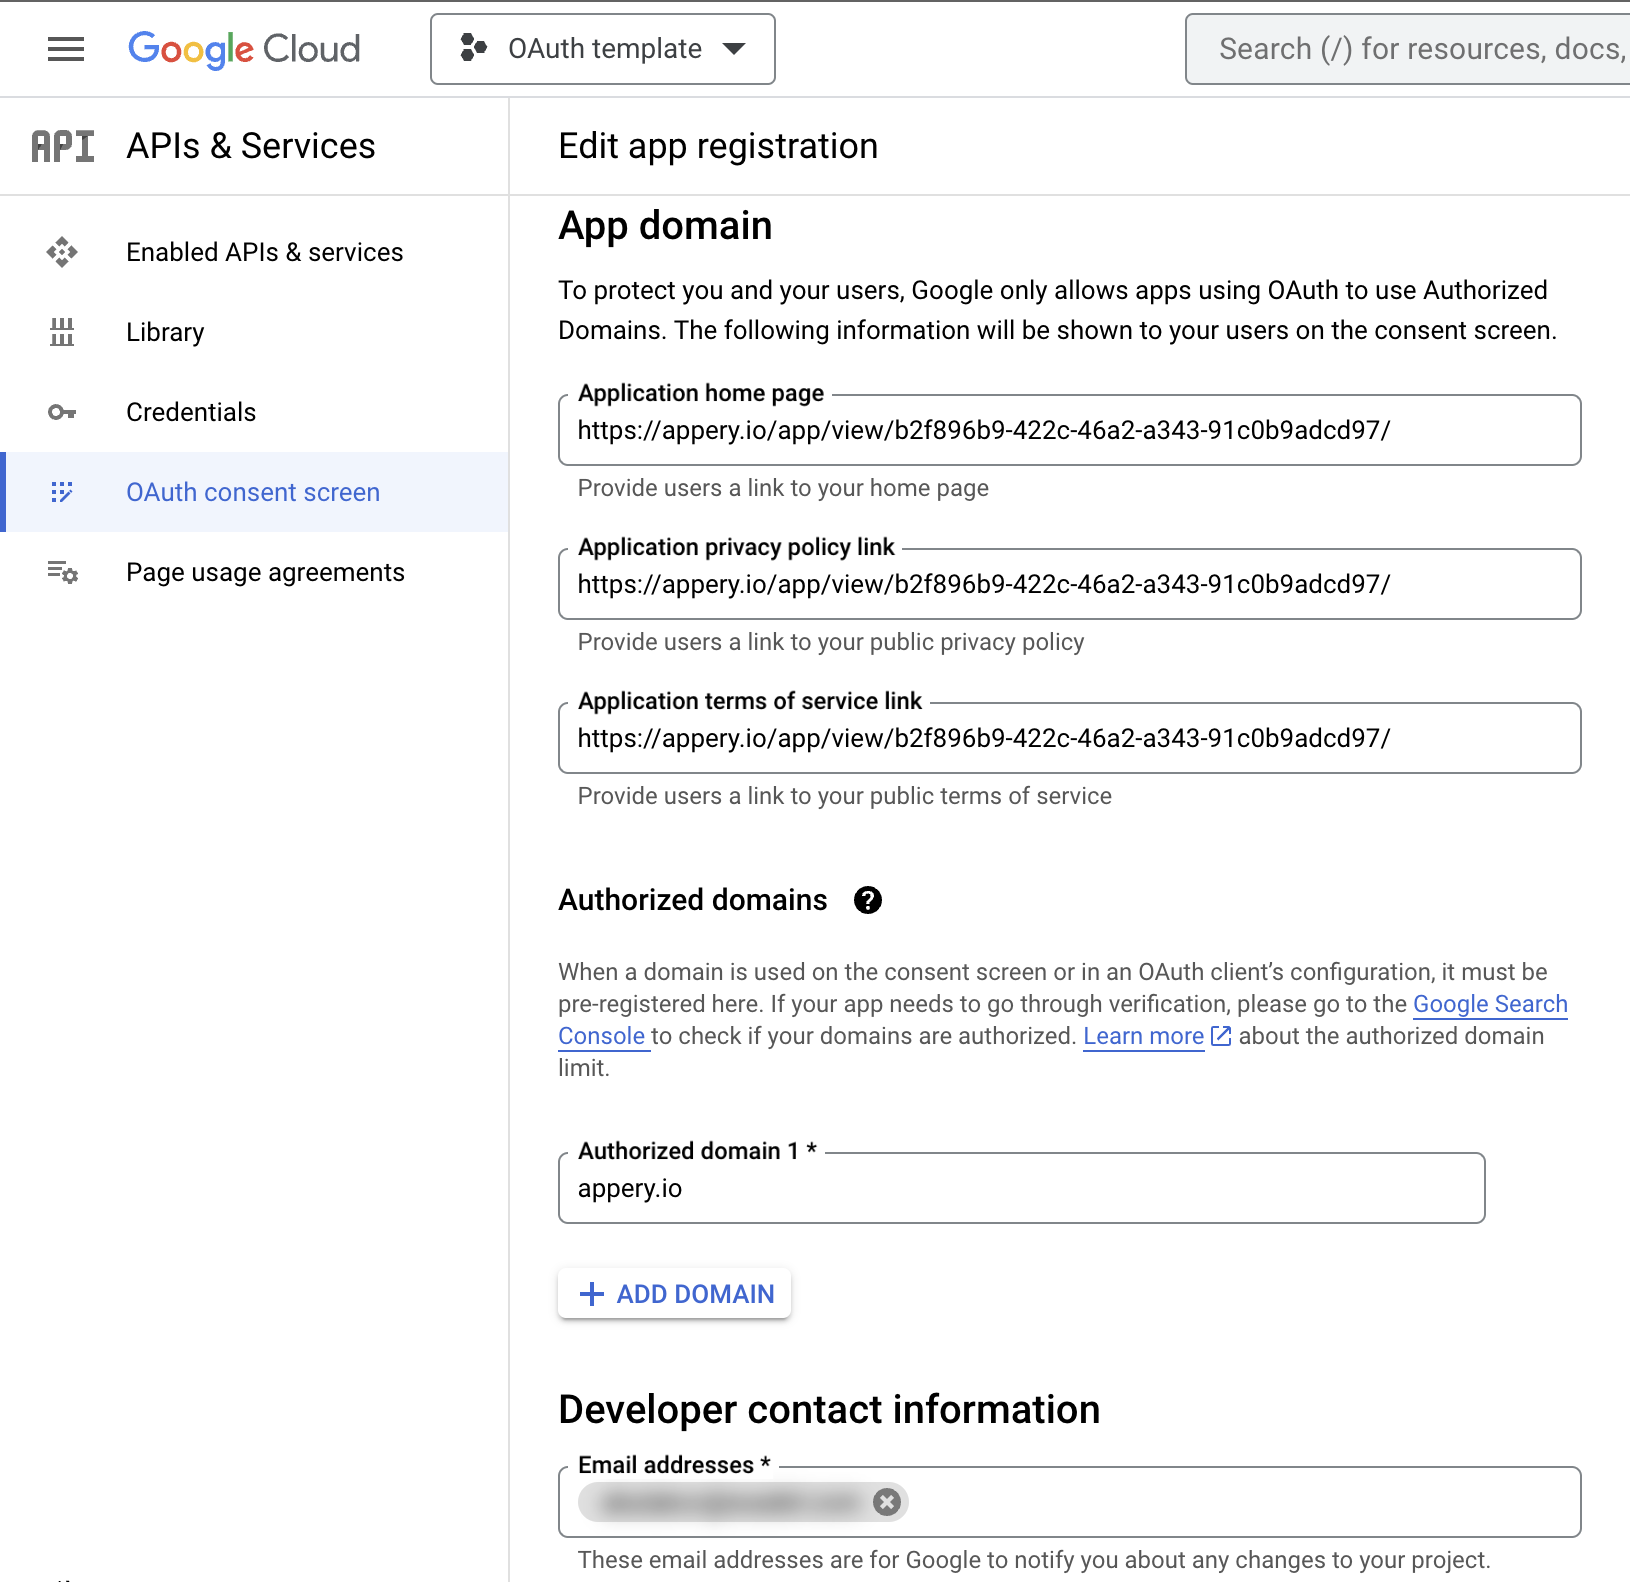
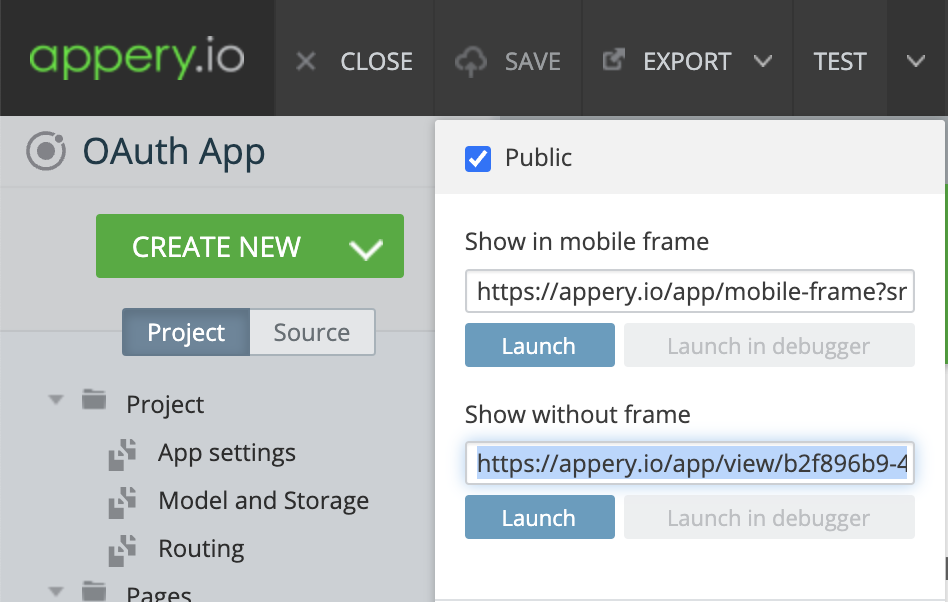
- Open your OAuth App Appery.io project in the new tab. Click on TEST button from the top toolbar and copy the URL from the Show without frame field.

- Go back to the OAuth consent screen in Google Cloud Console. And set copied URL to all fields of App domain section. Click on ADD DOMAIN button and set appery.io as a value. Add your email in Developer contact information section. Do not forget click on SAVE AND CONTINUE button.
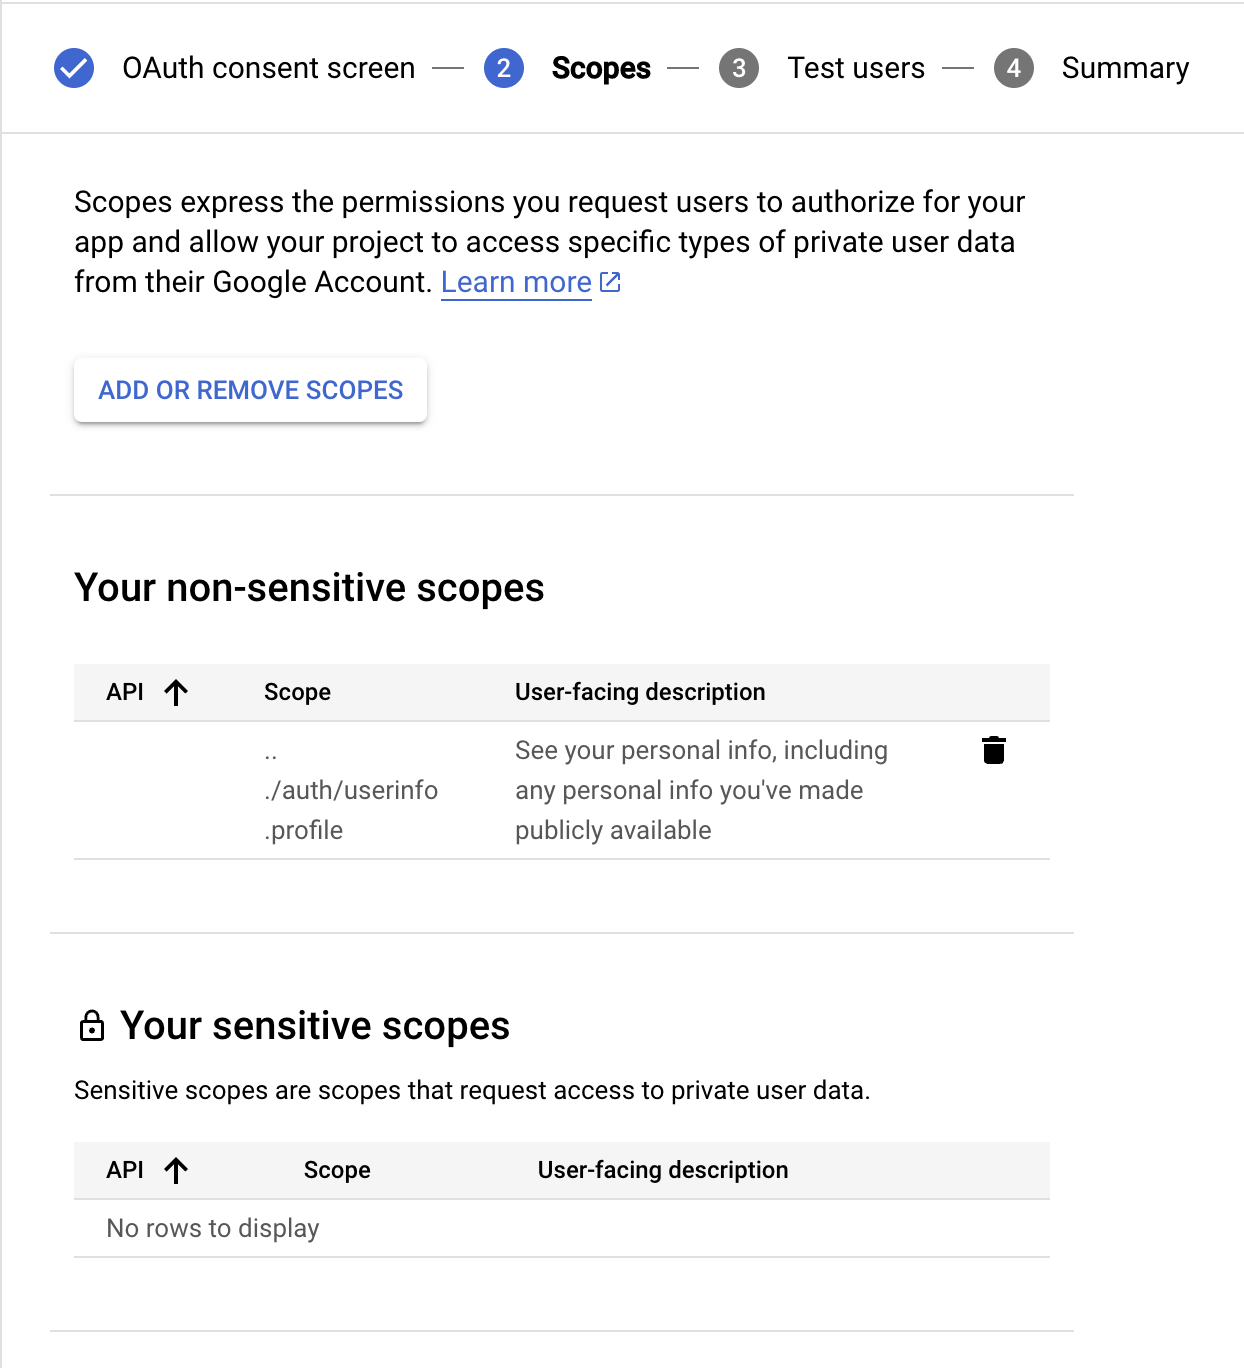
- Next in Scope section click on ADD OR REMOVE SCOPES. Select .../auth/userinfo.profile scope from the list and click on UPDATE button. Now scope is available in non-sensitive scopes section. Click on SAVE AND CONTINUE button.
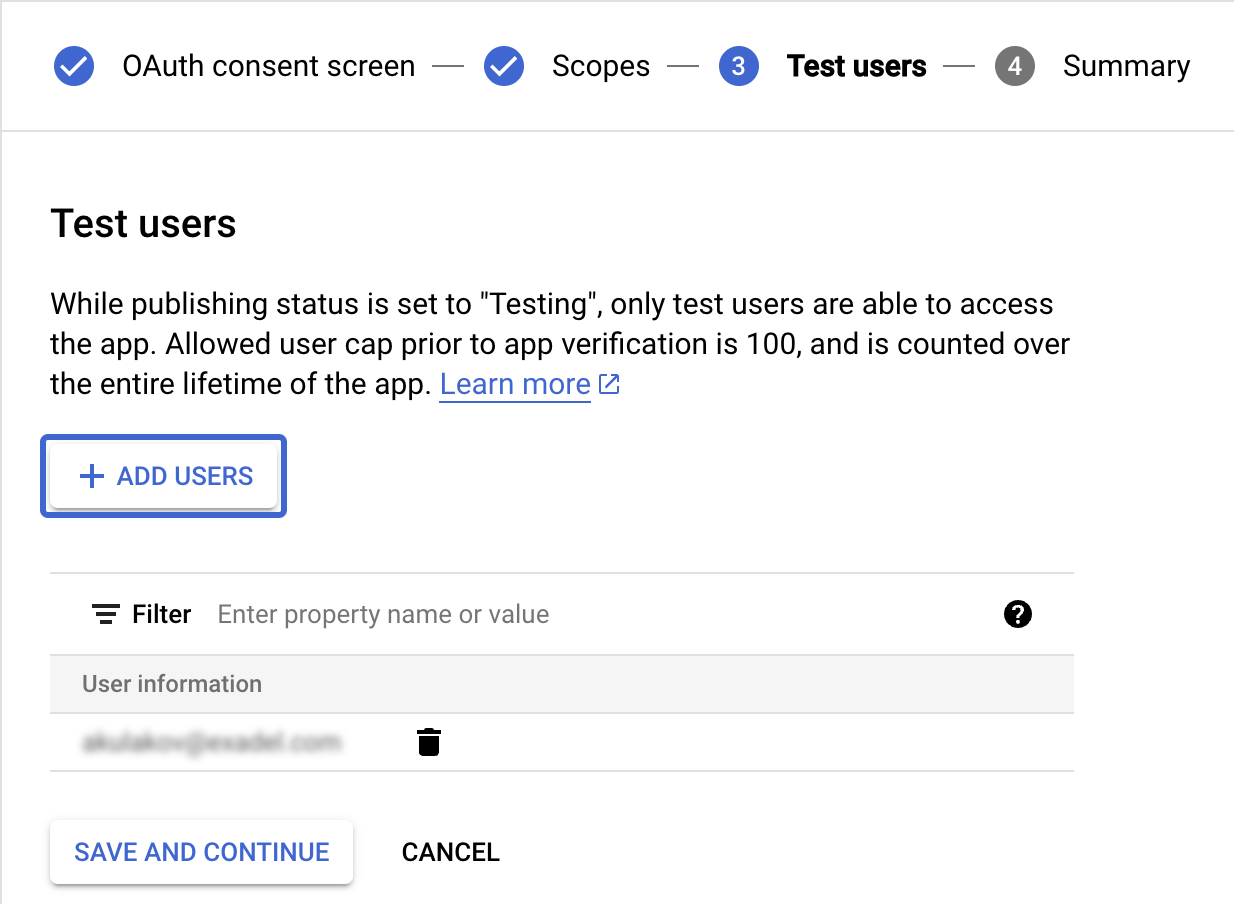
- In Test users section click on ADD USERS button and add your existing google email. Also do not forget click on SAVE AND CONTINUE button.
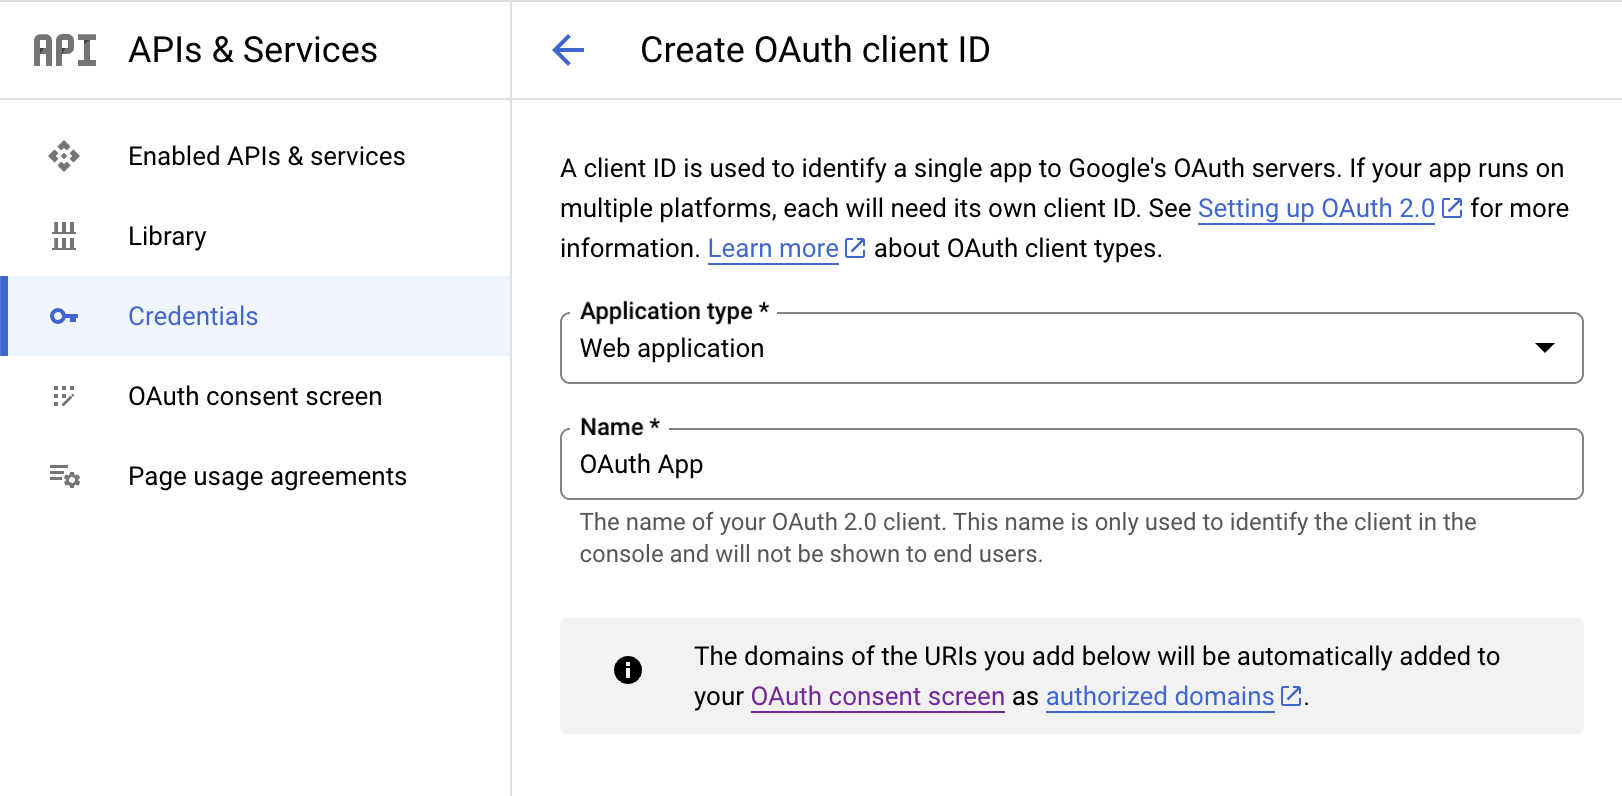
- Open Credentials option from the left menu. Next click on CREATE CREDENTIALS button and select OAuth client ID option from the list.

- Click on Application type dropdown and select Web application from the list. In the Name field type the name of your application.
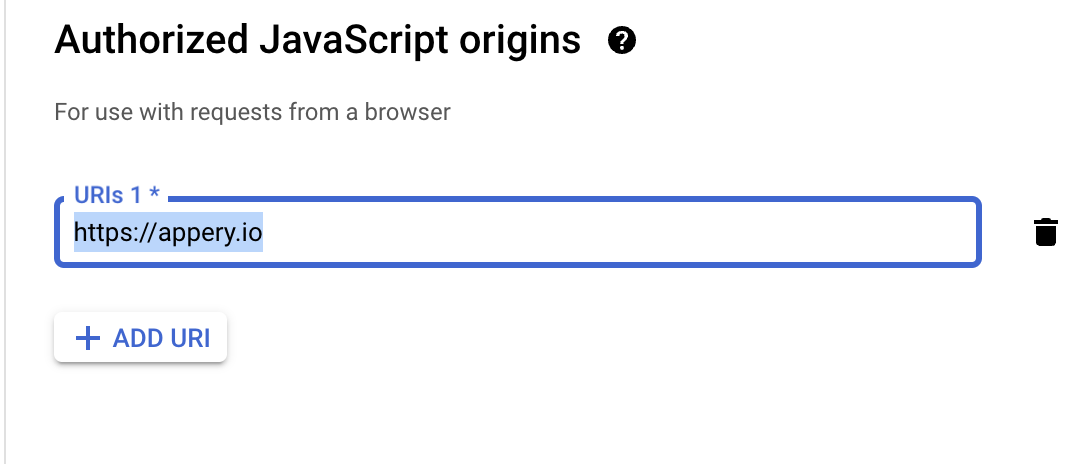
- Next click on ADD URI button in Authorized JavaScript origins section. Enter https://appery.io in the URIs field.
- Open your OAuth App Appery.io project again. And copy the URL from the Show without frame field.
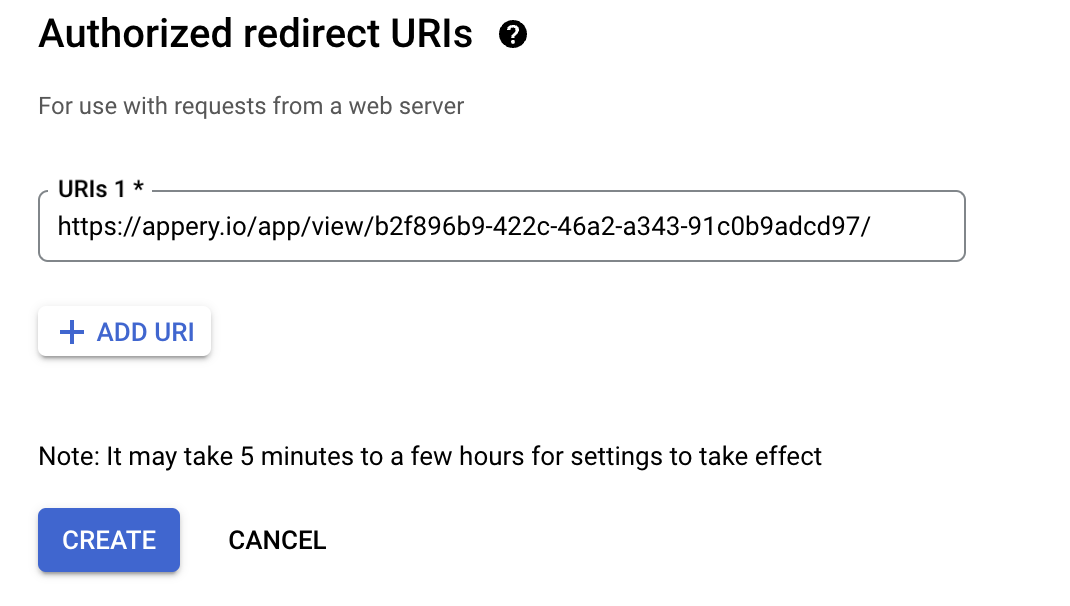
- Go back to the Credentials in Google Cloud Console. Click on ADD URI button in Authorized redirect URIs section. Paste the copied url to the URIs field. Click on CREATE button.
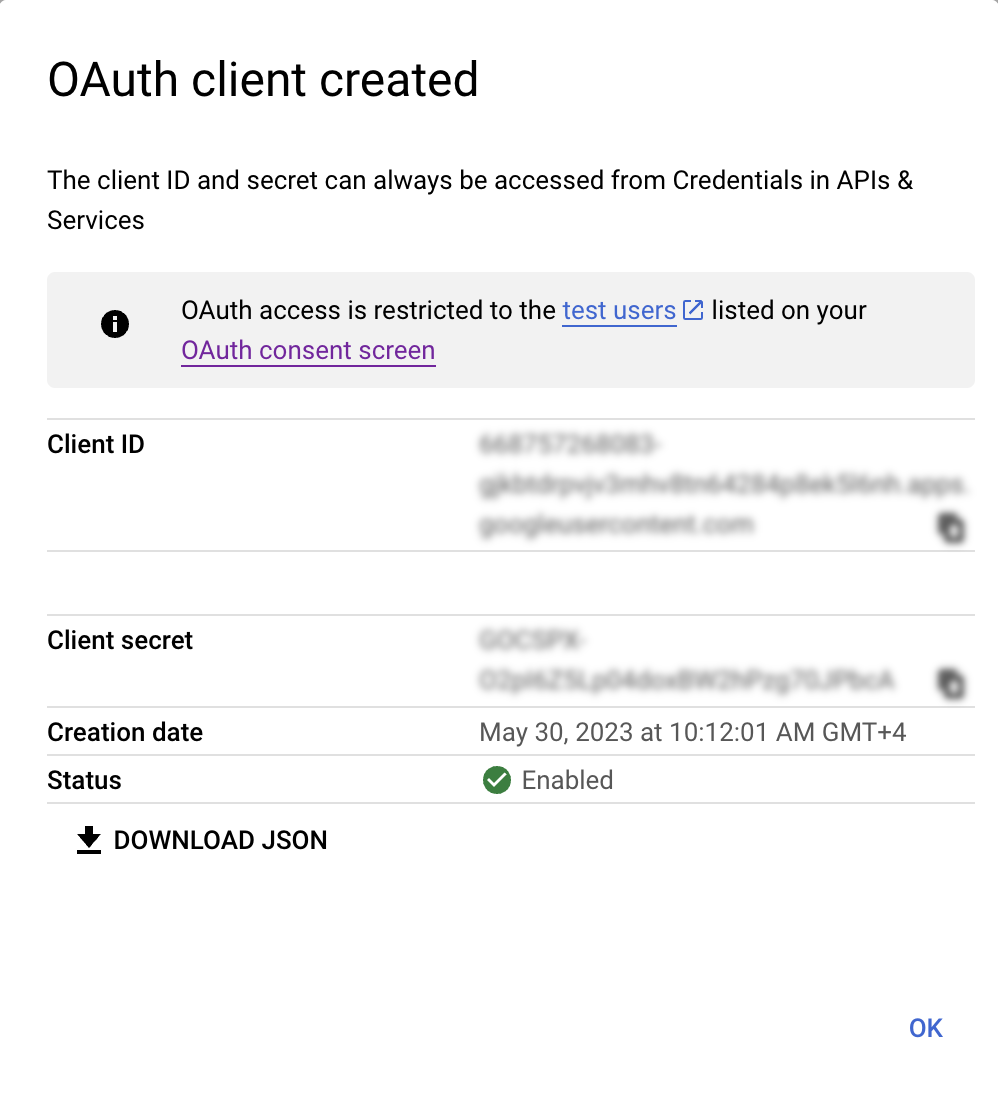
- Now you can see the details of the created credentials. Copy Client ID it will be required to setup OAuth template.
Set up Google OAuth in Template
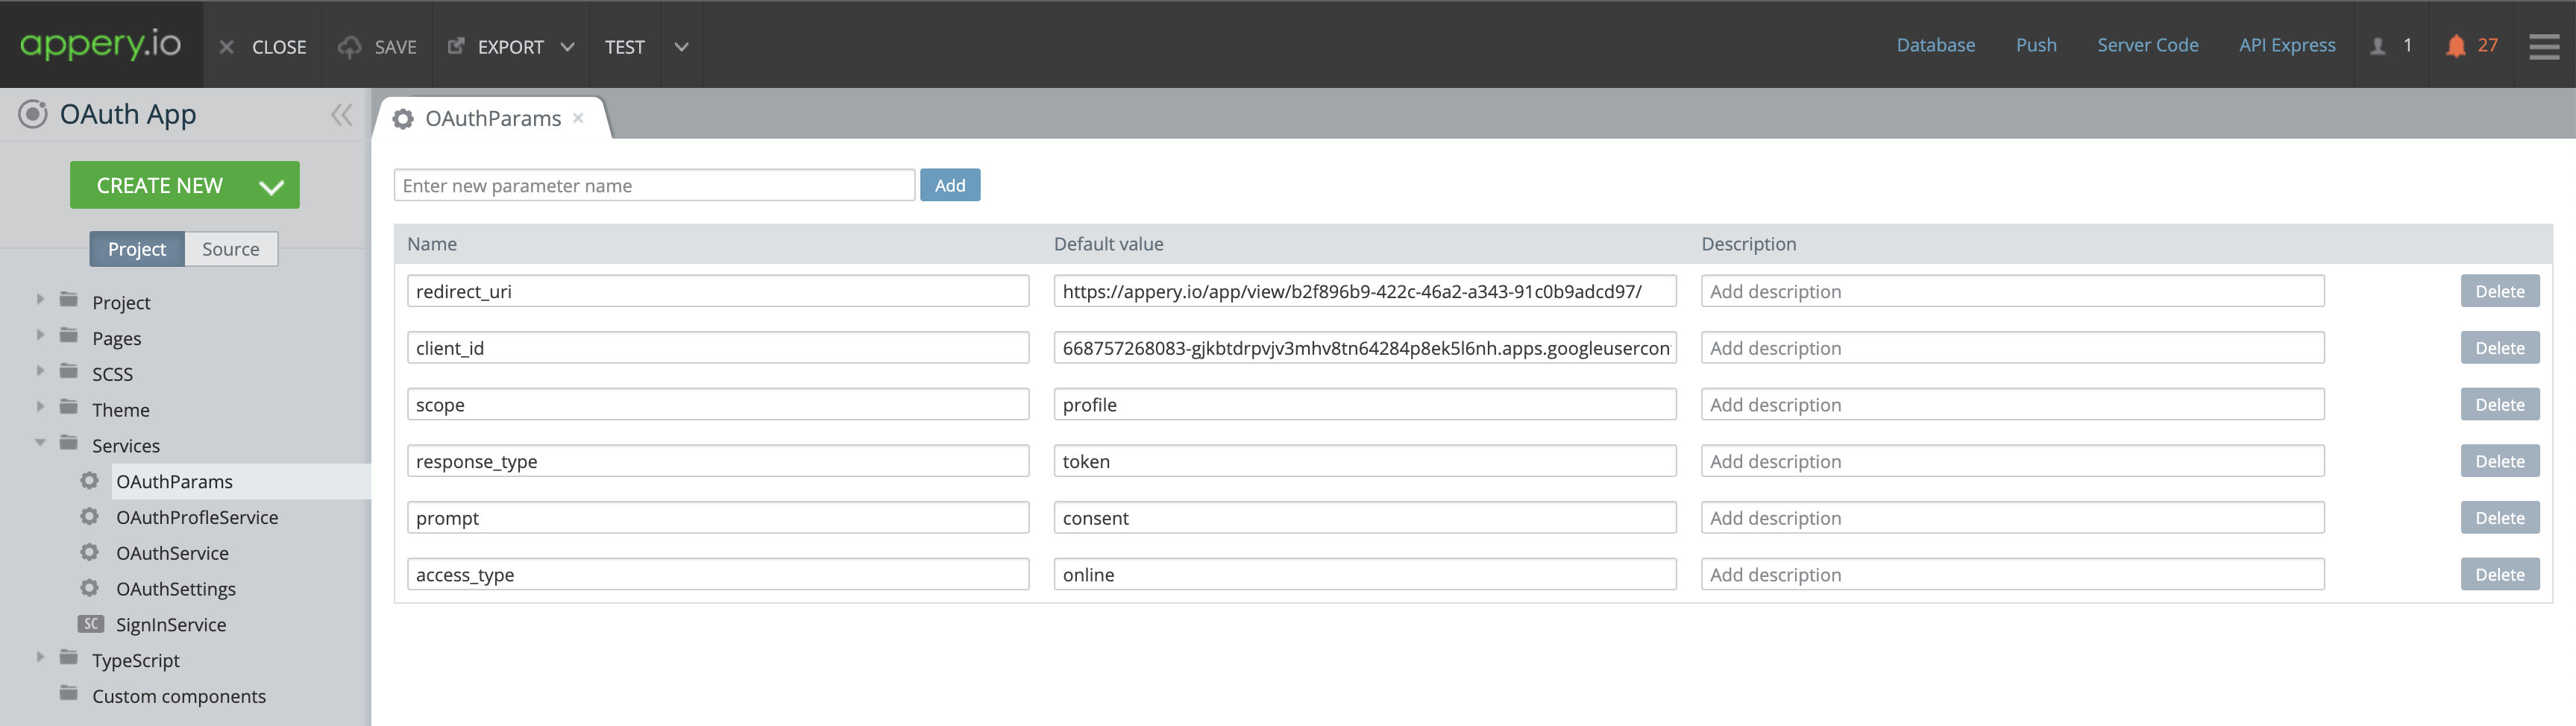
- Open Services->OAuthParams. Enter copied Client ID in the client_id field. Also, copy again the URL from Show without frame field as we did before. Paste the URL into the redirect_uri field. Save the project.
App Testing in Web
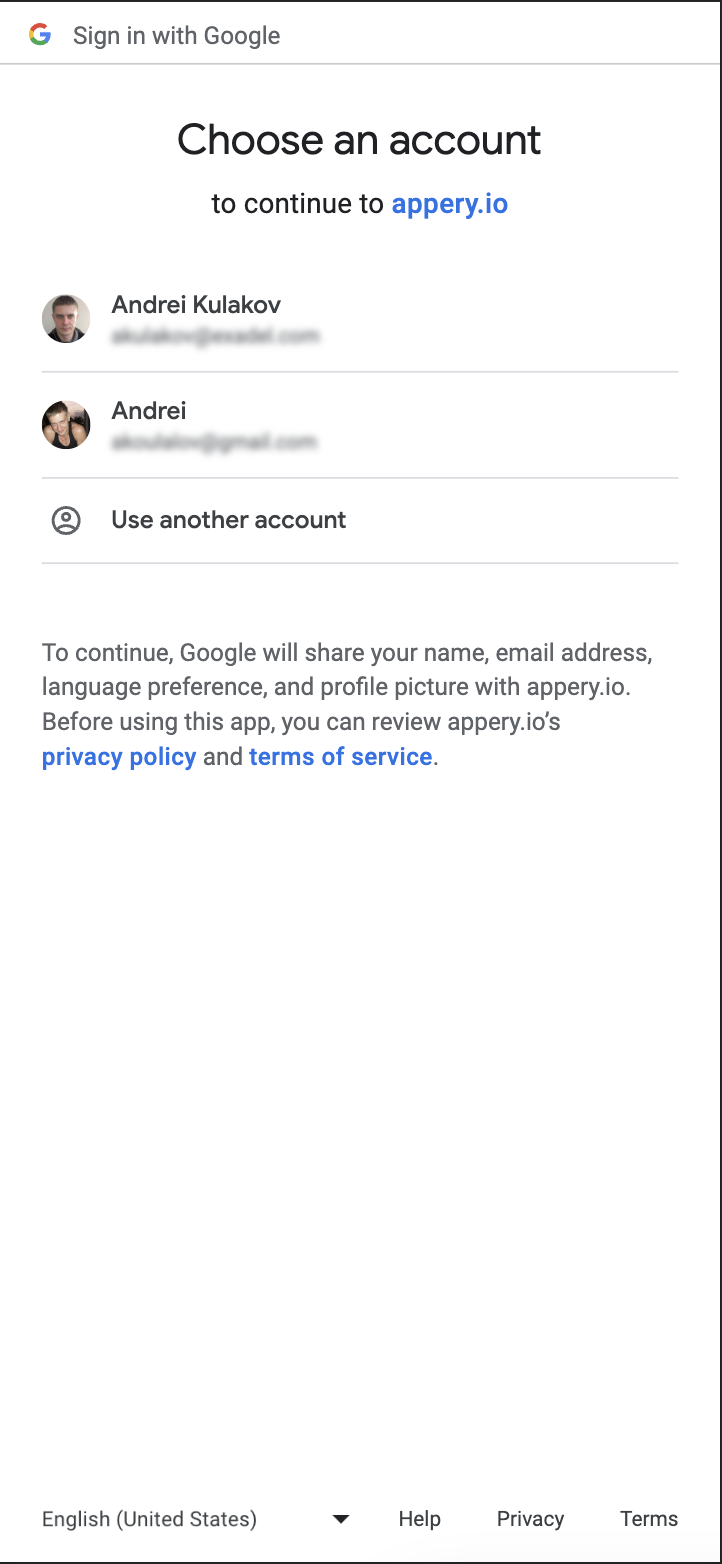
Testing the app is fast and simple. All you need to do is simply click the TEST button in the top App BuilderToolbar and click on Launch button in the Show without frame section.

App Testing on Device
To test the app, use appery.io export capabilities. Select if you want to build (.apk / .aab for Android or .ipa for iOS) install it on your device or use our Appery.io Tester app for quick testing.
App ExportYou can check below for how to export your app:
- for Android: (https://docs.appery.io/docs/appexport-android)
- for iOS: (https://docs.appery.io/docs/appexport-ios)
Appery.io Tester AppA great option to quickly test the app on the device is to use our Appery.io Tester app.
The app is free and available for both iOS and Android.
You can check out this page to learn more about using the Appery.io Tester app.

Updated about 1 year ago