Ionic Property: Validation
How to set up the Validation property for your mobile app
Introduction
Validation works with several specific Ionic UI components, including:
Important!You can enable and disable validation only when components become Form Controls, meaning they must be included within a Form component.
Input Validation Sample
This validation example uses Input components defined for the sample Ionic Login app. However, any other component listed above will have this property by default when included in a Form.
For validation to work properly, you need to define it for the components involved. In this case, we'll use input components and make some changes to the login flow defined for the sample app:
-
Start by opening the DESIGN panel of the app's loginPage and expand the EVENTS tab at the bottom.
-
Define the first Input component added to the Form as follows:
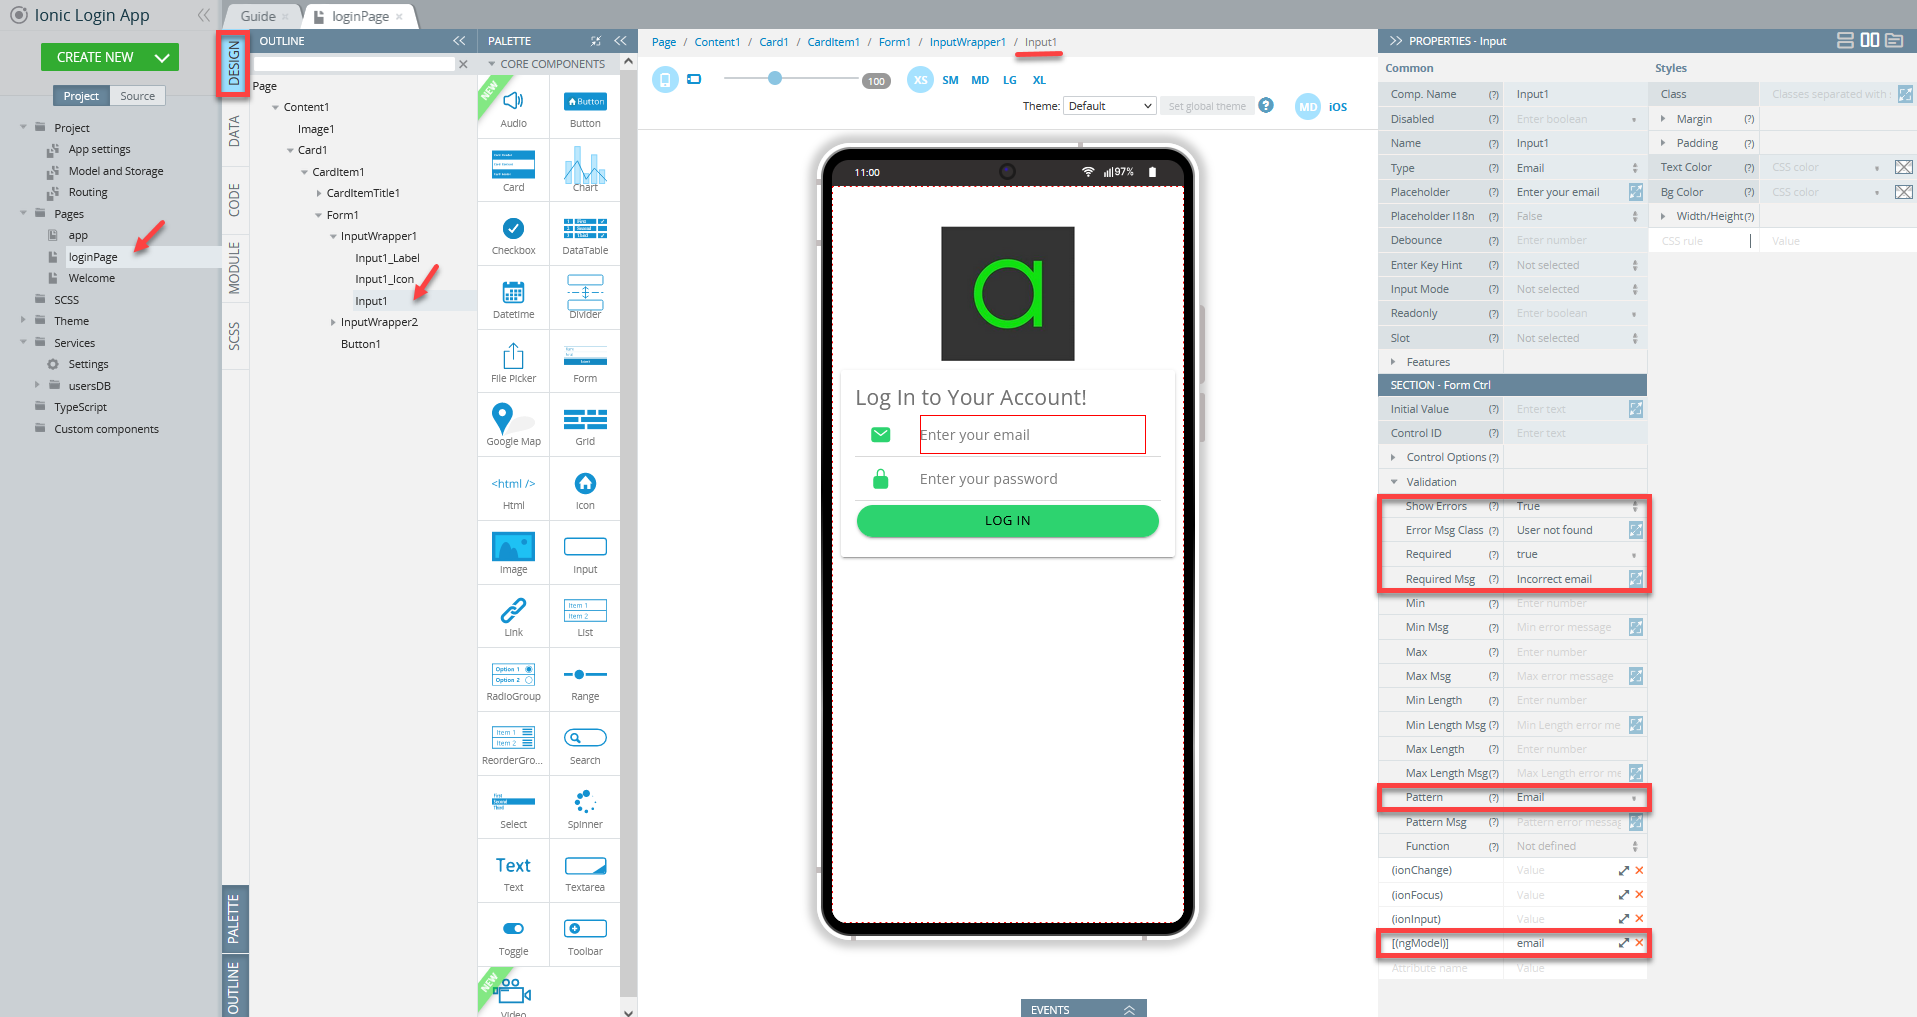
Tip!If you expand the Menu folder and select any file from the OUTLINE list, that particular component will be selected and its properties list will appear in the PROPERTIES view on the right. It will also be selected in the breadcrumbs chain at the top of the mobile frame, allowing you to see its nesting and easily switch between other related page components.
- Proceed to the second input and define its validation rules:

-
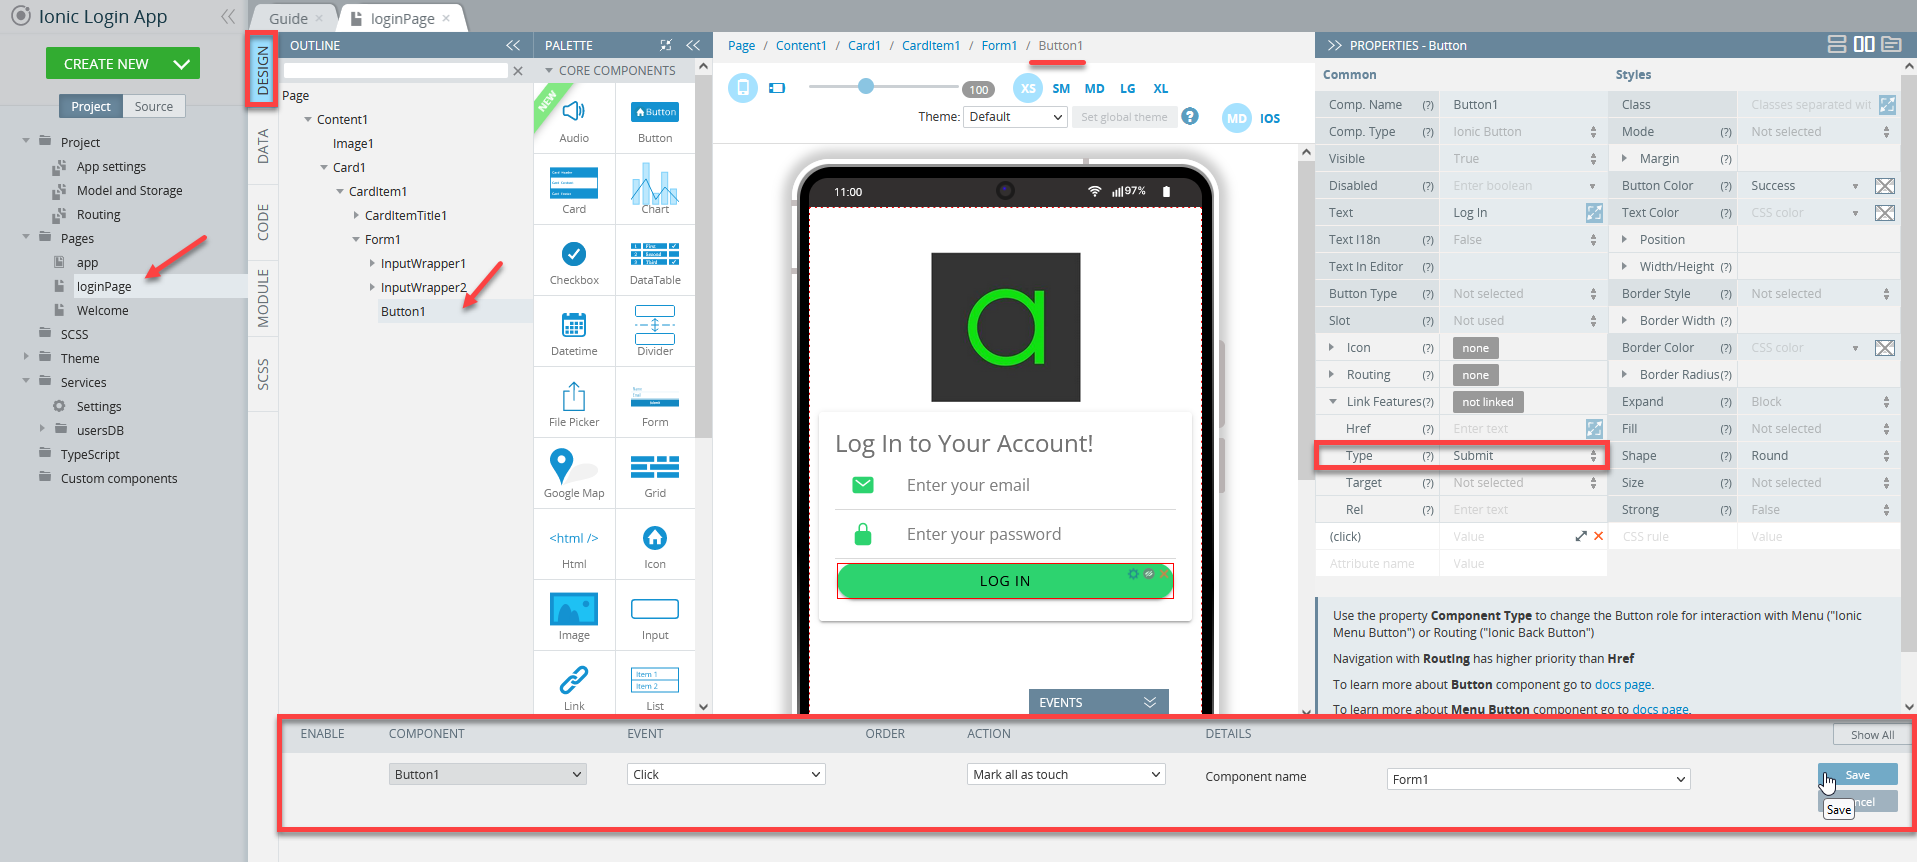
Make sure to define the Mark all as touched action for the Button component as well. This action ensures that the required credentials are provided before validation can take place.
-
Also ensure the button is placed inside the form and its Type property is set to Submit under Link Features:
Note!Different UI components may have different sets of validation properties.
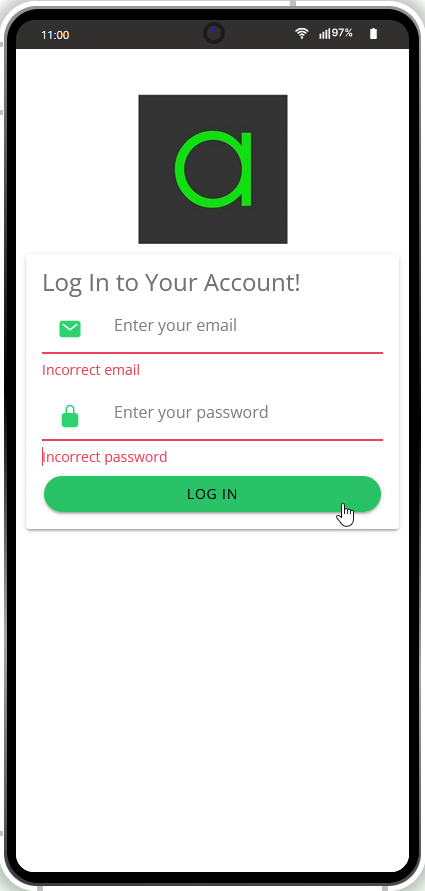
- That's it! You can now save your work and click the TEST button in the App Builder Toolbar to run the app in preview and test how validation works for the login input procedure with the added Mark all as touched action:
Datetime Validation Customization Video TutorialYou can also check this YouTube video to to learn how to how to use the plugin, make date fields required and ensure user input, and see how the Validation component works within the Form container for reliable datetime checks:
Updated 9 months ago