Appery.io Screen Layouts
Adding a predefined screen layout saves your development time: the app page(s) will instantly get the needed UI.
Introduction
Appery.io Screen Layouts are ready-to-go-with pages (some are also provided with the integrated services) that are available to all Appery.io users in the screen layout selector window accessed from under the CREATE NEW > Page dialog and can be further customized according to your personal preferences.
Adding Screen Layouts
To create a new Ionic app page (CREATE NEW > Page) with the predefined UI, select the needed layout from the list of out-of-the-box Appery.io screen layouts, name your page and decide if you need to define your routing now (this can also be done later).
Now, confirm your choice by clicking Create Page:
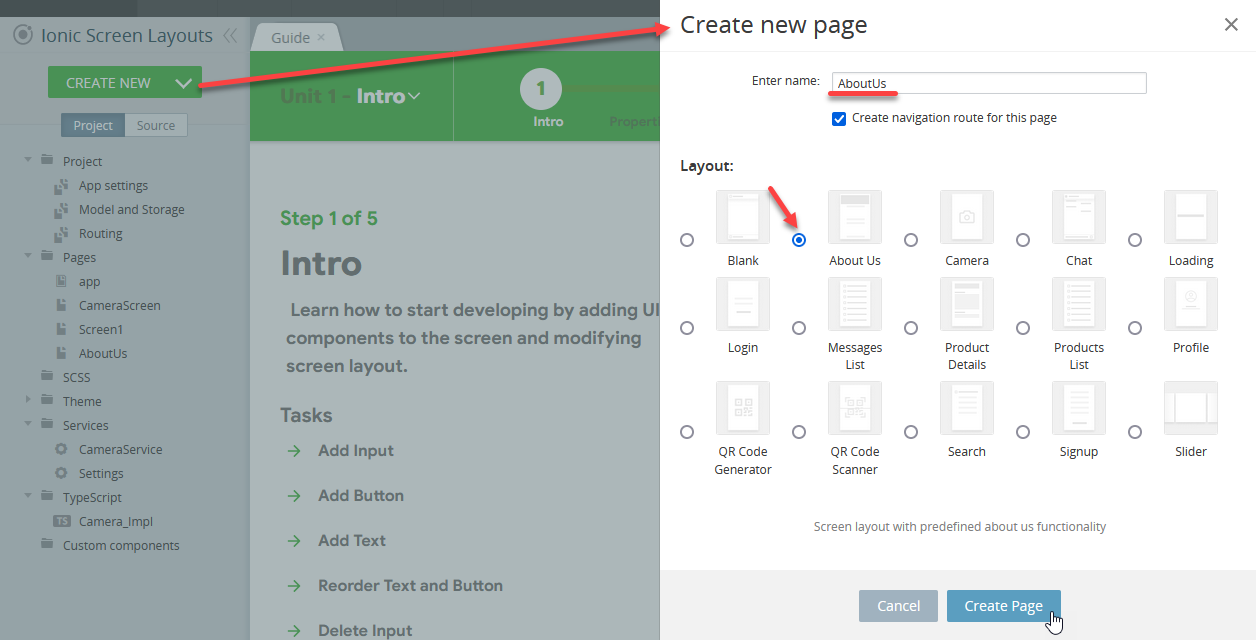
As many screen layouts as needed can be added to the app.
Screen Layouts Video TutorialYou can check this Appery.io YouTube Education Guide video to learn how to create your own About us page using the predefined Screen Layouts from Appery.io and customize it:
Available Screen Layouts
Currently, the following screen layouts can be added to your app(s):
About Us
Select to add the screen layout with the predefined About Us page:
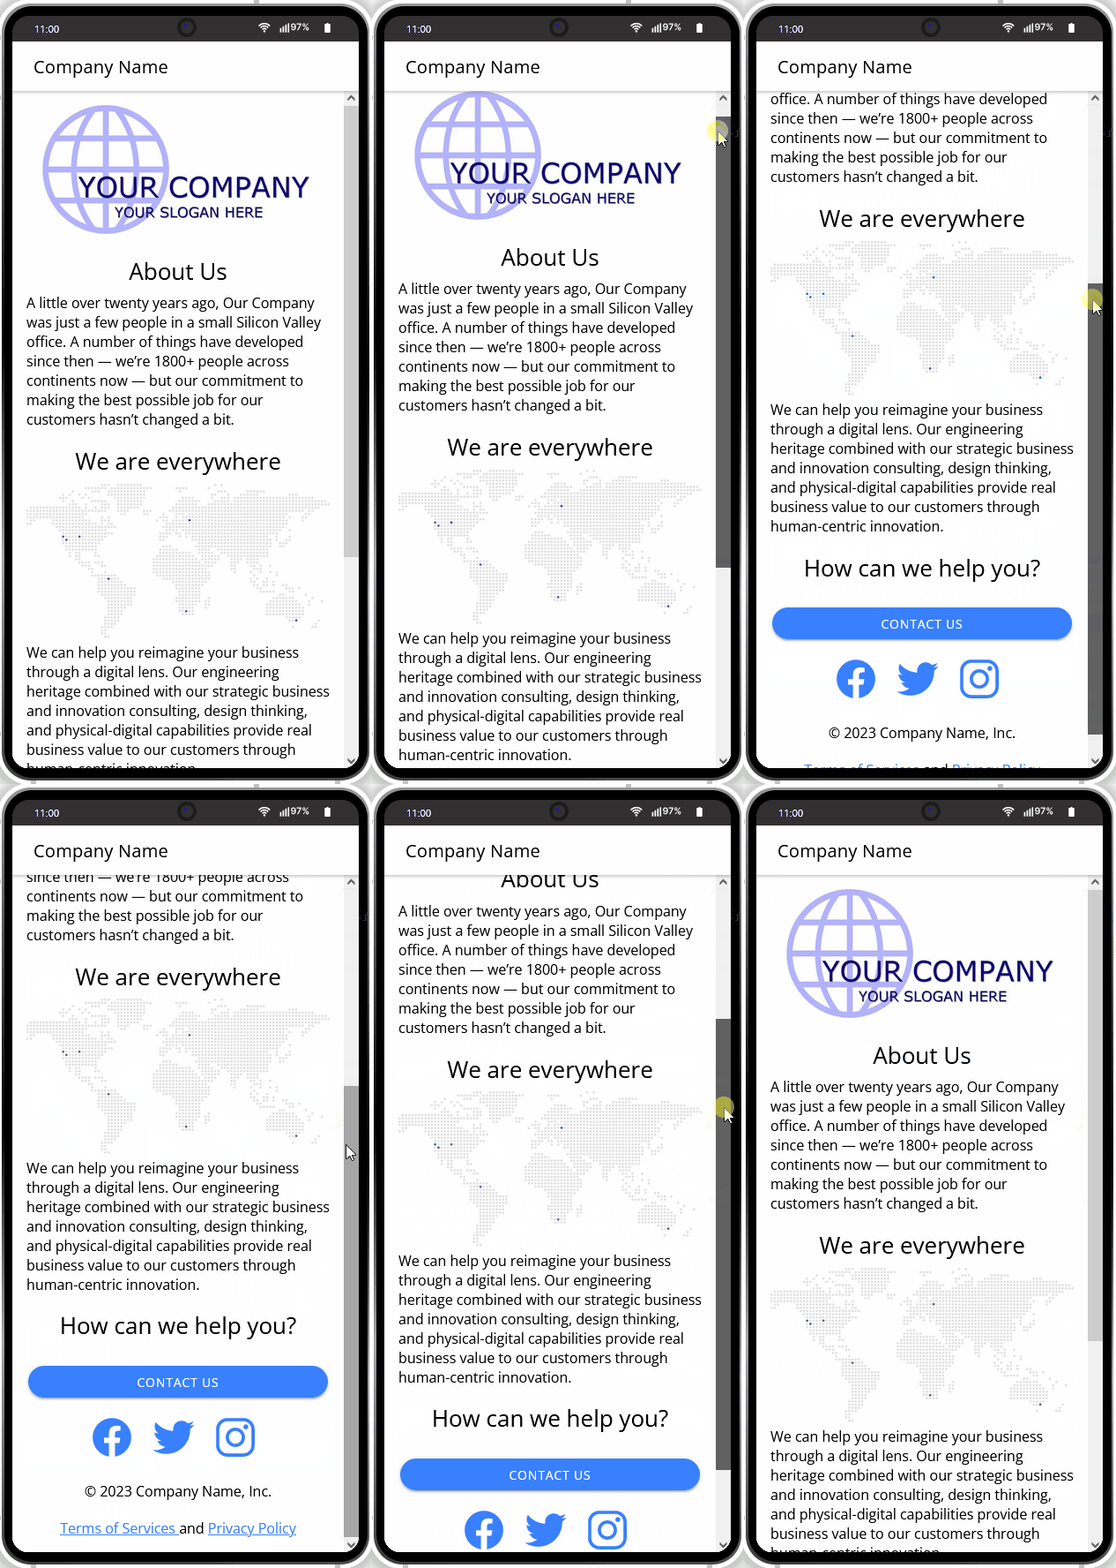
Note!If you are adding the layout to your app that already has some pages and would like to test how the added page(s) look(s) like, make sure to indicate the correct routing path under Project >Routing, then save and click TEST:

Camera
Screen layout with predefined camera functionality that includes the dedicated CameraScreen page and CameraService with the added Camera_Impl script;
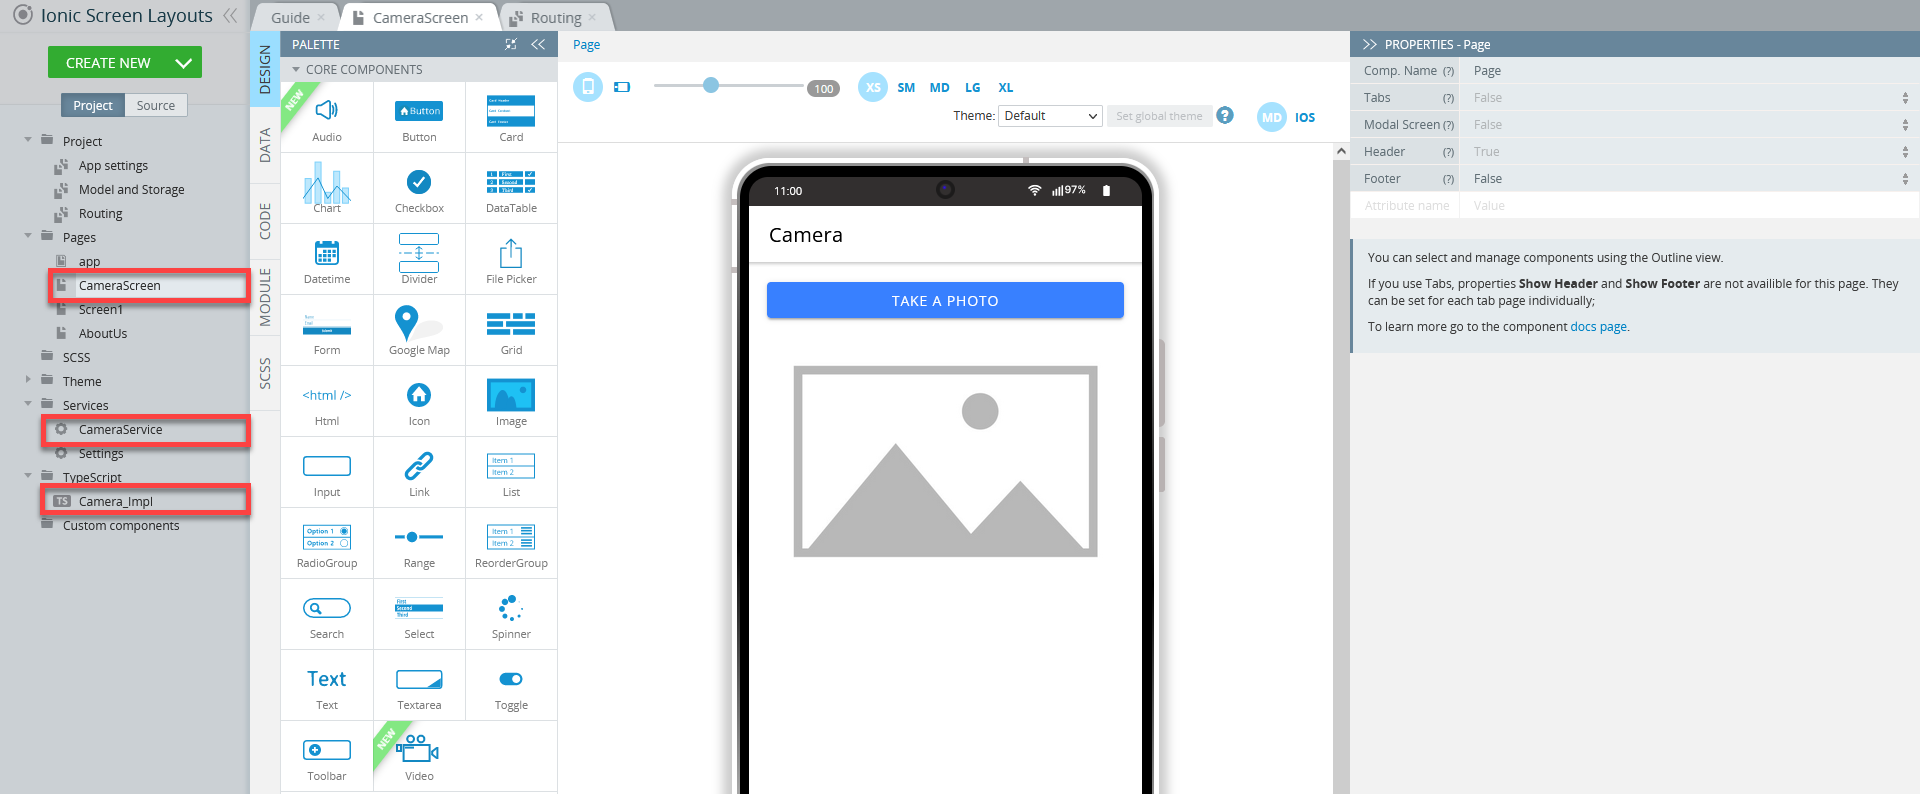
Note!To use the Cordova camera service, you need to run the app on the device.
To review how it works on the device you can select whether you would like to use our Appery.ioTester app or proceed with exporting your app for Android or iOS with further installing it on a device.
Appery.io Tester AppA great option to quickly test the app on the device is to use our Appery.io Tester app.
The app is free and available for both iOS and Android.
You can check out this page to learn more about using the Appery.io Tester app.
Chat
Add this screen layout to get the preset chat functionality to your app:
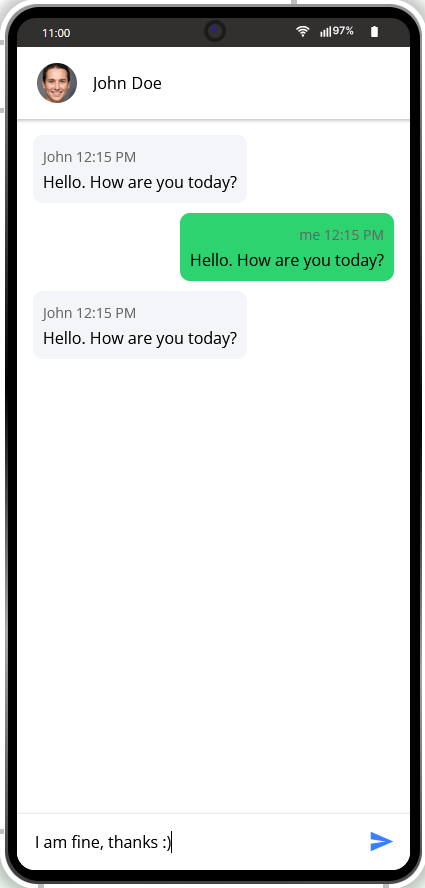
Contacts
Do you need to integrate the Contacts service based on the Cordova API? Check this document that explains in detail how to build an app with this service embedded.
Contacts Video TutorialYou can also check this YouTube video to learn how to make you Ionic app access the list of contacts of your device:
GPT-4o
Screen layout with GPT-4o functionality:
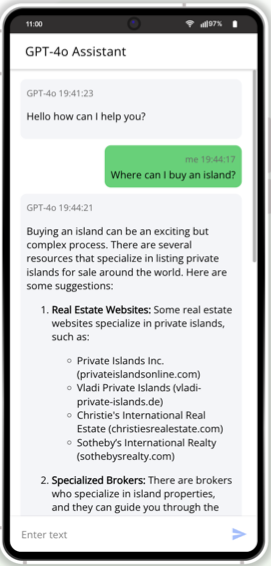
Video: How to Create Mobile Apps with Superior Business Logic by Integrating GPT-4o Technology. Part IIf interested, you can also check out this video to learn how to create mobile apps with ChatGPT-4o screen layout using Appery.io:
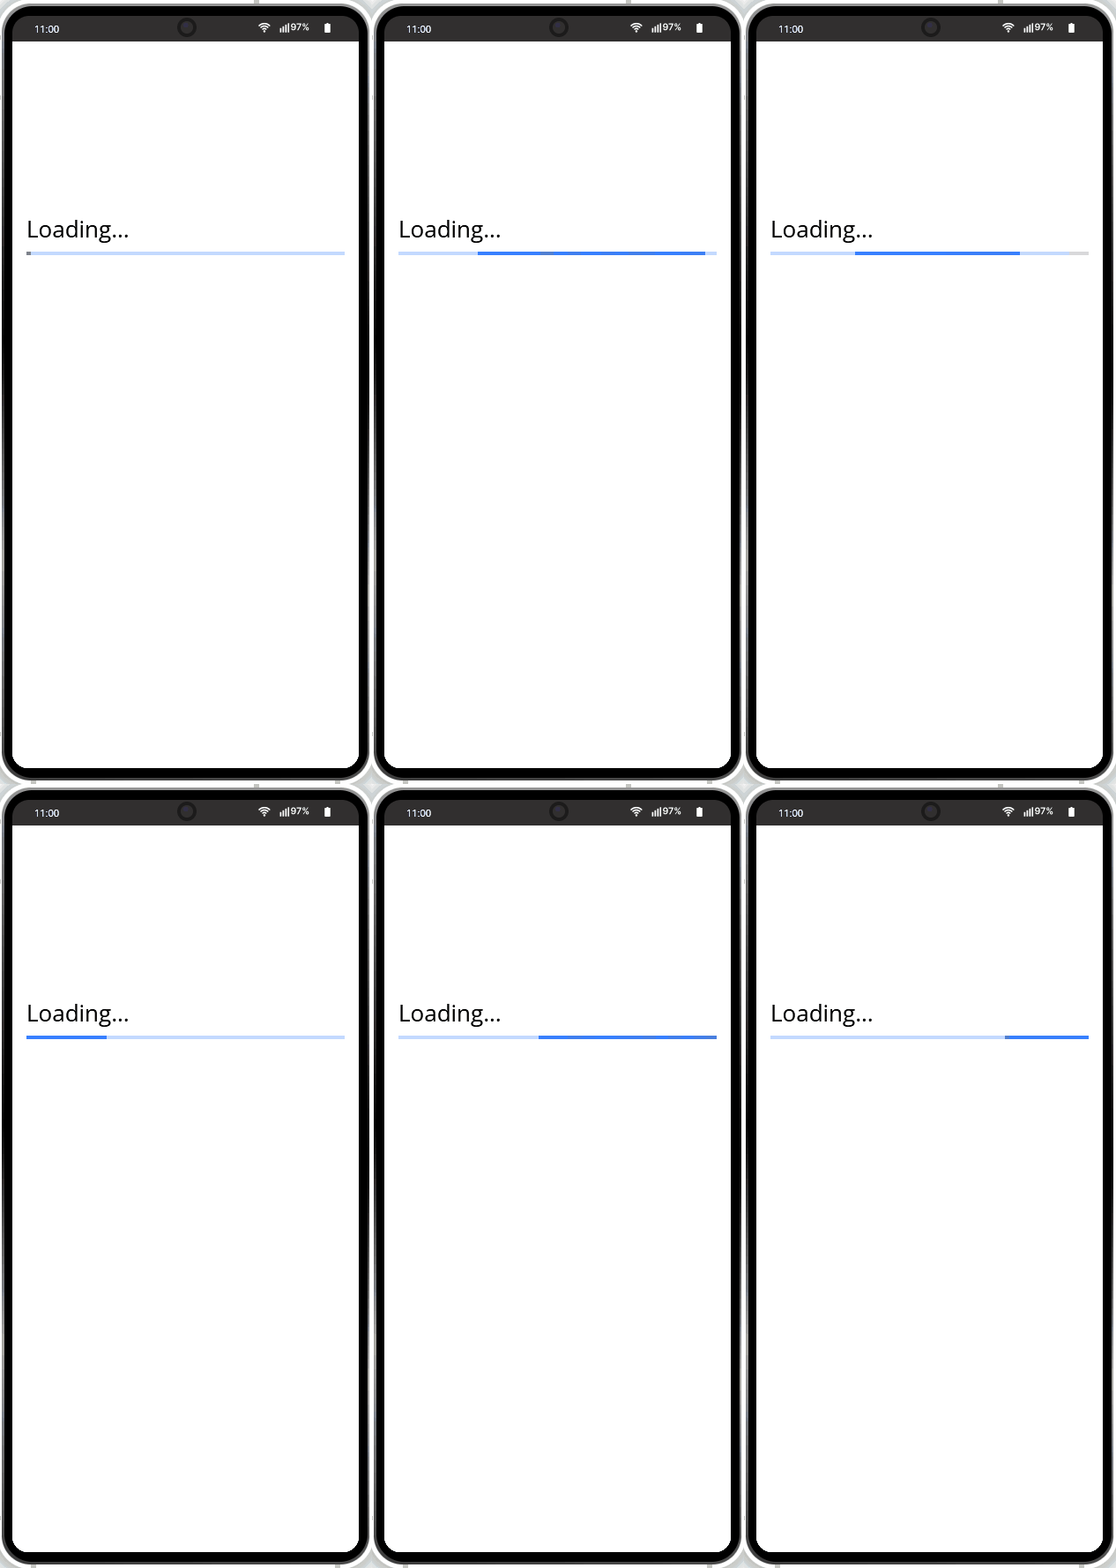
Loading
Screen layout with loading functionality:
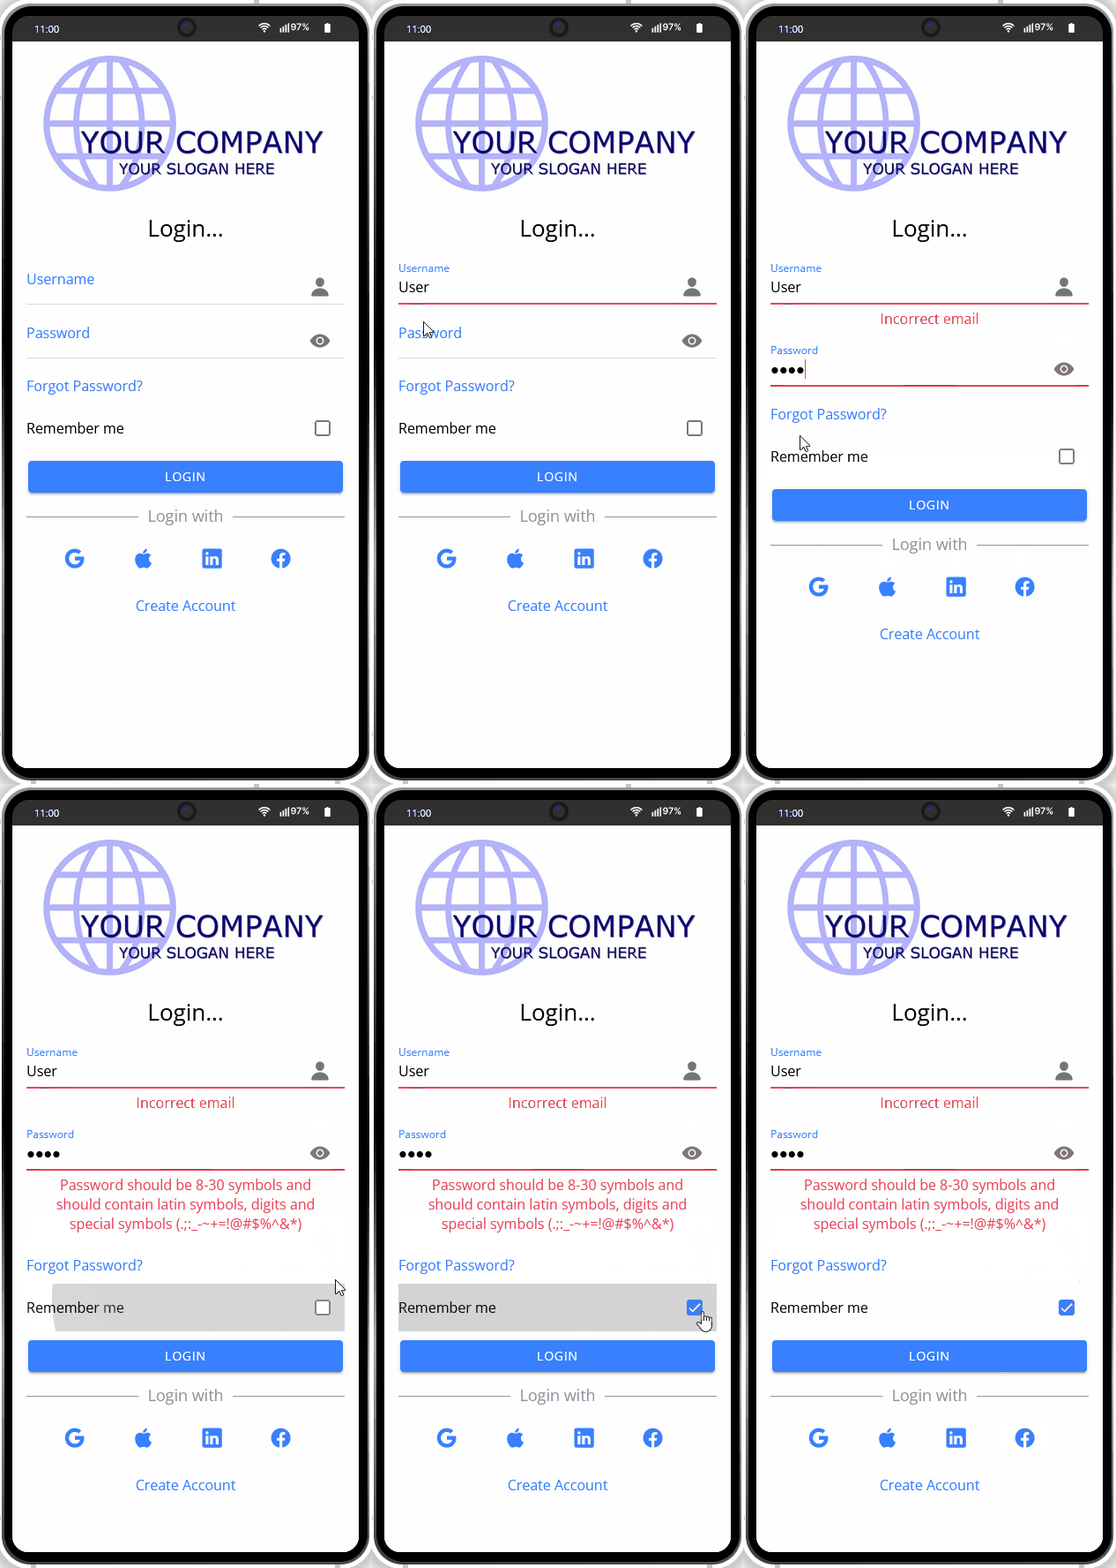
Login
Select to add the screen layout with the predefined user login functionality:
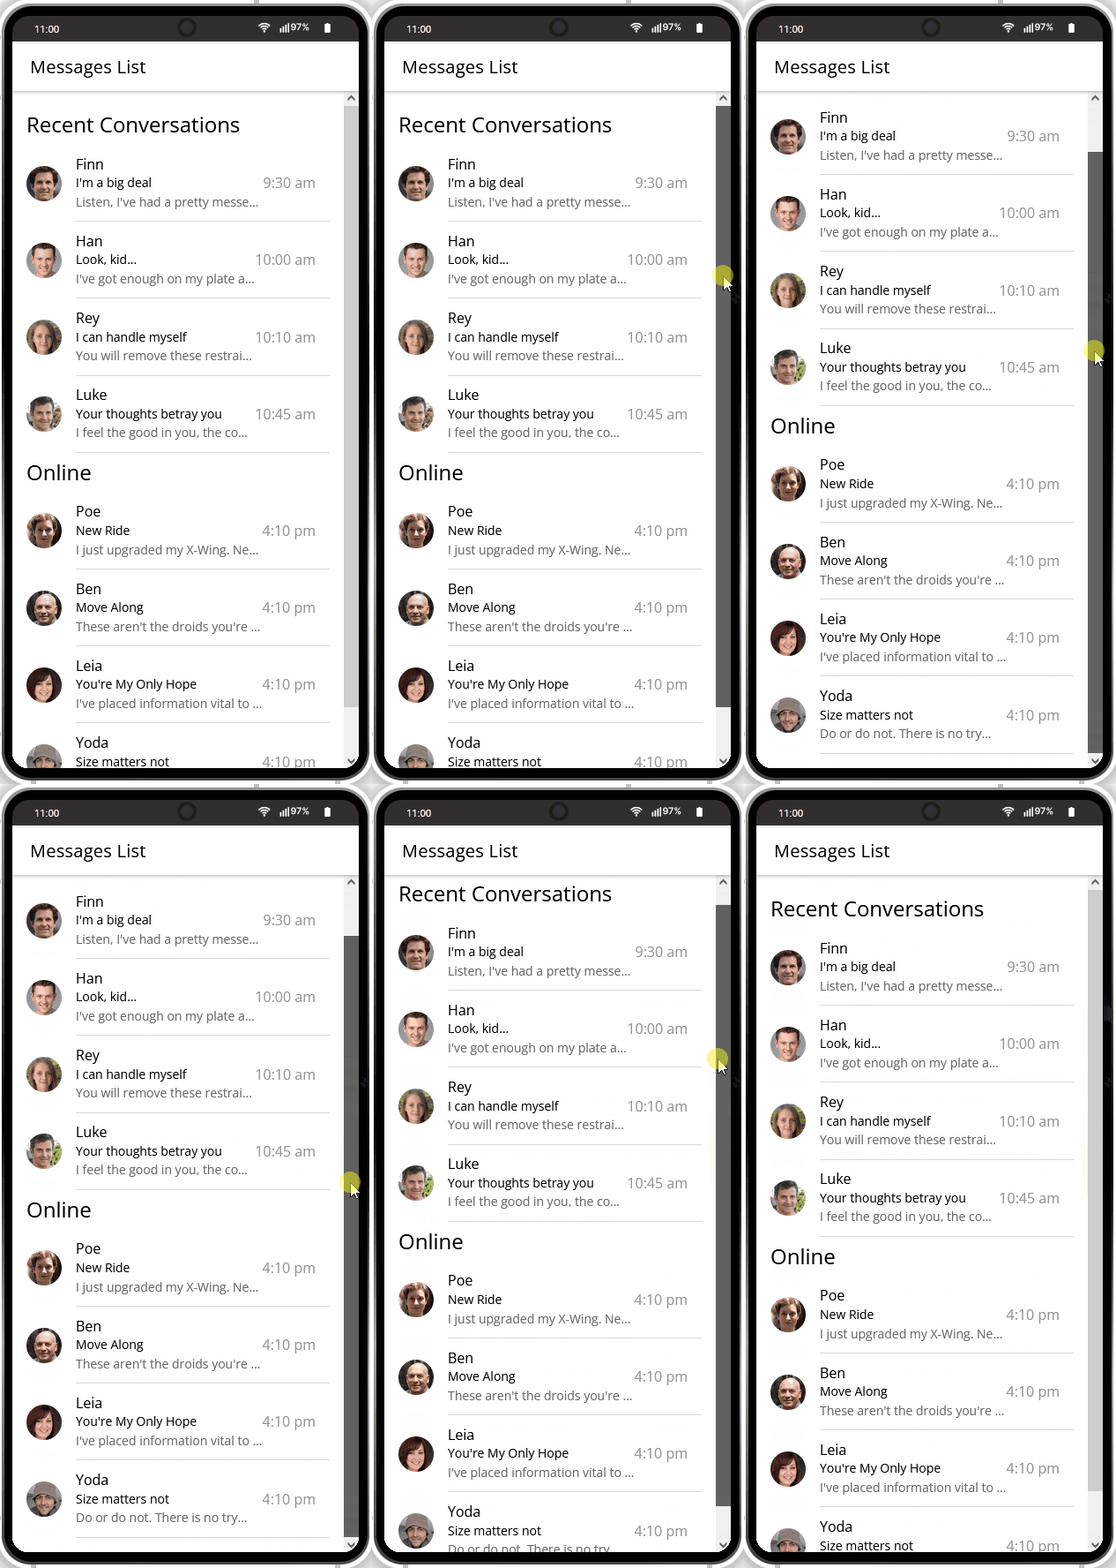
Messages List
Screen layout with the predefined List page:
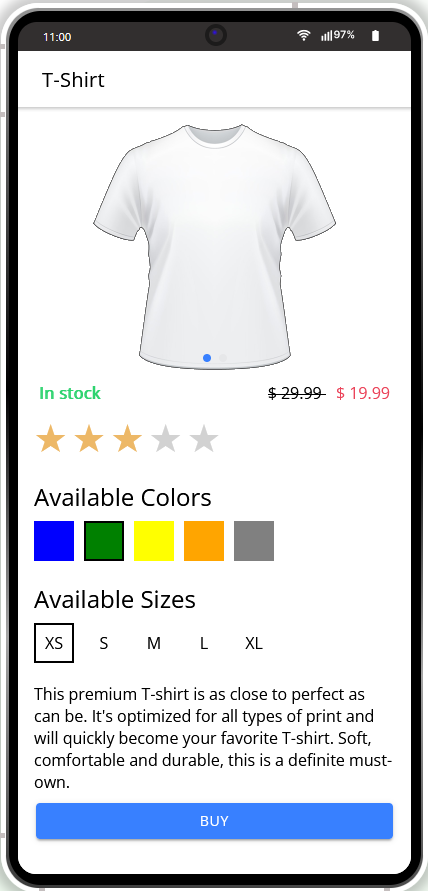
Products Details
Select this screen layout to add the preset ProductDetails page that contains the predefined Rating custom component:
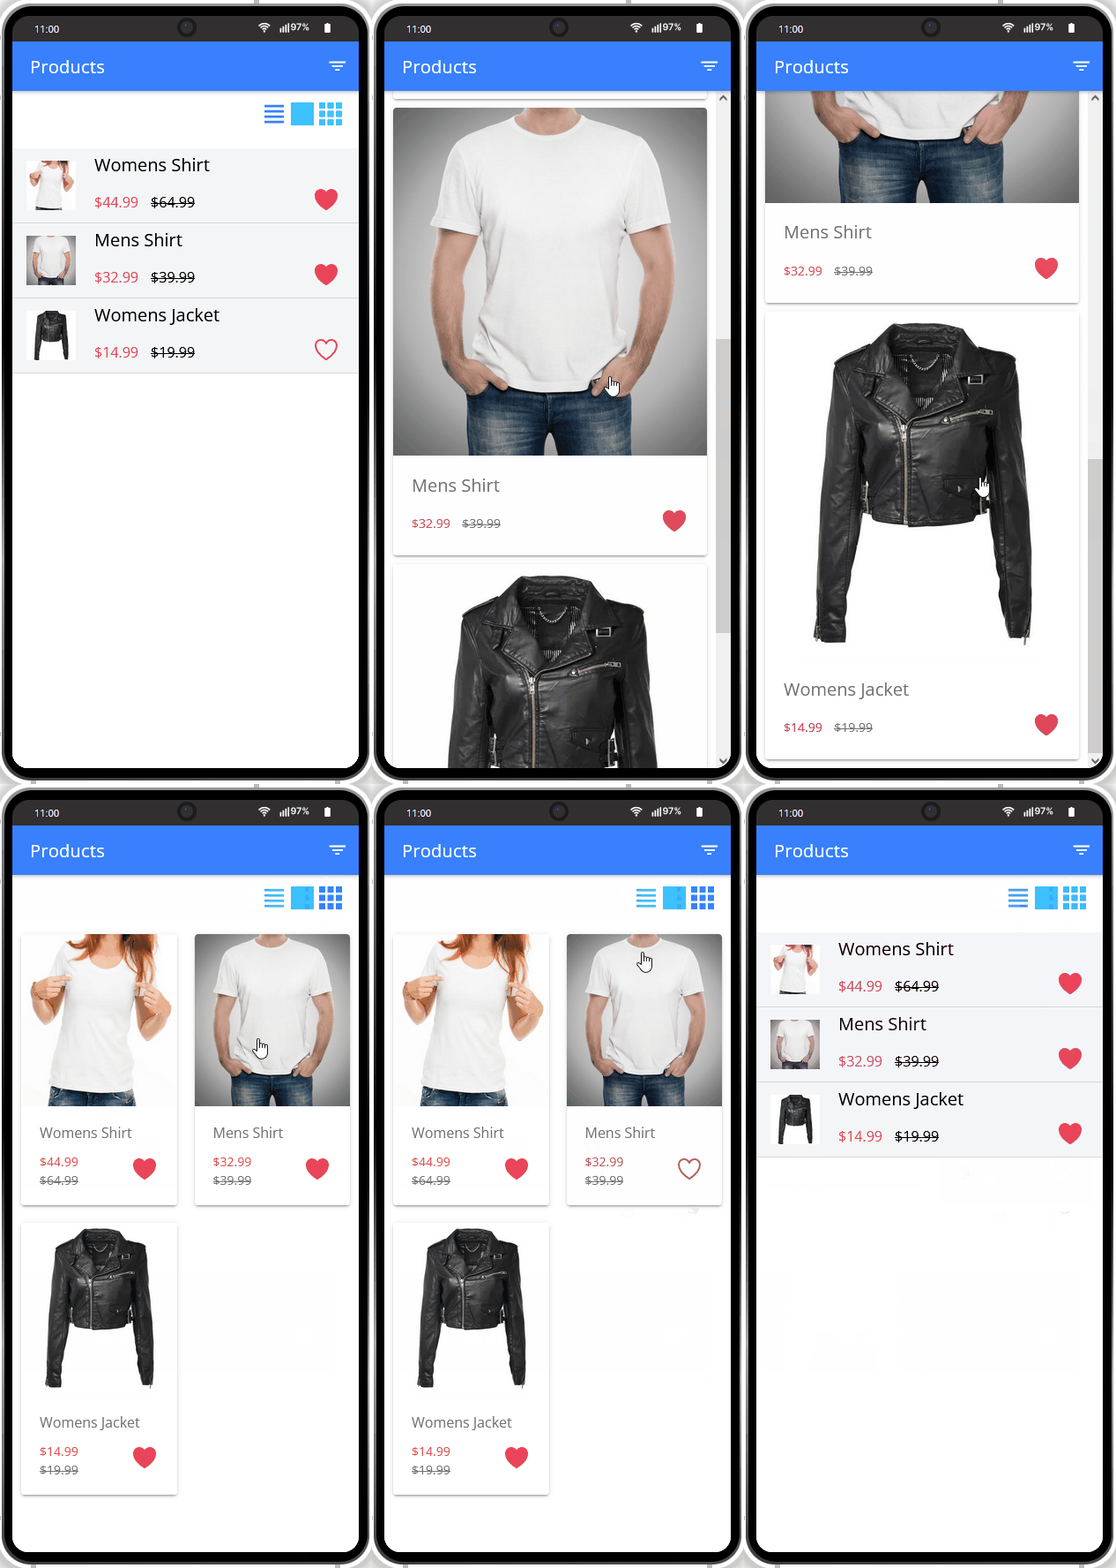
Products List
This screen layout is added with integrated Products screen that also contains the predefined Rating custom component. Also, it allows reordering how you would like to view the items together with marking them as favorites:
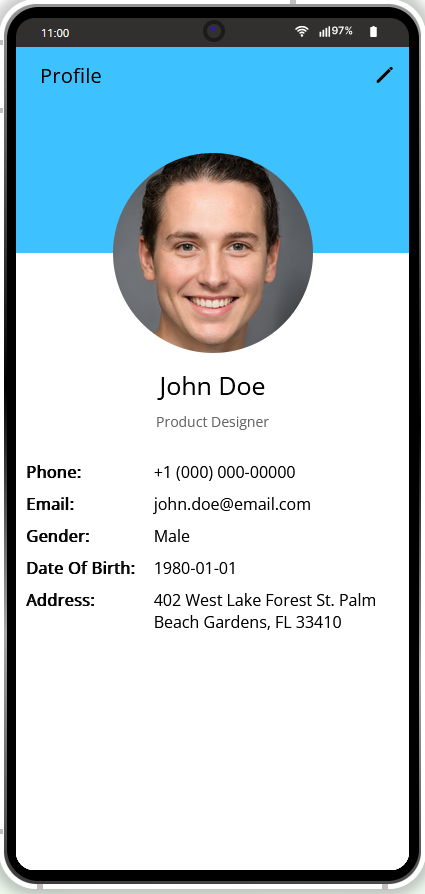
Profile
The Profile screen layout comes with the preset Profile page combined with the predefined FileReadService functionality:
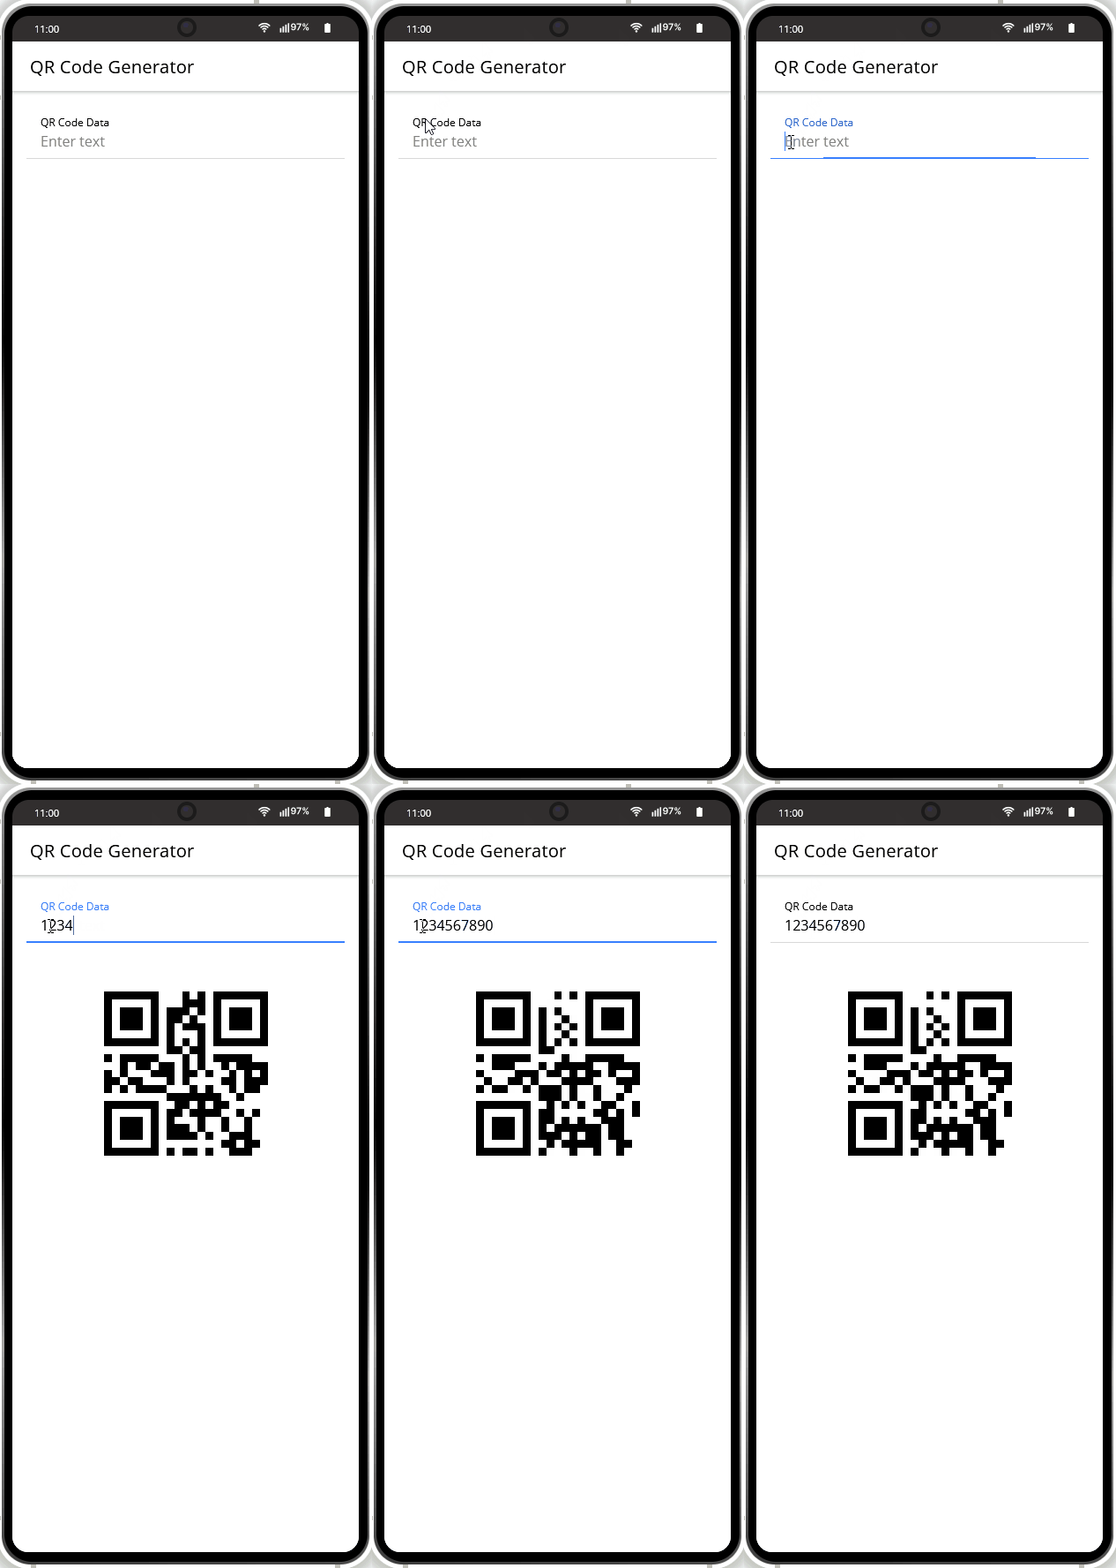
QR Code Generator
To add the QR code generator functionality to you app, us the predefined QR Code Generator layout containing the QRCodeScreen and presetQRCode custom component:
Want to know more?You might also like this tutorial that explains how you can create an Ionic app with the QR code generator functionality from scratch.
QR Code Scanner
Select to add the screen layout with the dedicated QRCodeReader page and BarcodeScannerService with the added BarcodeScanner_Impl script.
Note!If you are adding the layout to your app that already has some pages and would like to test how the added page(s) look(s) like, make sure to indicate the correct routing path under Project >Routing, then save and click TEST:

Note!To use the Cordova camera service, you need to run the app on the device.
To review how it works on the device you can select whether you would like to use our Appery.ioTester app or proceed with exporting your app for Android or iOS with further installing it on a device.
Appery.io Tester AppA great option to quickly test the app on the device is to use our Appery.io Tester app.
The app is free and available for both iOS and Android.
You can check out this page to learn more about using the Appery.io Tester app.
Want to know more?Check below for the up-to-date video tutorial where you will learn how to build a mobile app with a QR, Barcode, as well as PDF417 scanner in three different ways:
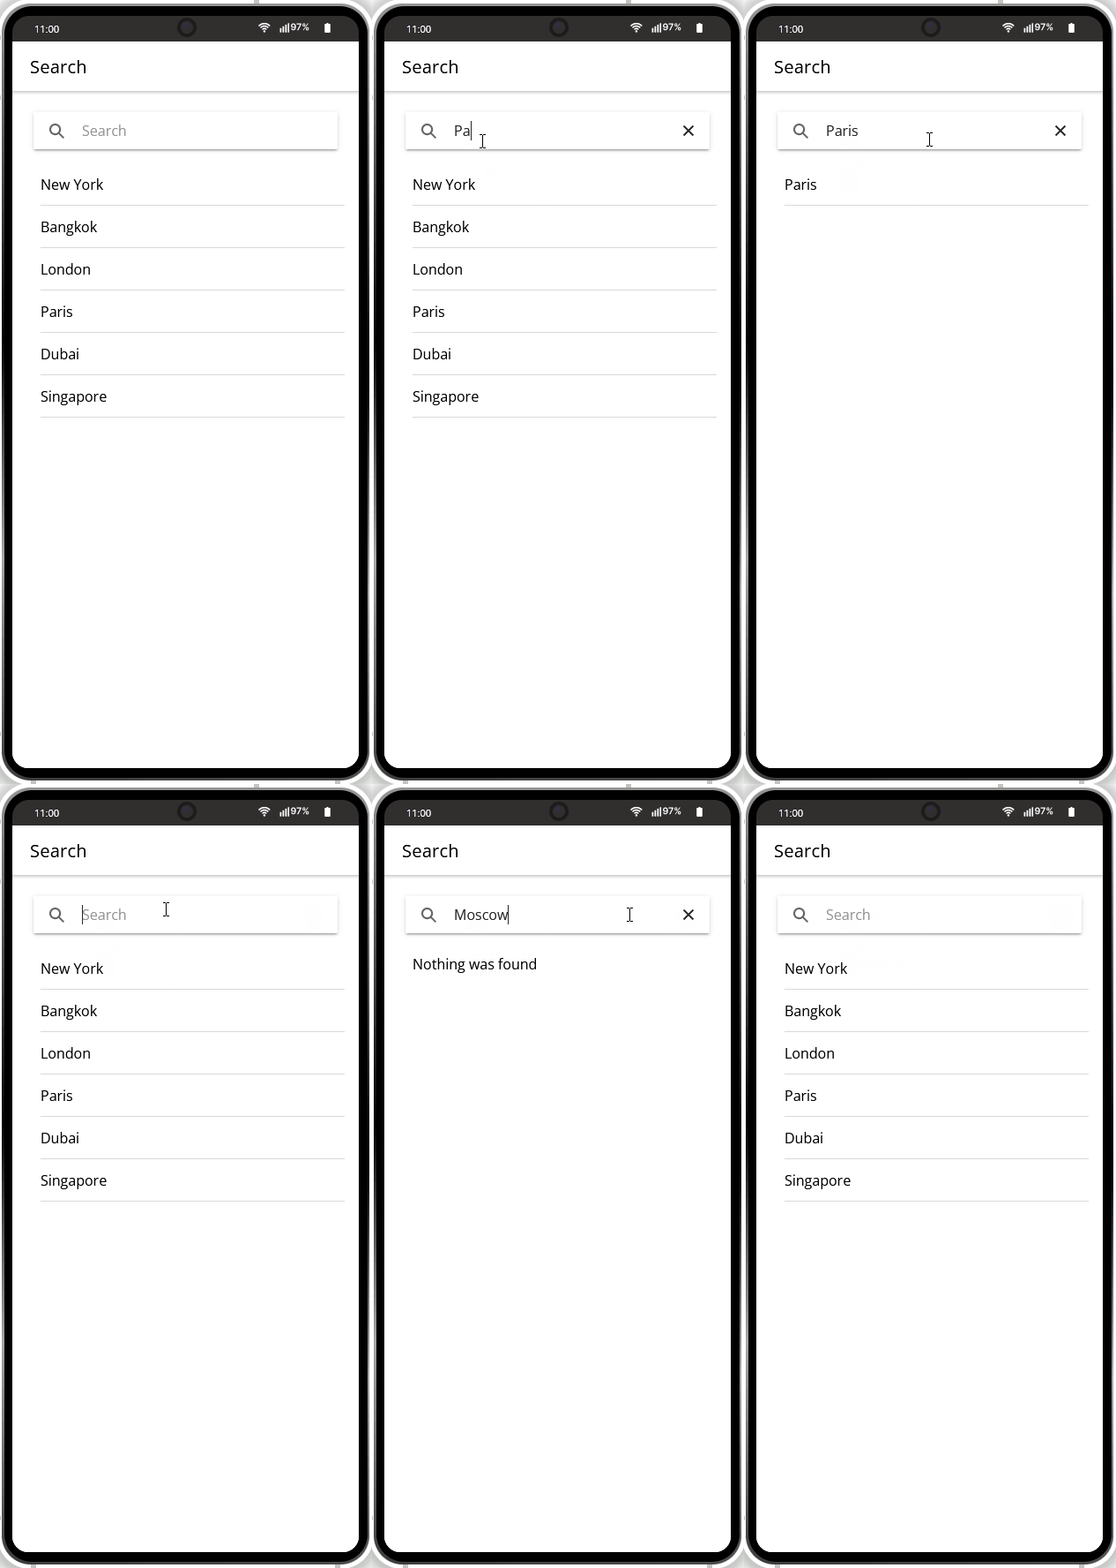
Search
Add this screen layout to embed the ready-to-go search functionality into your app:
Signup
Select to add the screen layout with the predefined user signup functionality:
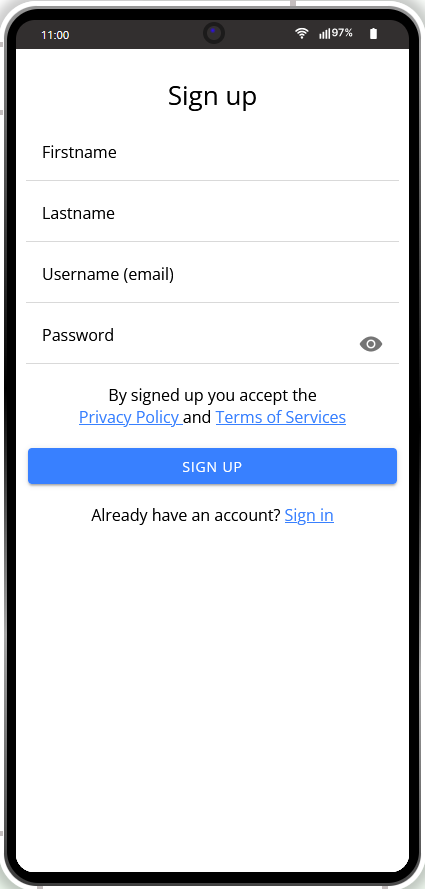
For more details of how to do it, please refer to this document section.
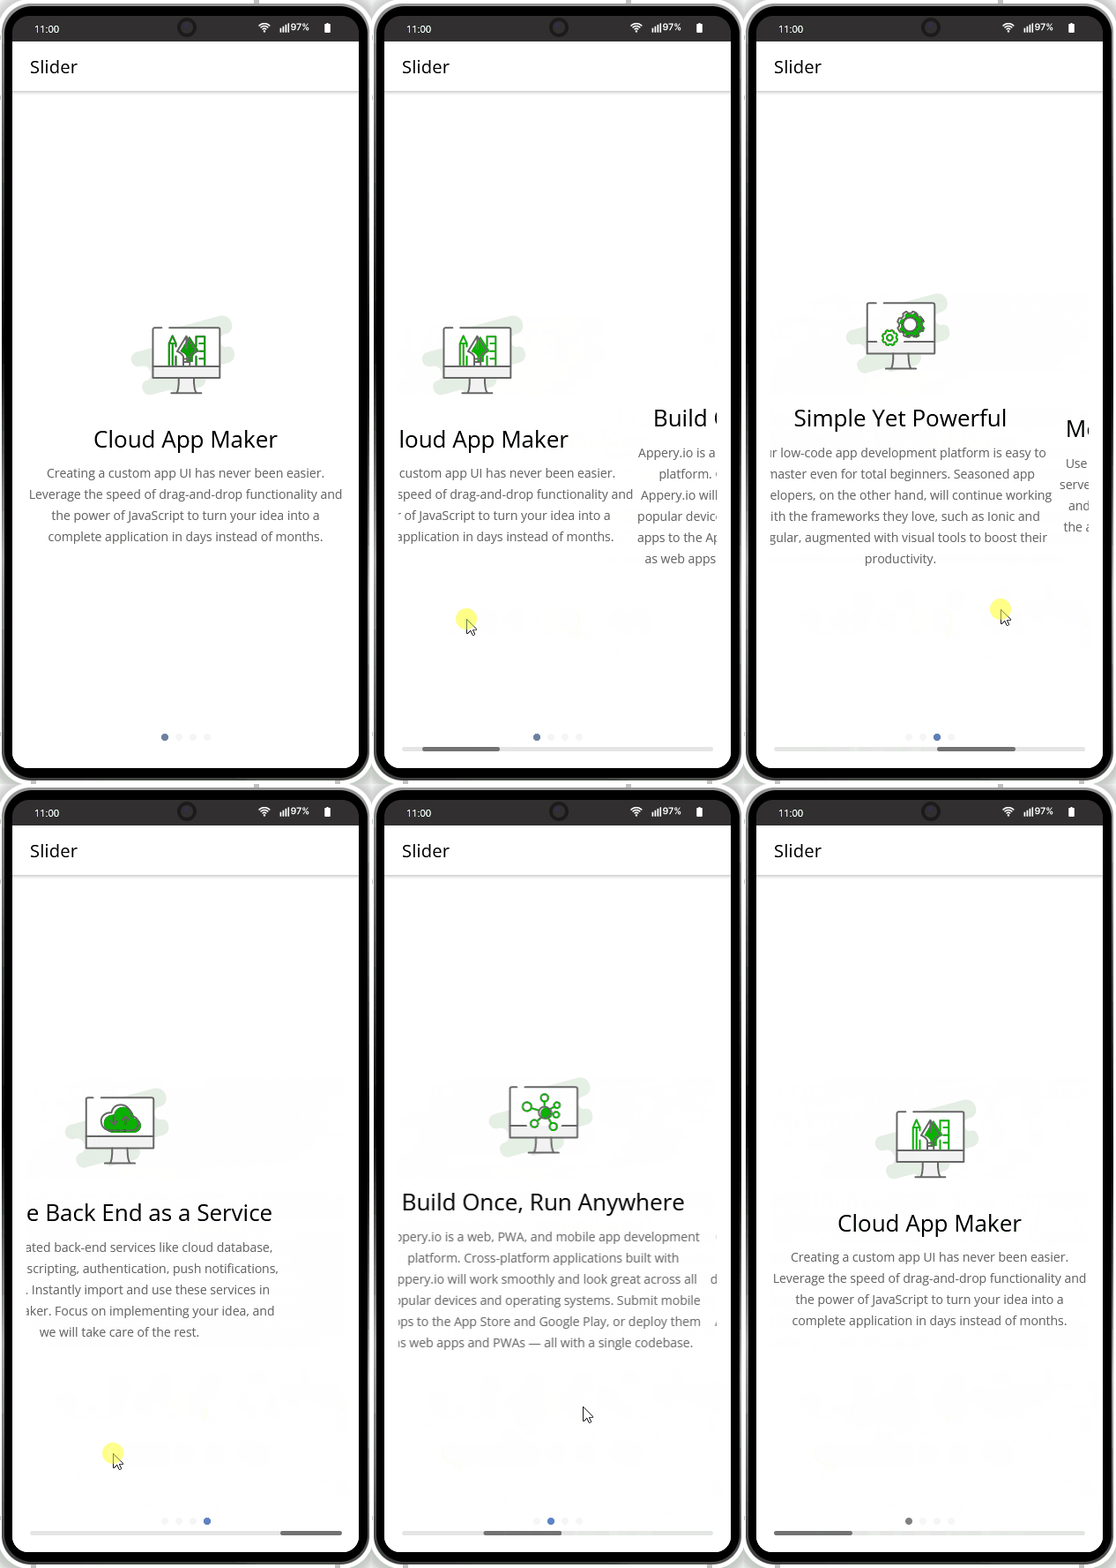
Slider
The Slider screen layout comes with the preset Slider page containing four slides:
The Appery.io team regularly releases new public screen layouts. To review the available layouts from Appery.io, in the Project view, click CREATE NEW > Page or browse the Screen Layout category of Catalog of Appery.io plugins.
Signup Screen Layout Sample App
Creating New Ionic App
Let's now create a new Ionic app with the predefined signup screen UI.
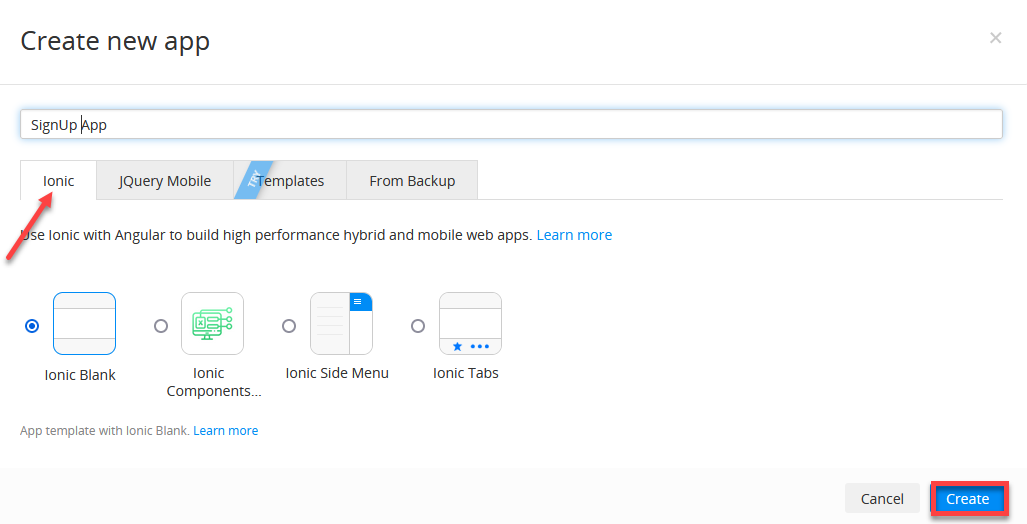
- Inside the platform, go to the Apps tab (if you are not there already).
- Click Create new app.
- For the app name, enter SignUpApp.
- Select the Ionic >Ionic Blank template and click Create:
In a few seconds, the App Builder for Ionic will load.
Adding Signup Screen Layout
Now, let's add the Signup screen layout to your app.
- In the Project view, click CREATE NEW > Page:
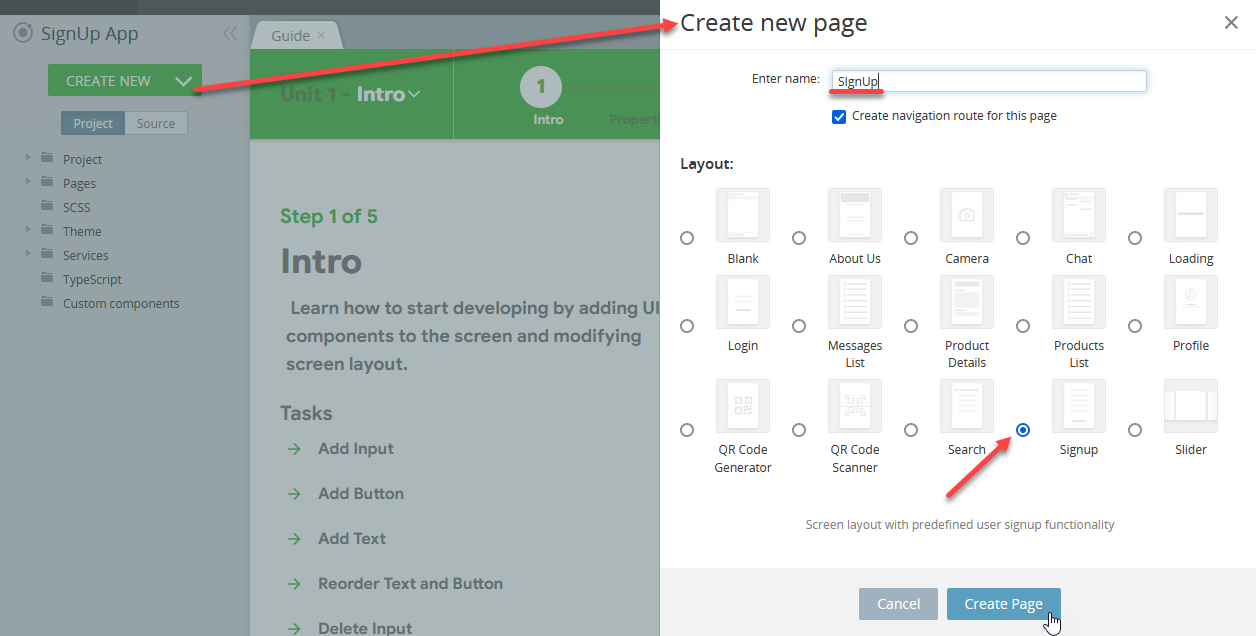
- After you confirm creating a new page, the Signup page with the predefined signup UI will instantly appear under the Pages folder:
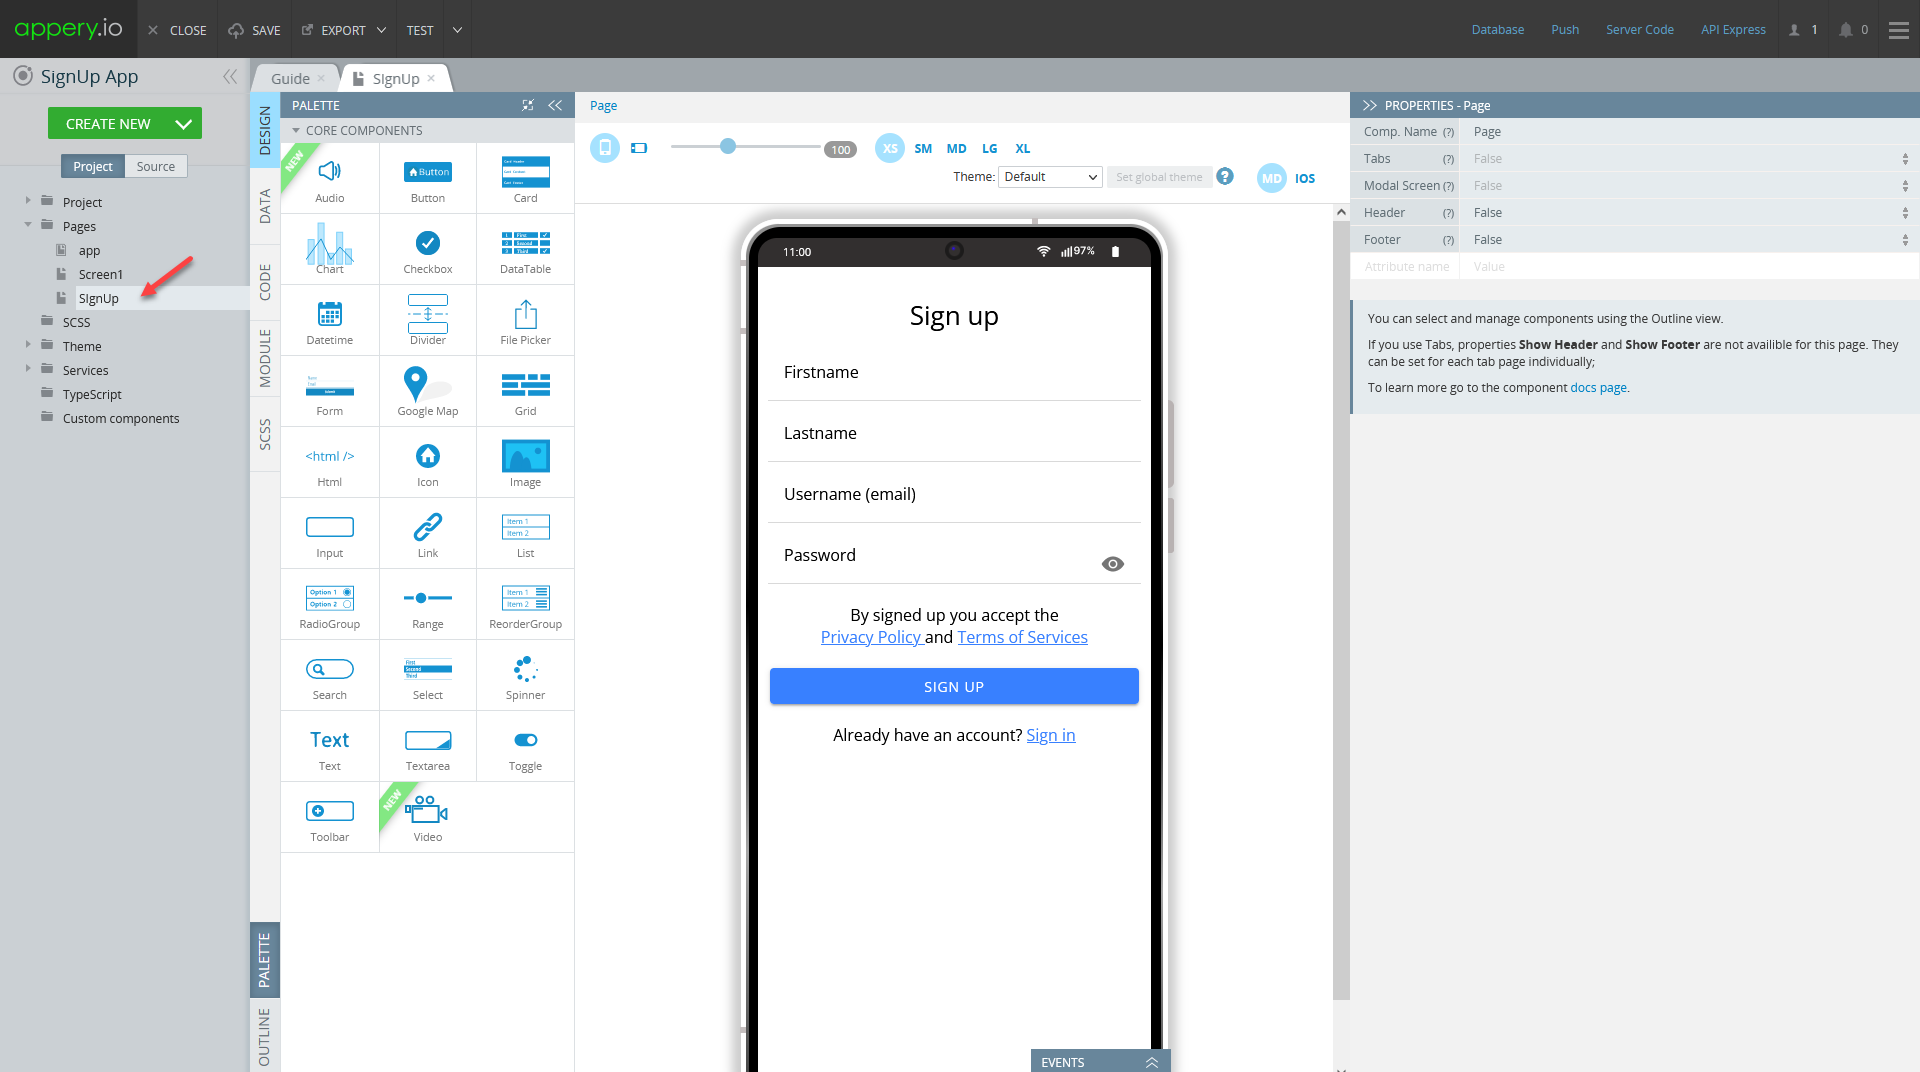
- Open the Project > Routing tab and set the default route to the Signup page:

You are now free to proceed with modifying the page/app according to your needs but you can already check what it looks like.
Important Note!After adding the screen layout your app is not yet fully functioning until the corresponding logic/design has been added and this needs to be done separately.
App Testing
To preview the page, click the TEST button in the App Builder Toolbar to launch the app in the browser:
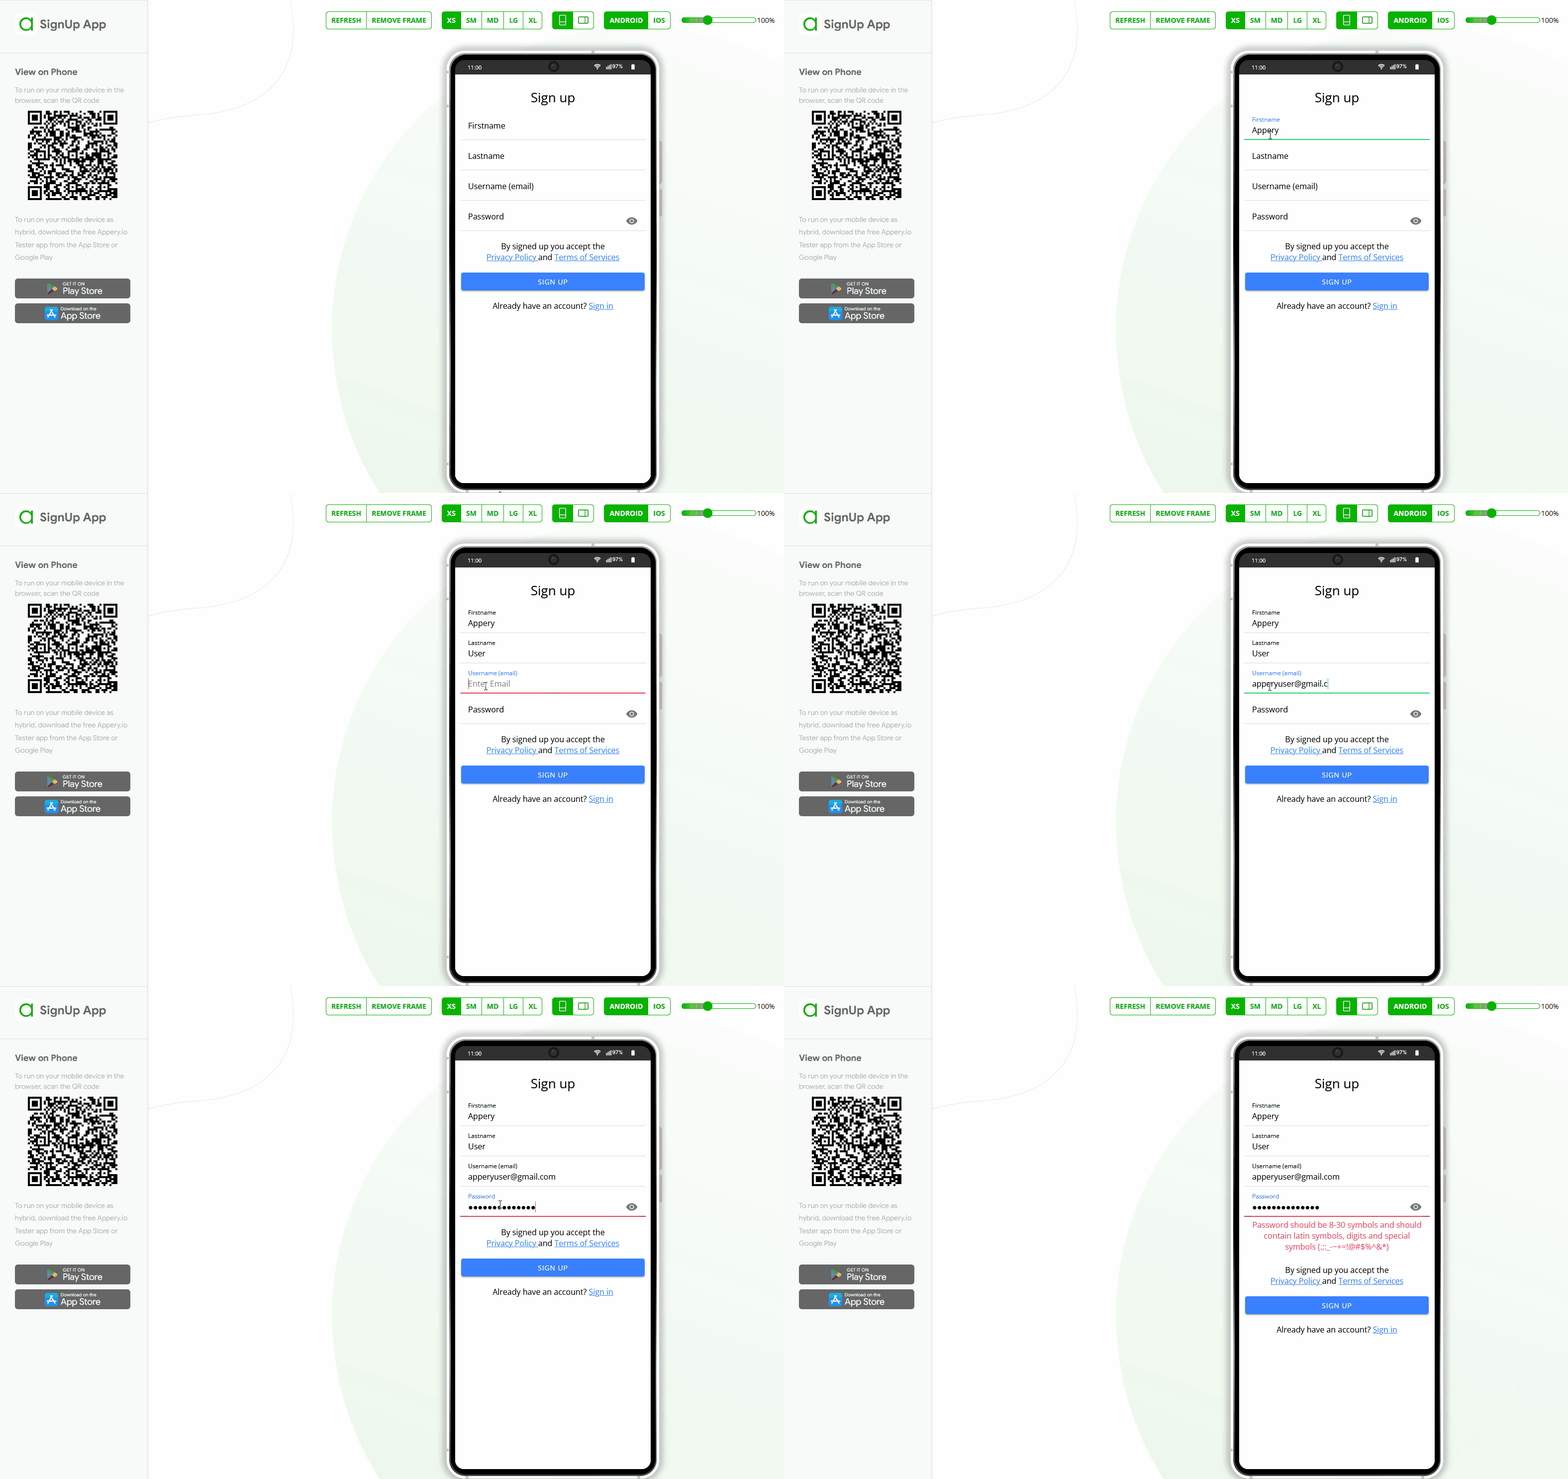
Updated 7 months ago
