Ionic StripeShop Sample App
Instructions on how to add Stripe payments to your Ionic PWA and Web apps.
This document describes our sample StripeShop App template that will allow you to securely charge money from a user’s credit card to your Stripe account using the Stripe API.
Introduction
This template contains ready-to-use services and a UI that makes it easy to use.
The sample app uses and demonstrates:
- Ionic.
- Appery.io Database.
- Appery.io Server Code.
As a bonus, we provide detailed explanations for those who are interested in customizing the offered app sample.
You can right now test our sample app at work using the predefined test user credentials:
Important Note!If the linked Stripe Account is not activated the screen with payment details will be running in the TEST MODE without access to live data.
However, in the Test mode, you can try using the following test cards to check different payment scenarios and verify the settings are correct:
- 4242424242424242 Succeeds and immediately processes the payment.
- 4000000000003220 3D Secure 2 authentication must be completed for a successful payment.
- 4000000000009995 Always fails with a decline code of insufficient_funds.
Using StripeShop App Template
No special knowledge or experience is required to try our StripeShop App template — just follow the simple steps below to install the app and enjoy the results of low-code development with Appery.io!
Important!Please rest assured that you are the creator and you are the only owner of this application (actually, like any other app created with Appery.io).
For more details, you can check our Copyright, Trademark, and Content Ownership section here.
Besides, many customization options are available like renaming the app, changing the template color themes, launch icons and screens, customizing app pages, etc.
If interested, check out the instructions in the Customizing App section.
Creating App from Template
NEW: One-Click Template Installation!You can now enjoy the one-click-away option of installing the template app: simply click the button below and in a moment, your app is ready to start! There’s no need to go to the Create new app dialog or download the template backup with further installing it.
In a few moments, the app will be created with the autogenerated name extension. If you like, you can now rename your project under its General tab or do it later.
The first thing you can see is our App Builder Educational Video Guide page with the Project View section on the left where all the predefined project data (pages and services) can be found:
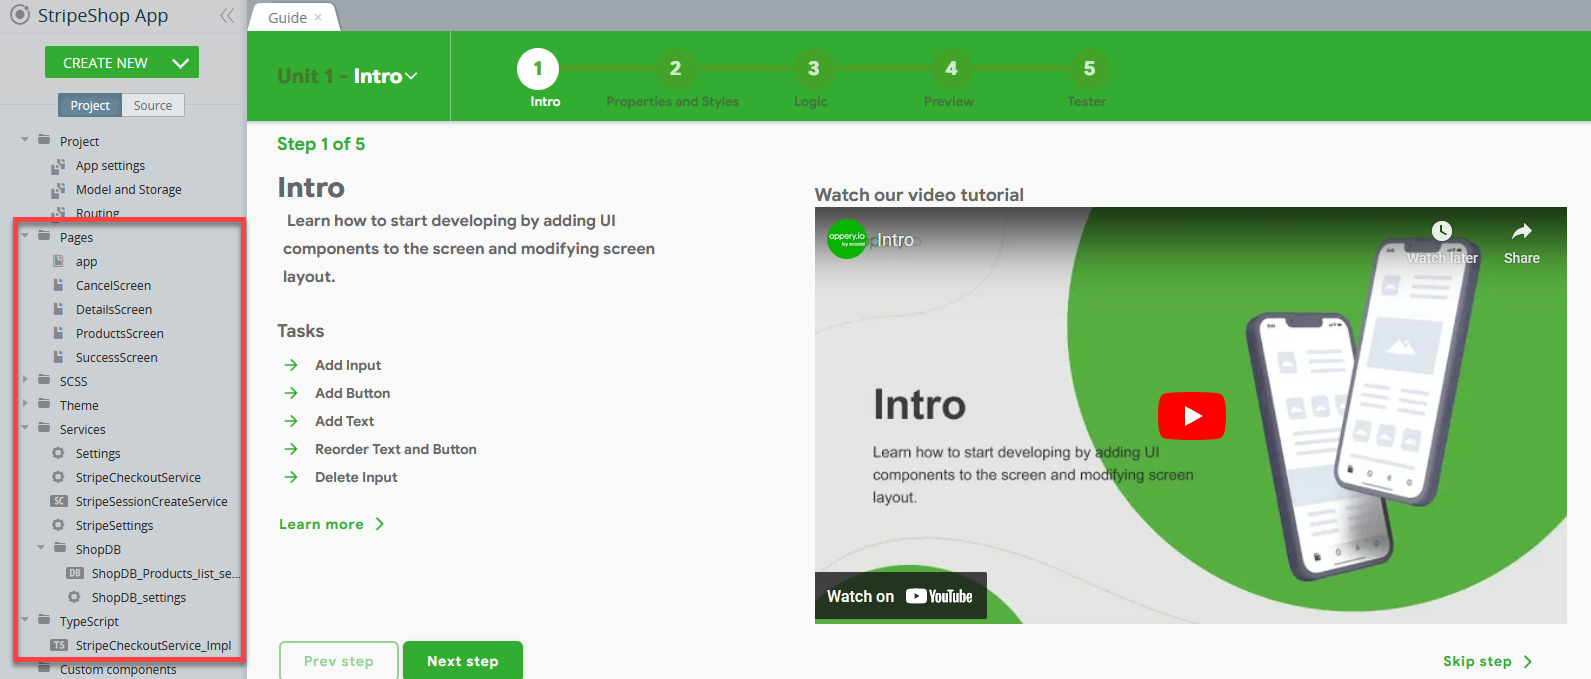
Note!If you are launching your project for the first time, please allow some time for the app preview to load.
Creating App from Plug-in
Alternatively, you can create this app using our predefined StripeShop App template:

In this case, all the needed pages are added to the existing app with the Screen1 preset to the default route. So, you will need to modify the routing rule and set the ProductsScreen page as the default route under Routing. You can also delete the Screen1 page if you do not plan to use it:

App Description
Actually, the application is ready and you are really close to releasing your own app.
But before you can start with customizing it, you are free to check out what this app is about. This sample app is quite simple to operate and requires no special knowledge.
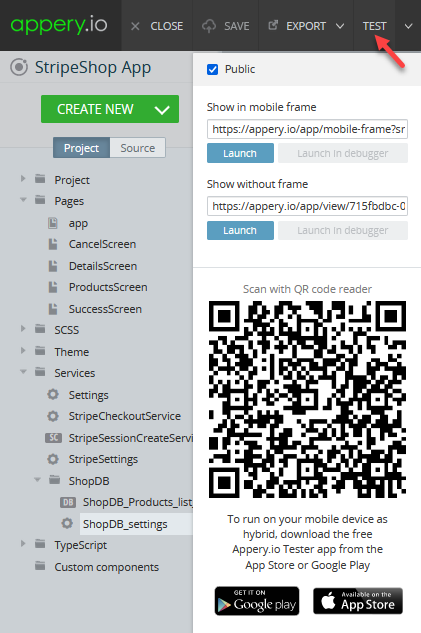
All the linked backend services ( Database and Appery.io andServer Code) are predefined with some test data and you can test them right away. To do it, click the TEST button in the appToolbar**:

You will be redirected to the tab with the app preview page where you can view the products list and review their details:

Appery.io Tester AppA great option to quickly test the app on the device is to use our Appery.io Tester app.
The app is free and available for both iOS and Android.
You can check out this page to learn more about using the Appery.io Tester app.
Since this sample app is working in the Test mode, you can try it only using the following test cards to check different payment scenarios and verify the settings are correct:
- 4242424242424242 Succeeds and immediately processes the payment.
- 4000000000003220 3D Secure 2 authentication must be completed for a successful payment.
- 4000000000009995 Always fails with a decline code of insufficient_funds.

Customizing App Template
It is natural that being a template, our StripeShop App offers many customization options. So, if you are interested in customizing this template, we recommend that you check out the instructions in this section.
Important Pre-conditions!There are two important pre-conditions to make your own Stripe-based app work correctly:
- Setting your own database
- Linking your own Stripe Account
Managing Your Database
In this template, the sample database is used but in your own app, you will need to manage the database data.
And the first thing you might like to do is add another item to the Products collection.
To do this:
- In the Databases tab, open the StripeShop database and go to its Products collection. There are three records there:

- Let's add one more product entry: add a new product's name, price, and description. Then click the image field to open the Media Manager window and upload the image file (should be prepared beforehand). Click Select:

- In a moment, a new collection record is added to the table:

- If you now run the app on preview, the new item will be on the products list available for purchase:

Note!You can add as many new items to the database as needed.
Now, let's review how our app is backed with Stripe API and how to link to your actual Stripe account.
Stripe Account Settings
If you plan to link the app to your own Stripe account, there are several simple steps you will need to take, namely create an account with Stripe and provide your actual Stripe API.
Important Note!Before you can use the Stripe API you will need to sign up for an account and then fill out the section Public business information on the Account Settings page. It is easy - just follow the instructions on the Register page.
Once the account is set up and you are logged into your account (will need to be activated to go live), you can access the Developers > API keys section.
Stripe API Developer Keys
Check the Developers > API key panel for your Stripe API keys.
Note, that the Publishable and Secret keys will be needed for your own application later:

Note!Please note that you will need to arrange for your actual Stripe API to make it work for your business.
Setting up Stripe_Settings library:
- Now, go to the Server Code tab and select the StripeShop_Settings library that has been imported with the backup:

- In the library code that opens in a new window, you will now need to provide your own Stripe API Publishable key and Secret key values. To find it, go back to the Developers > API key panel of the Stripe dashboard and copy the keys that need to be provided for the code.
- Click Save:

After you have set your app database with the needed products and provided your actual Stripe API, you might also like to test it on the device.
You can select whether you would like to use our Appery.ioTester app or proceed with exporting your app for Android or iOS with further installing it on a device.
Testing on Device
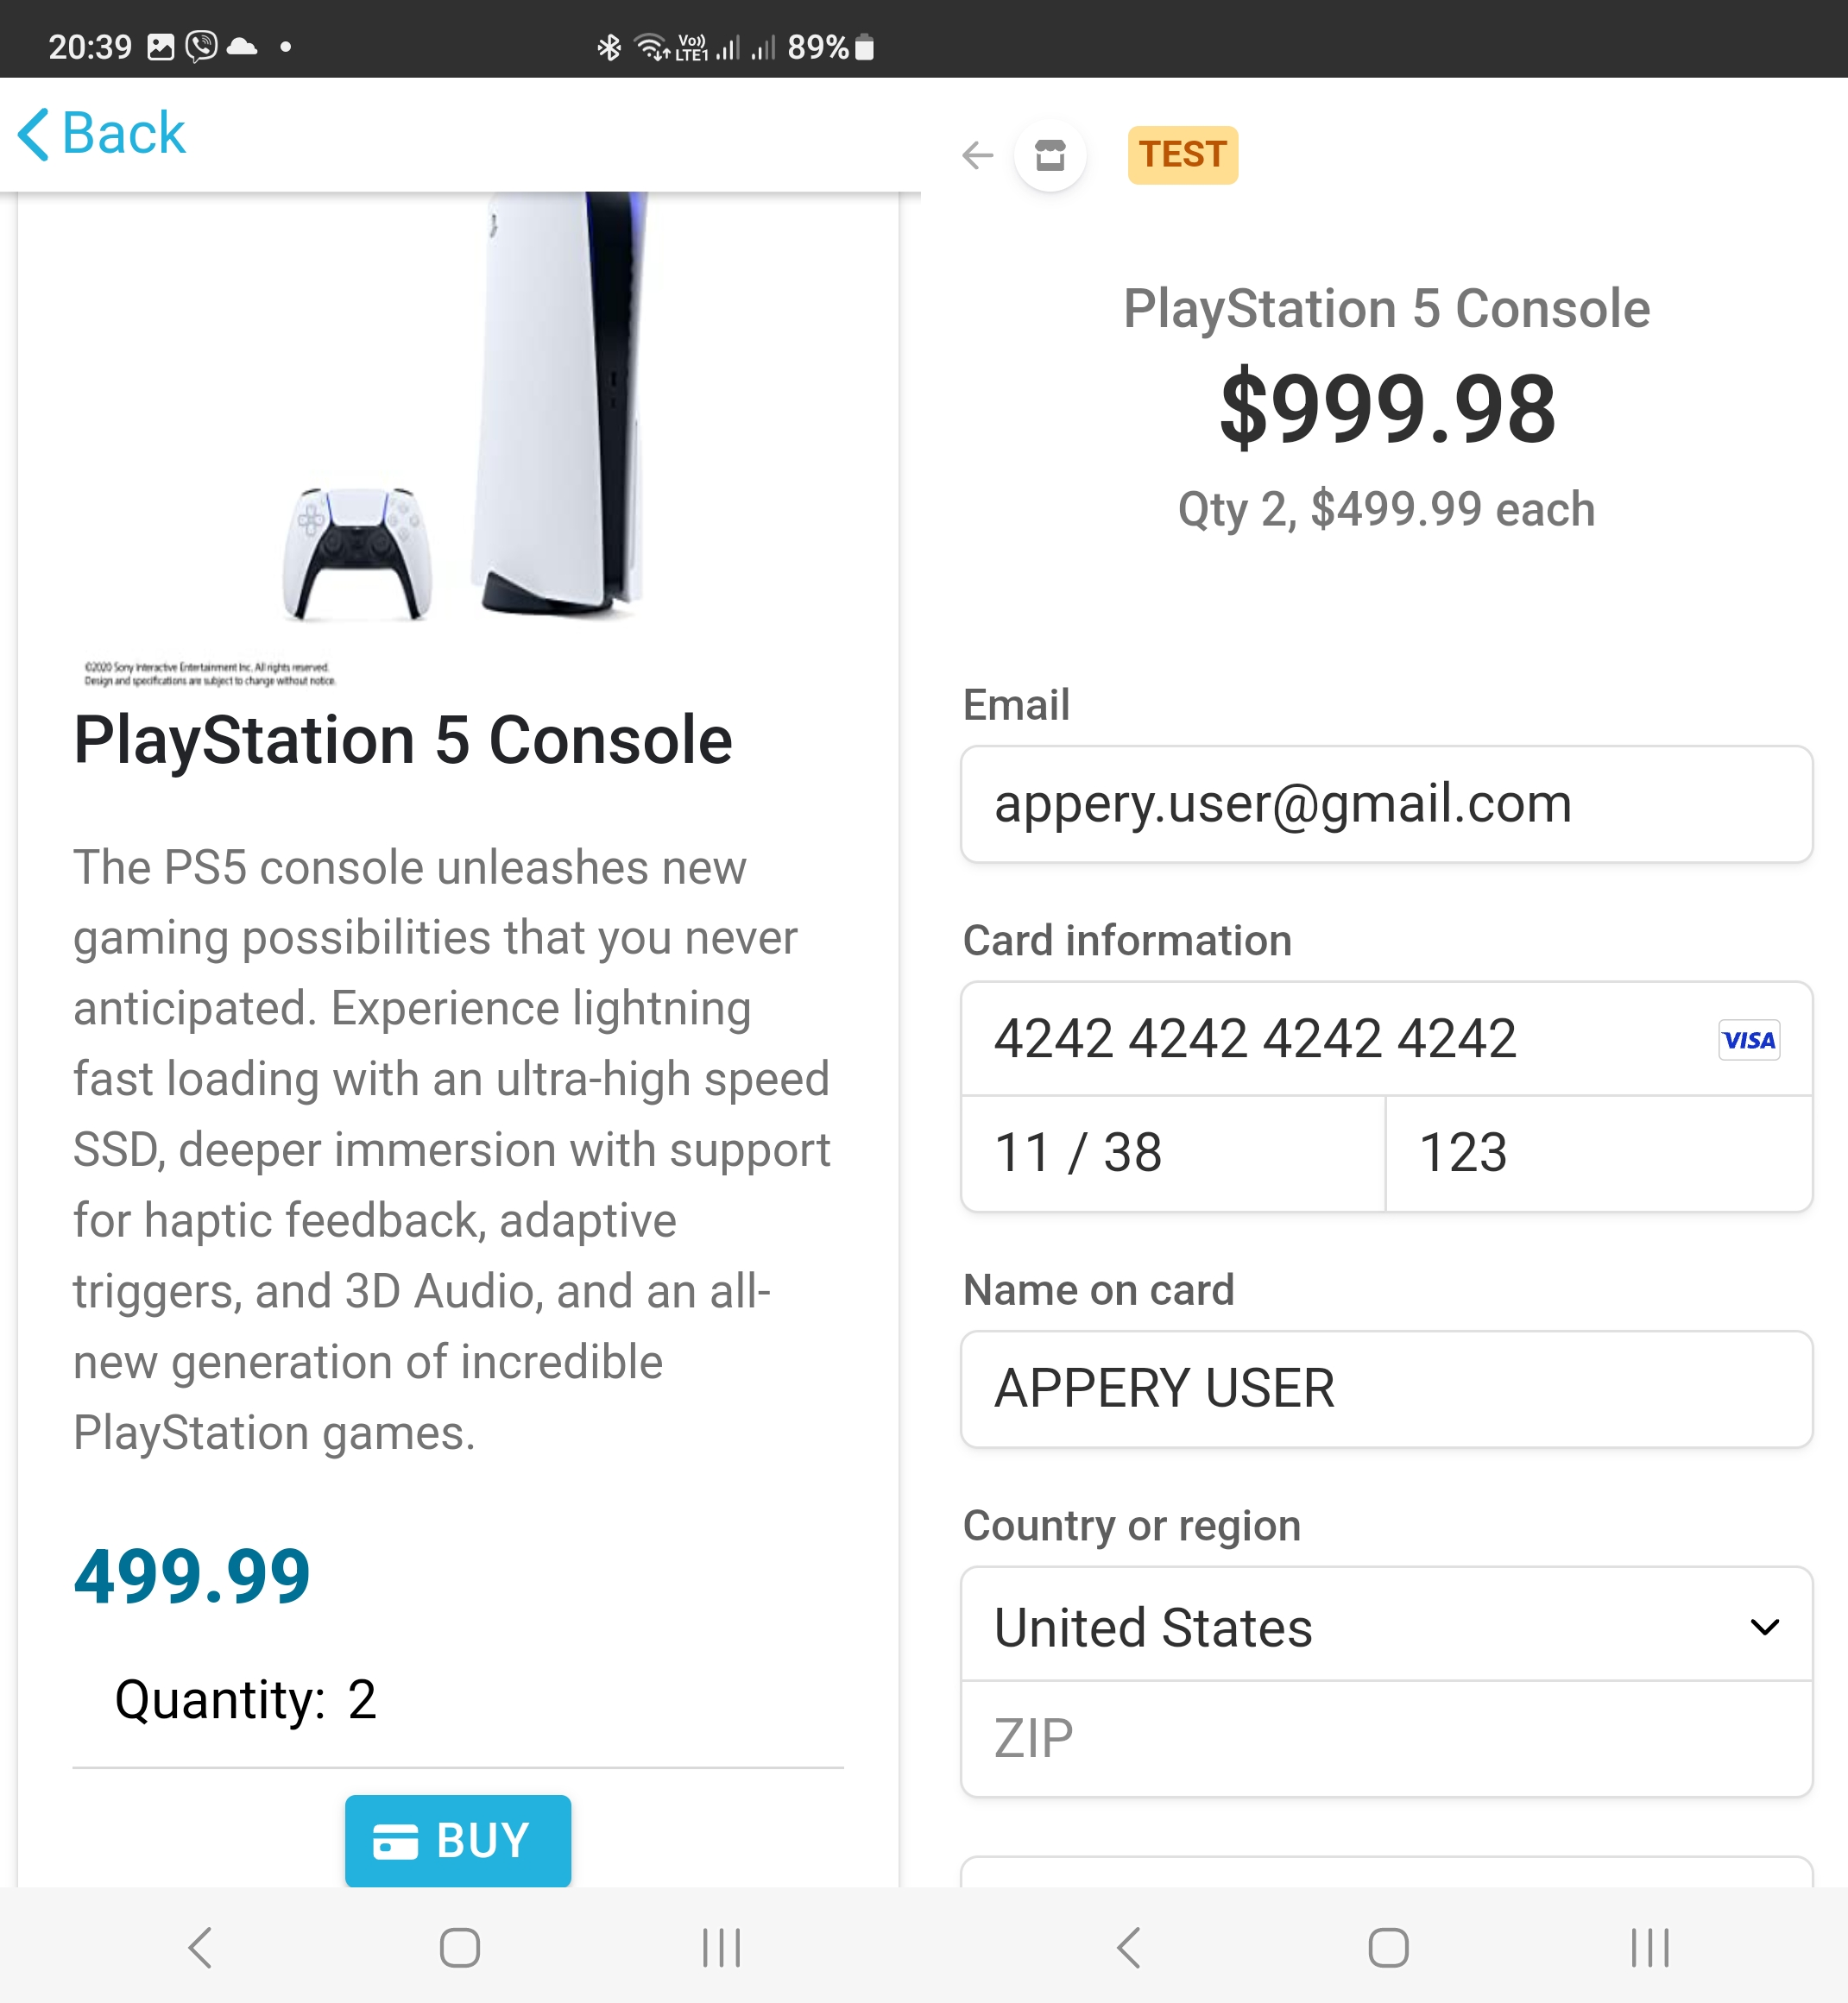
- Install the app on your device and run it reviewing the list of items on sale and selecting them:

- To make your first purchase, for the item you selected, set the needed quantity, and click Buy. In the new window, use the test card number 4242424242424242 with any valid expiration date and CVV (read more here). Confirm the payment by clicking Pay:
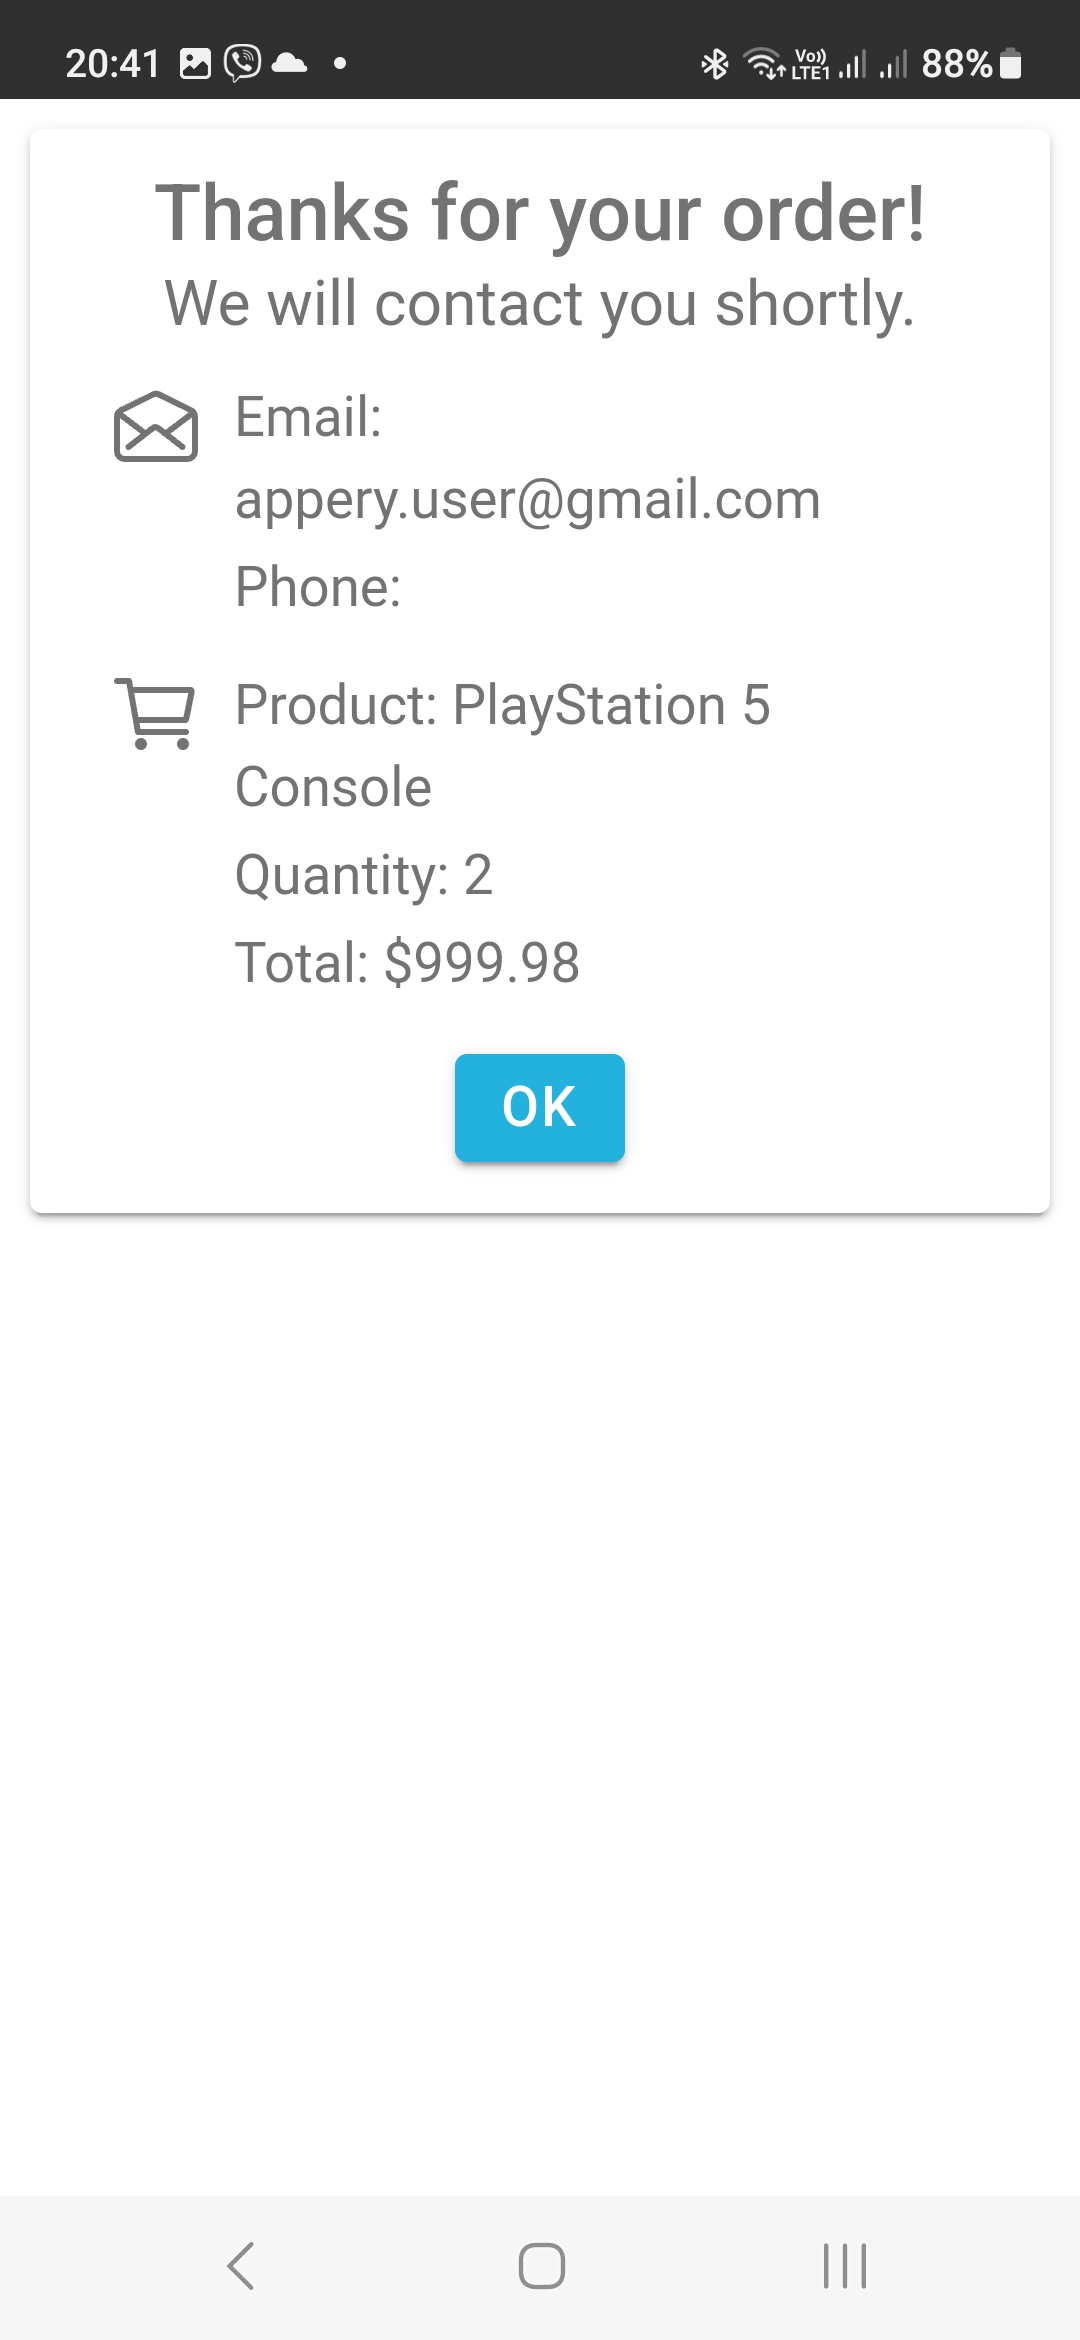
- You will be notified that the payment is successful:
Customizing StripeShop App UI
In this section, we will demonstrate how you can use several simple customization options to create an updated UI for a sample app that will look like this:

Renaming App
You can rename your project at any moment.
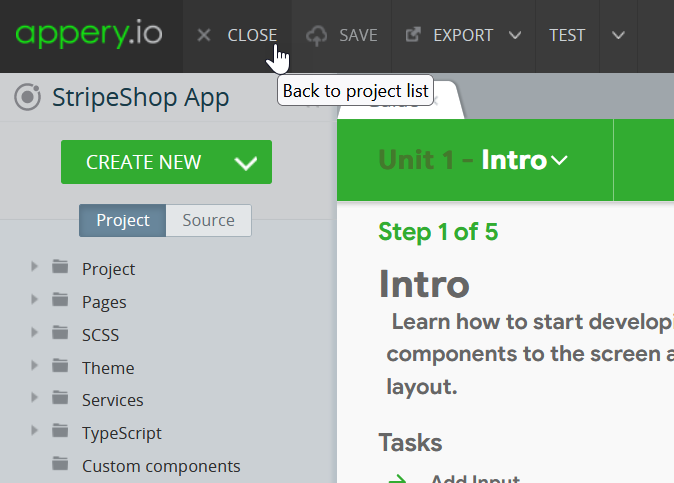
- To do it, you will need to exit the App Builder so click the CLOSE button in the top app Toolbar:
- After that, you will be redirected to the Apps tab with the information about your Appery.io projects, their saved versions, people with whom you share the project, and about hosting on Appery.io. Here, click the app Rename button.
- Now, in a new window, provide a new app name, for example, My StripeShop, and confirm this change:

In a moment, the Apps tab will be updated with a new app name.
4. Now, you can click Open to proceed with customizing your own application:

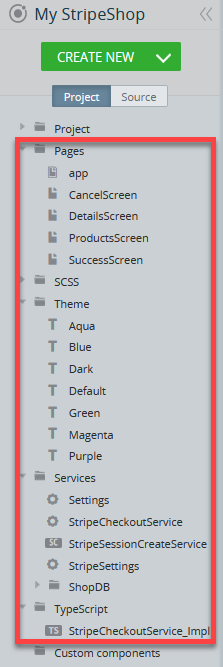
Reviewing General App Structure
When the app opens in the App Builder, you will see that this app template was created with Ionic and has multiple folders comprising a set of organized pages, predefined color Themes, integrated backend services, and TypeScript all of which can be customized as per your needs and app requirements. You can unfold any of them to see what resources are available:
Customizing App Pages
You are free to customize the individual app pages' UI and behavior.
Let's have a closer look at how this can be done.
Changing Button Properties
With Appery.io, not only can you easily change the name of your application, but also modify any UI component in the suggested template.
Let's review the example of changing the UI of the BUY button on the DetailsScreen page.
- First, select the DetailsScreen page on the Project tab list located to the left of the mobile phone frame. The page will open in the DESIGN panel.
Adjusting Screen SizeNote that you might need to switch to the comfortable screen size (depending on your monitor) XS, SM, MD, LG, XL to see the whole page.
- Select the instance you would like to modify (here, it's ProductBuyButton):

Using BreadcrumbsYou might have noted that there are the breadcrumbs above the phone frame: they are often used for easy navigation between the parent/child components.
- The PROPERTIES panel for that component will be shown on the right where you can locate its Text property. Now, you can simply modify the text value, for example, replace the default BUY with Add to cart. Also, you can change the Icon > Style property by clicking the default icon and selecting a new one. These changes will be automatically reflected in the UI:

- Now, when you save the app and click TEST once again, you will see that the page preview has also been updated according to the recent changes made:

Changing Page Background Image
To add your custom image that will serve as a page background:
- Select the ProductsScreen page Content component, open its Styles tab under the PROPERTIES panel, unfold the Bg Image property folder, and click the Change button in the Image property field. This will open the Media Manager modal window:

- Click Upload file to upload the image file you want to use as the page background (should be prepared beforehand), make sure it got selected, and confirm by clicking Apply):

- When uploaded, the image appears on the screen and can be adjusted to the screen size:

It will be instantly applied as a new app page background image and you can already test the updated preview to make sure you like it:

Customizing App Color Themes
Another great way to make your application stand out from a plethora of other apps is by changing the app color theme. You will be surprised to see how easy it is to completely change the looks of your app using our Theme Generator option.
Our StripeShop App template offers seven different color themes to select from: Aqua, Blue, Dark, Default, Green, Magenta, and Purple:

Every app page has a Theme dropdown. You can try selecting other theme options from the dropdown to see what this specific page will look like under a different theme:

Important!This dropdown works for preview purposes only and if you decide to apply the selected theme to the entire application, go to Project > App Settings and select the needed theme from the dropdown:

Creating Custom ThemesIf you would like to create your custom theme, you can do it using the CREATE NEW > Theme dropdown and following the instructions in this document.
Now, save the app and click TEST again to see how the application looks like with the newly selected theme:

After the app has been tested, activate the account and don’t forget to switch from test mode to Live in your Stripe dashboard before going live (the test mode switch should be set to off).
Exporting Your App
When your final app version is ready, you might like to proceed with exporting your app for
Android or iOS with further installation it on a device.
Please check this step-by-step [Appery.io YouTube]https://www.youtube.com/@apperyio) video to learn how you can develop an iOS mobile app with Appery.io right in the browser using a Windows desktop.
Also, you will learn how to install it on an iPhone for testing and then publish it to the App Store:
Important Note!Please, note that before you can export the app, the app certificates must be imported or automatically generated (in the case of Android).
You can check this document in case you need help with exporting your application for iOS.
Here, you will find information on generating certificates for Android.
Note as well that starting from August 2021, new apps are required to publish with the Android App Bundle (.aab) on Google Play.
Please read more here.
You can also check this Appery.io Community video that shows how to create Android and iOS certificates:
- After the needed certificates have been added to your app all you need to do is to wait for the bundle to be created.
- Now, you need to select the format you prefer (you are also free to build both if you need) to start building your project:

Selecting Build TypeBefore you can proceed with exporting your app, go to Project view > Project > App settings > Android binary/iOS binary to select the Release build type (Debug is the default type for both and can be used for testing purposes only):
If the Release and Publish type is selected under the iOS binary tab, building the release app version will be performed together with publishing it to the App Store.

- Once your project is generated, you will see the QR-Code that you can use to upload the application to your device (or save the file for further use):

- Then, install the app on your device and enjoy the result of your customization efforts.
Managing Build Error The certificate file is not setIf this is your first app created with Appery.io you will most likely get the error signifying about missing certificates that will prevent you from successfully finishing the build process.
The error reads similarly for both binary types and indicates that you should set the corresponding certificate before starting a new build.
If this notification is what you see after starting your build, please check out the this document about certificate management that explains how to add the needed certificate to your project.
Publishing App
Any app that you build in Appery.io can be published as a mobile web app. This means the app will be hosted on a server and can be accessed from any browser on a mobile device:

Video: Payment via Stripe for PWA and Web ApplicationYou can also check our Appery.io video that shows how to organize the payment process in PWA and Web applications:
Updated about 1 year ago