JQM Quickstart Push Notifications Tutorial
Getting started with Push Notification for jQuery Mobile/Cordova app.
Important Note!The option of creating new apps with the jQuery Mobile framework was removed but we still support the projects that were created with it earlier.
In this tutorial, you will learn how to send your first Push Notification message.
Testing Push NotificationsTo test sending and receiving Push Notification messages the app has to be installed on the device.
Creating New App
To start you need to create a new app. You can also use an existing app however we recommend creating a new app to try Push Notifications.
To create a new app:
- From the Apps page click the Create new app button.
- For the app name enter: PushApp, select jQuery Mobile tab and select the Blank template. Click the Create button.
- Once the App Builder loads, from the left menu, go to the Project > App Settings > Cordova plugins. Under the Core Cordova Plugins tab, select PushPlugin, and click the SAVE button at the top.
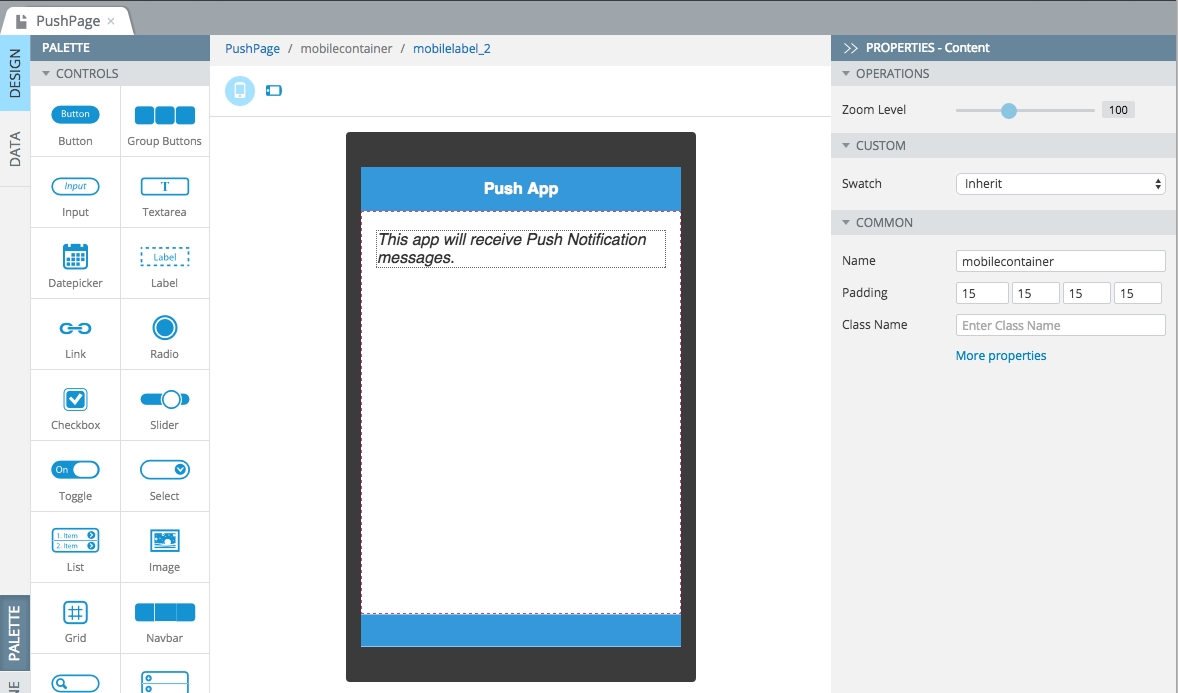
Open the first page and add a few components to the page. For example, change the header to Push App and drag and drop a button or a label component into the app. Here is an example:

Mobile app.
Enabling Push Notifications
Please follow the steps on Configuration page to learn how to enable and configure Push Notifications.
Handling App Notifications: Active vs Background
Both iOS and Android handle notifications in the following way:
- When the app is in the background (not the active app), a standard notification will be shown to the user.
- When the apps in the foreground (active), the standard notification will not be shown as the app is currently active. The notification will still arrive, but you simply need to add an event handler to handle (process) this notification.
To handle the second case:
- Open the startScreen page in the App Builder.
- Open the EVENTS tab.
- Click the page name in breadcrumbs or select the page name in the Component list.
- For Event, select Push notification.
- For Action select Run JavaScript and enter the following code:
alert(data.message);When the app is active and a Push Notification message arrives this event handle will be invoked and an alert will be shown. This is just a sample. In your app, you might want to invoke another action to process the notification.
Now that you have an app, the next step is to enable this app to receive Push Notification messages and configure it.
Installing App on the Device
In order to receive Push Notification messages, you need to build a binary for the app and install it on the device. This App Export page covers how to build a binary.
Sending Push Notification Message
You are now ready to send your first Push Notification message to a device.
- Got to Apps > app_name > Push Notifications > Send Push Notification.
- For Send Push Notification to keep All Devices option selected.
- For Select device types select the device type to which you want to send the message. You can select both if you have installed the app on iOS and Android.
- For Badge enter: 1. This is an iOS-only option.
- For Title enter: First Push Message.
- For Message enter: First message with the Appery.io platform!.
- Now scroll to the bottom of the page and click the Send button to send the message.
Within a few seconds, your device should receive the Push Notification message you just sent.
Video Tutorial: Build a Mobile App with Push in 5 Minutes (Android version)You can also like our video tutorial that shows how to build a mobile app with push notifications for Android in 5 minutes:
Updated 7 months ago
