Android
Android export.
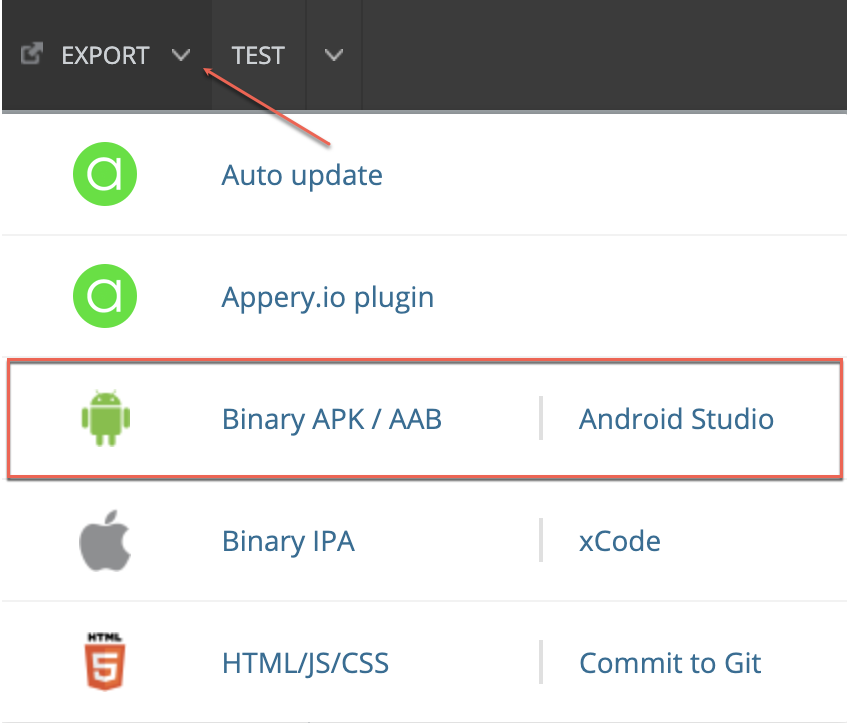
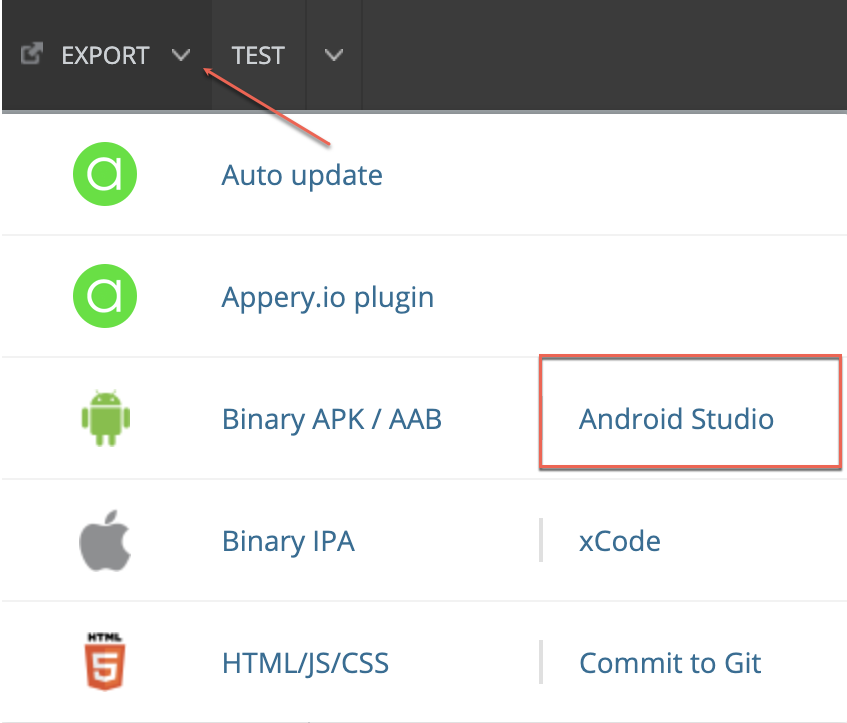
You have two options when exporting your app for Android: Android Studio (source code) or Binary APK/AAB:
- Binary app (of Release type:
.apkor.aab) – this Android binary version can be published to Google Play:
Important!Before you start your build, make sure your account has at least one Android certificate file.
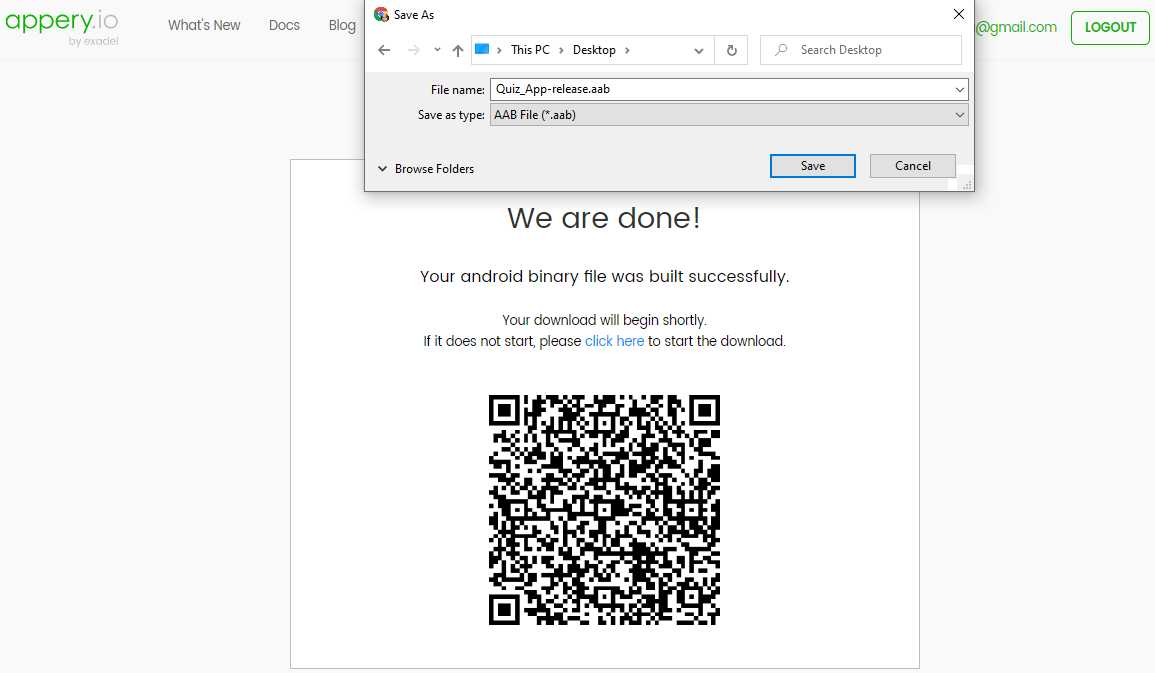
When ready, your .aab package, for example, will look like this:
Important: Publishing with the Android App Bundle (.aab)Note that starting from August 2021, new apps are required to publish with the Android App Bundle (
.aab) on Google Play.
Please read more here.Also, you can check this section below to learn how to resolve the issue with updaing your existing apps on Google play.
- Android Studio project (source code) – you get HTML/CSS/JS, and the Cordova library configured as an Android Studio project. If you decide to build for Android Studio, you will get the
.zipfile:

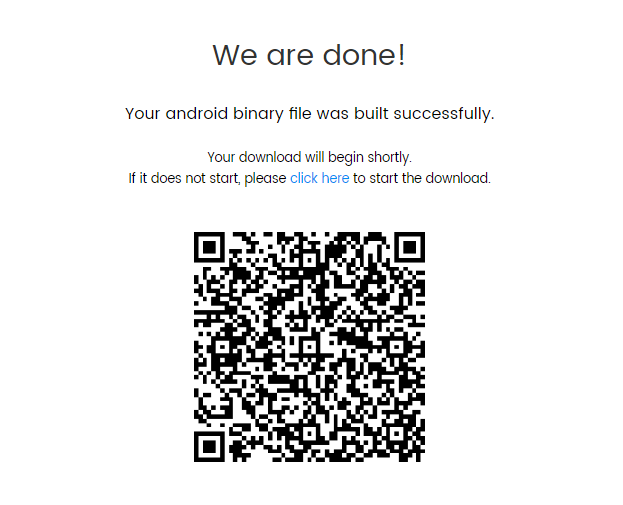
After your project is generated, the QR-Code can be used to upload the application to your device or save the file for further use.
Important!Before you start your build, make sure your account has at least one Android certificate file. Otherwise, you will get an error notification.
Binary App
The Appery.io platform provides a cloud-based building app service that is programmed as a Cordova app for Android, which you can publish to the Google Play store.
An important prerequisite for building an Android binary file: your account should have at least one Android certificate file. You can select to import the certificates or generate them under the App Builder Resources tab in three simple steps and then use for generation of a binary file.
To start the build process, simply click EXPORT > Binary):
Note that building the binary file could take a while.
After the build is completed, the file can be downloaded and you can also see a QR code. You can now scan the QR code shown to start the download of the binary file on your Android device:
Android Binary Settings
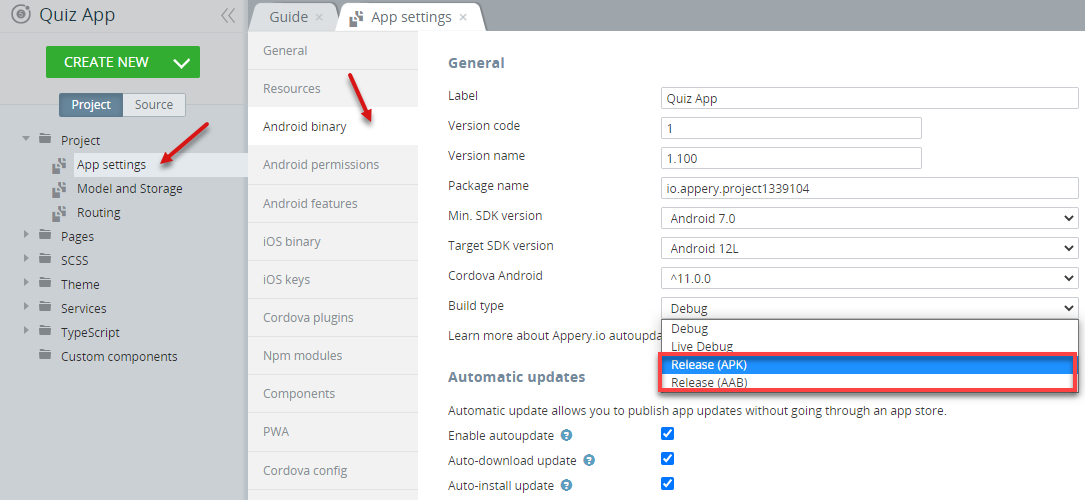
Appery.io comes with an editor that allows you to enter and edit all necessary Android .apk properties in order to prepare it for the Google Play store. To open the editor, go to Project view > Project > App settings >Android binary. By default, the Debug type is set that is used for testing purposes. To enable the Release mode, for the Build type, select from the Release (APK) or Release (AAB) (required for Cordova Android 9.0.0) options:
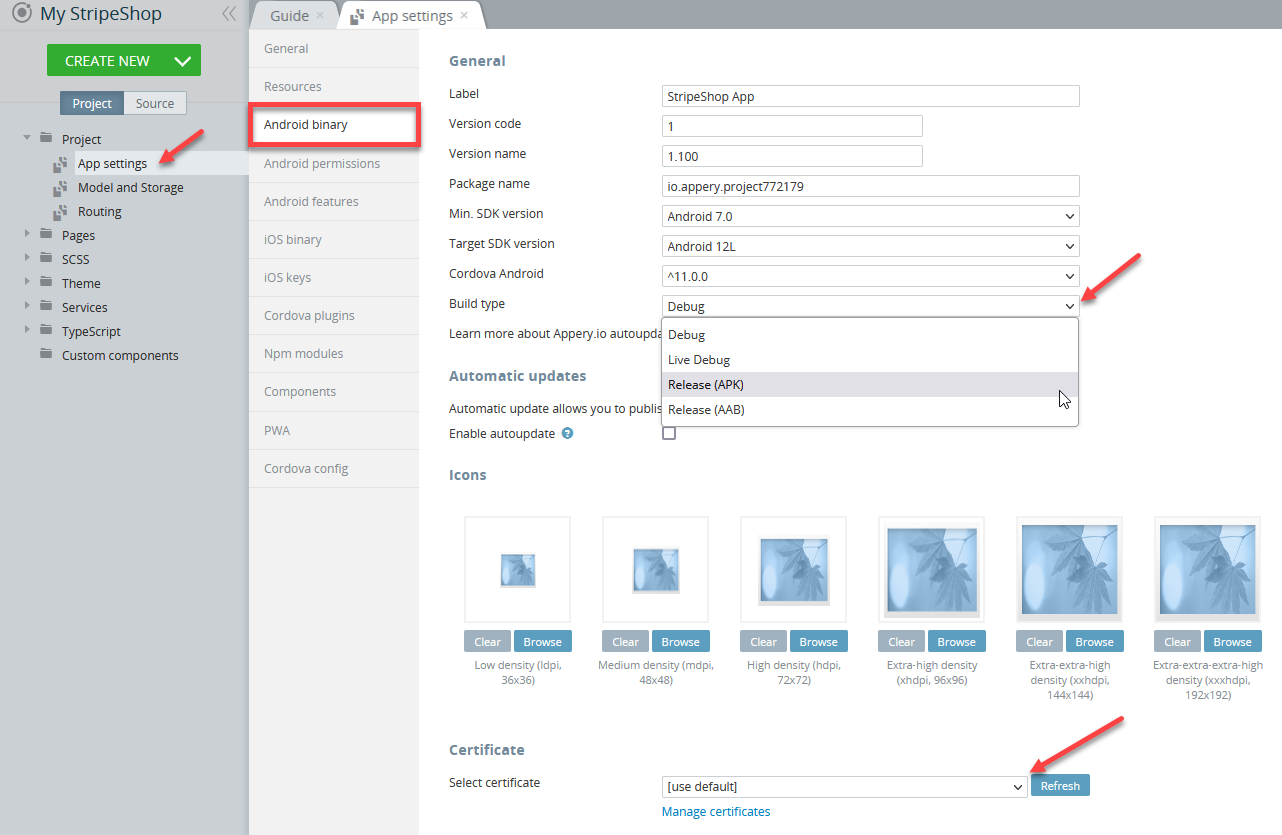
If the Release (AAB) option is selected, JavaScript assets will be reduced to the binary size.
Key Store FileKeep the key store file containing your private key and certificate information in a safe, secure place. If you delete your Appery.io app, this information will be impossible to restore, even from the project backup. More information can be found here.
Android Certificate File
Android certificates can be automatically generated under the App Builder Resources tab in one step and then used for generation of a binary file. This should resolve most Certificate not set errors.
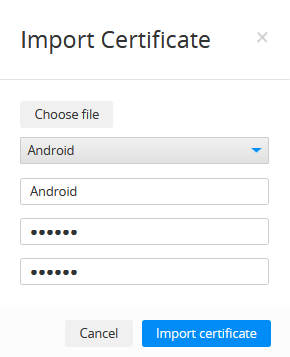
Importing Android Certificate
- Go to the Resources > Certificates tab.
- Click Import Certificates > Android.
- Click Choose file and select your certificate file.
- Name it, type your password for this certificate, and click Import certificate:
Publishing on Google Play StoreBefore you can publish your app to the Google Play store you will need to pay a $25 registration fee.
Also, publishing an app to Google Play Store can only be done by you. We don't have access to your account and can't publish apps on your behalf.
Building with Android Studio
NoteYou can also build a binary file outside of Appery.io with Android Studio. To do it, follow their official recommendations.
Building with Android Studio is very simple:
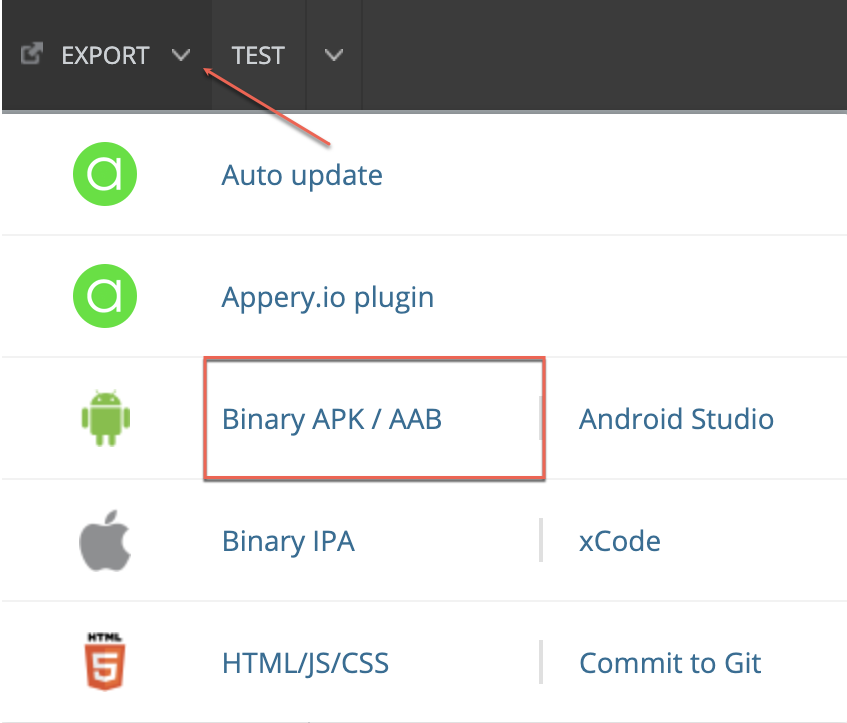
- In the Builder, click the EXPORT button and then select Android Studio:
- When the build is ready, click OK to save the
.zipfile to your drive (here, it's the QuizApp folder):

- Then, extract it.
- Start Android Studio.
- Click File > Open to search for the exported and unzipped project (note the correct path:
...\app\platforms\android:
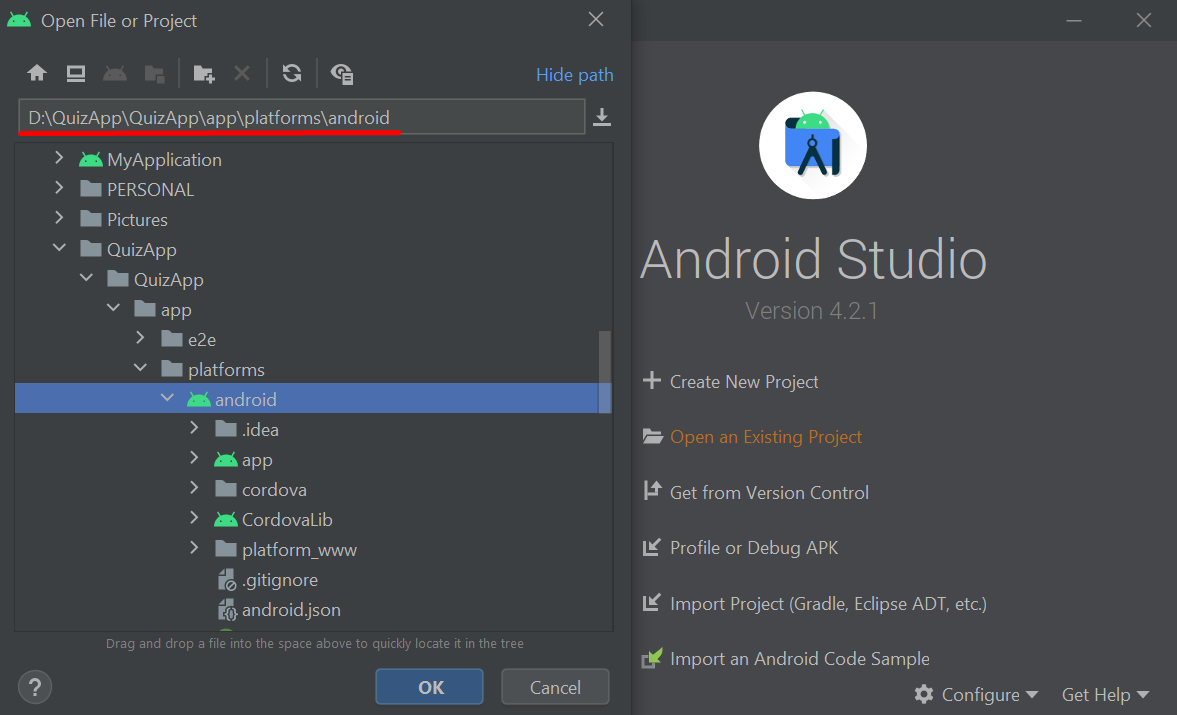
- Wait while the Gradle is loading.
- Click Build > Make Project:
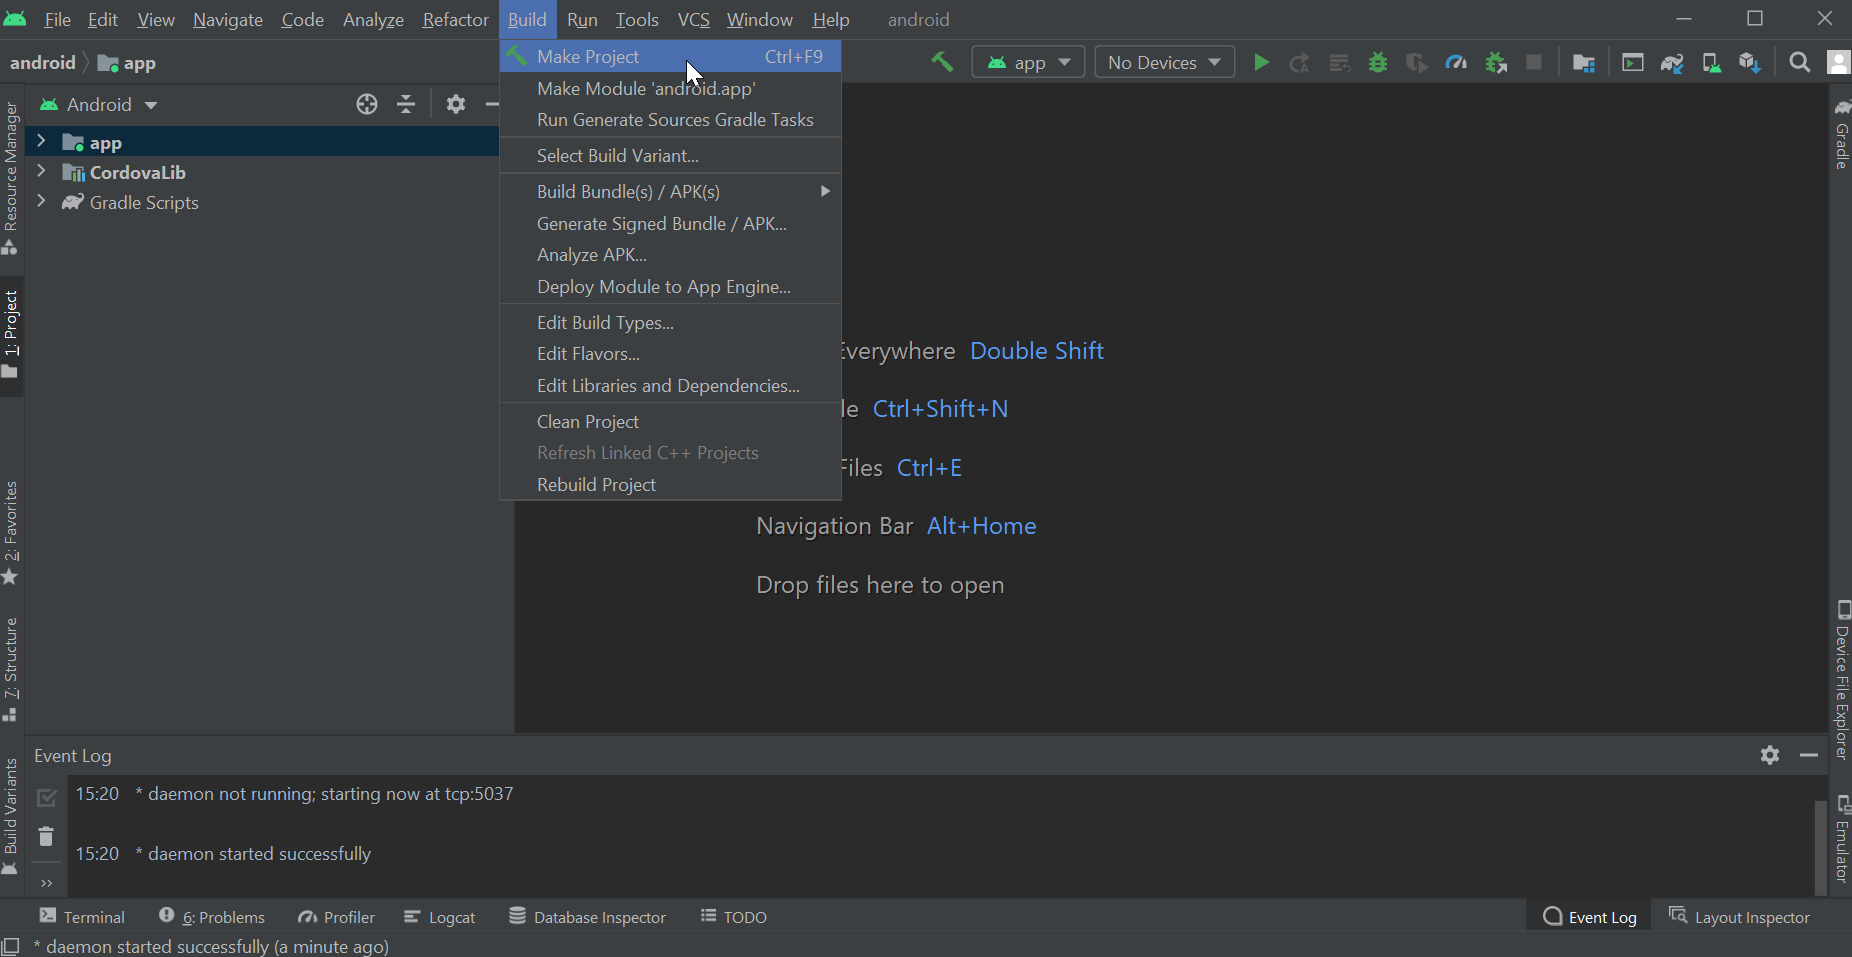
- Check to see it's built:
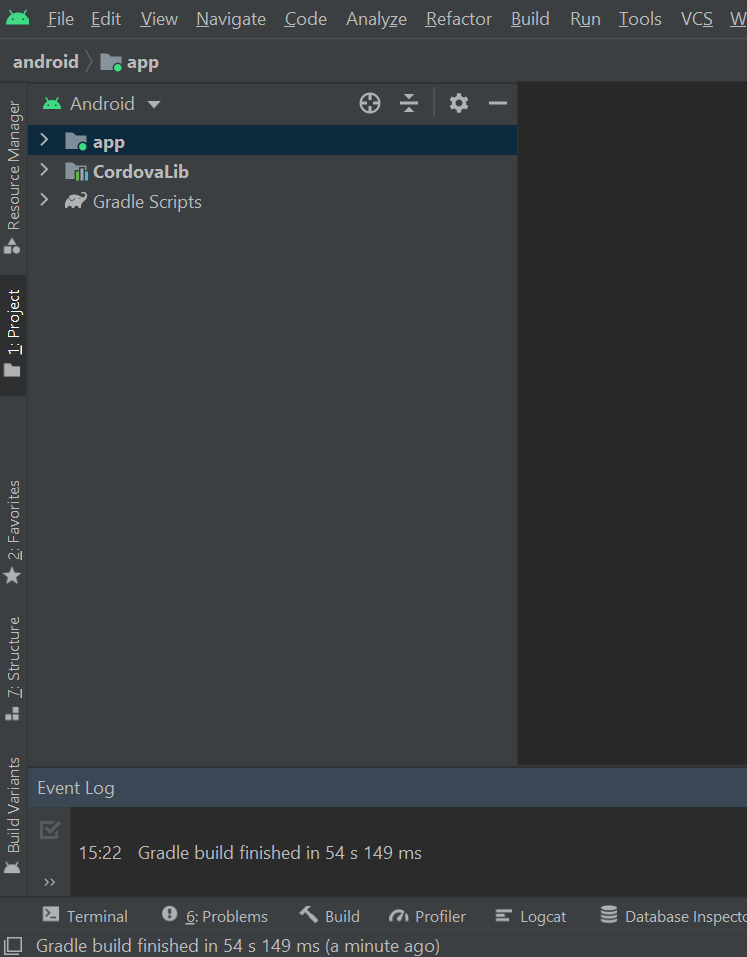
- See the
.apkfile in the folder with your projectQuizApp\platforms\android\app\build\outputs\apk\debug(QuizApp - the folder with your exported project from step #2).
Debug vs ReleaseNote that you can build two versions of the app but work with them is different in Android Studio: debug and release.
- The debug version is for testing purposes and is unoptimized.
With Appery, you can debug your app remotely using Remote debugger.- The release version is optimized, is signed with a key, and is ready to publish on GooglePlay.
Please read more about Android keys and certificates here: https://docs.appery.io/docs/appexport-android#android-certificate-file.Note as well that starting from August 2021, new apps are required to publish with the Android App Bundle (
.aab) on Google Play.
Please read more here.
After building an Android Studio project, you can browse the app resources, and source files, and see the overall project structure: https://developer.android.com/studio/run.
The following is a list of the most common reasons the Android build might fail. Please correct them and try to export again:
Troubleshooting Android Builds
Updating Apps Published on Google Play Before August 2021
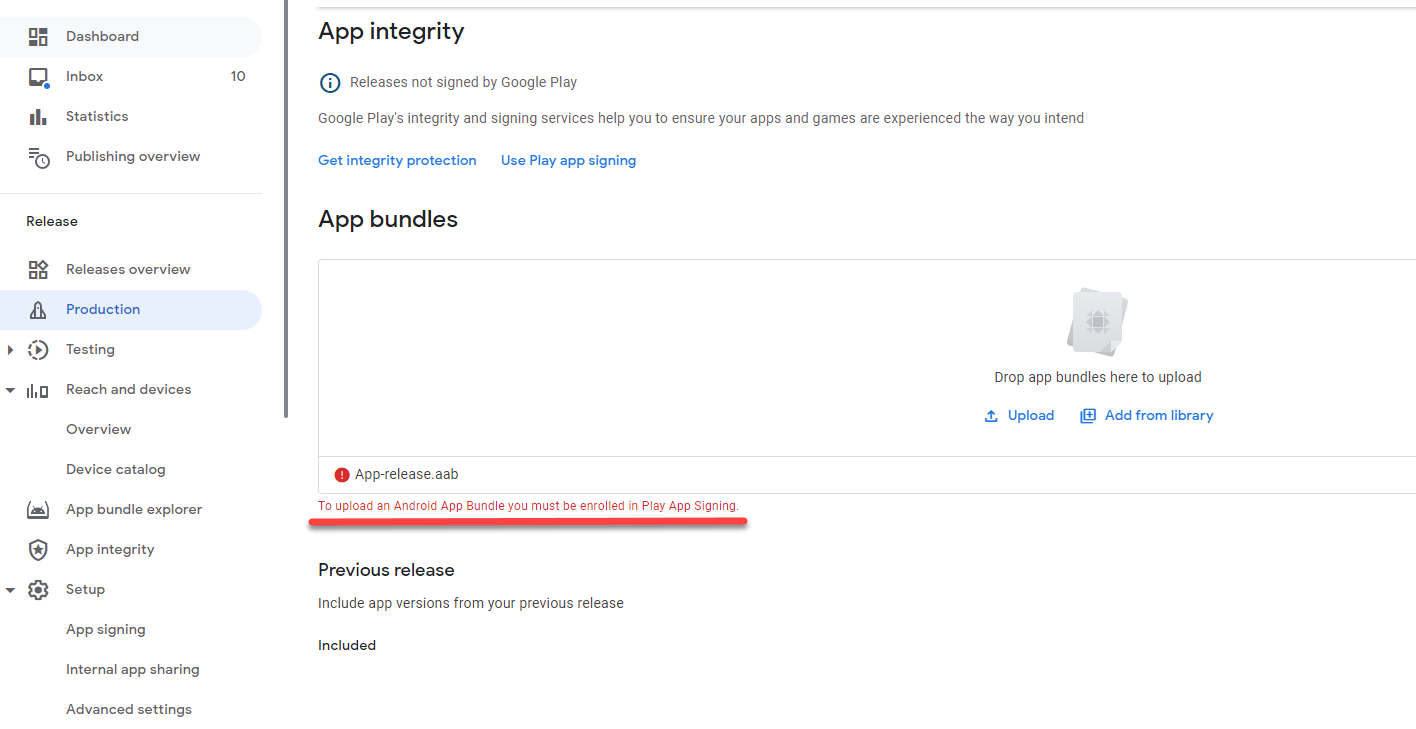
Starting from August 2021, the Google Play store does not accept APKs for publishing apps; all new apps are required to be published with the Android App Bundle that simplifies the developer app signing experience.
As a result, you can get the following error when trying to upload updates to the existing Google Play app (published with.apk) but using the (.aab) file you generated with Appery.io recently:
To resolve this issue:
- First of all, download and extract the archive with your certificate.
- Then, open the Google Play developer console and go to Release > Setup > App Signing.
If applicable, accept the App Signing TOS. - Select Use existing app signing key from Java KeyStore and follow the instructions below:
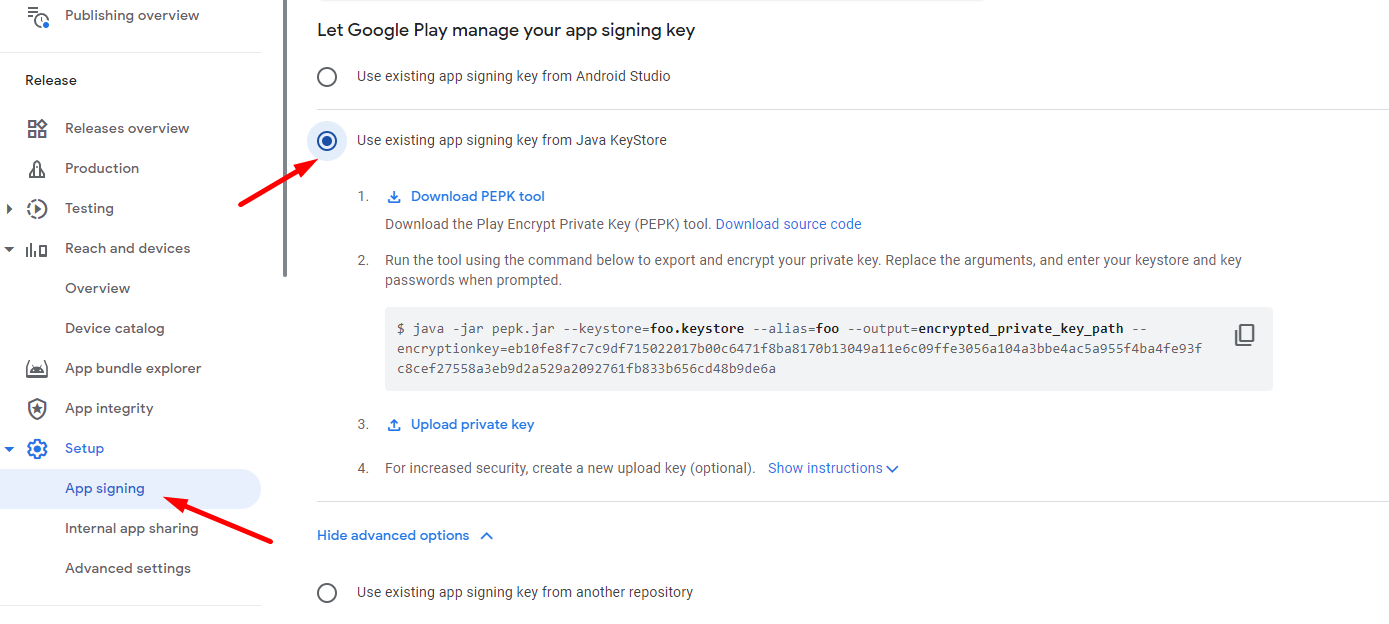
- Download the PEPK tool and open a terminal. There, type in the following:
java -jar PATH_TO_PEPK --keystore=PATH_TO_KEYSTORE --alias=ALIAS_YOU_USE_TO_SIGN_APK --output=PATH_TO_OUTPUT_FILE --encryptionkey=GOOGLE_ENCRYPTION_KEY.
Make sure you use the correct pathes (to pepk, keystore, and the output file), correct alias and Google encryption key.
For example, the command can look like this:
java -jar pepk.jar --keystore=apperyio.project --alias=apperyio.project --output=encrypted_private_key_path --encryptionkey=eb10fe8f7c7c9df715022017b00c6471f8ba8170b13049a11e6c09ffe3056a104a3bbe4ac5a955f4ba4fe93fc8cef27558a3eb9d2a529a2092761fb833b656cd48b9de6a
- You will then be asked to enter a new password; here, we recommend using the existing one. So, enter your password to the store (ex. 'apperyio.project') and enter the password for the key (ex. 'apperyio.project').
- Proceed to the next step and upload the (
.aab) file generated in Appery.io to Google Play by clicking Upload private key:

- Click Save. You are done!
Other Issues
- The custom certificate is uploaded, but the app is trying to build with the auto-generated certificate. If you have uploaded a custom certificate, make sure the auto-generated certificate isn’t selected.
- Changes made in the Source view. If you’ve made any changes in the Source view, this might be causing the build to fail. Delete the edited files, then select the gear icon, and Undo all source changes for the Android folder.
- App icons: Double-check that all the app icons you uploaded are in the correct format and have the correct names.
Known Build Bugs
There are two known bugs that may cause the build to fail:
- Changing the package name. If you changed the app package name and the build now fails, switch to Source view. For the Android folder, select the gear icon, then Undo all source changes. Try to export again.
- Missing certificate. Click Change for the Keystore file and select the certificate. Try to export again.
Updated 12 months ago