Ionic Database Login and Signup Plugin App
Login-registration sample app built with Ionic.
This sample app shows the following features:
You can right now test our sample app in work using the predefined test user credentials ([email protected] password: 123456) to sign in or registering a new user:
The first step is to get the app backend. This app backend consists of the database for storing users.
Want to know more?You might also like to learn how to build another Ionic app with login functionality: Login form sample app .
Setting App Database
In this step, you are going to create the app database to store user(s) and user data.
The first step is to create a new database and one new collection inside the database.
- Go to the Databases page and click the Create new database button.
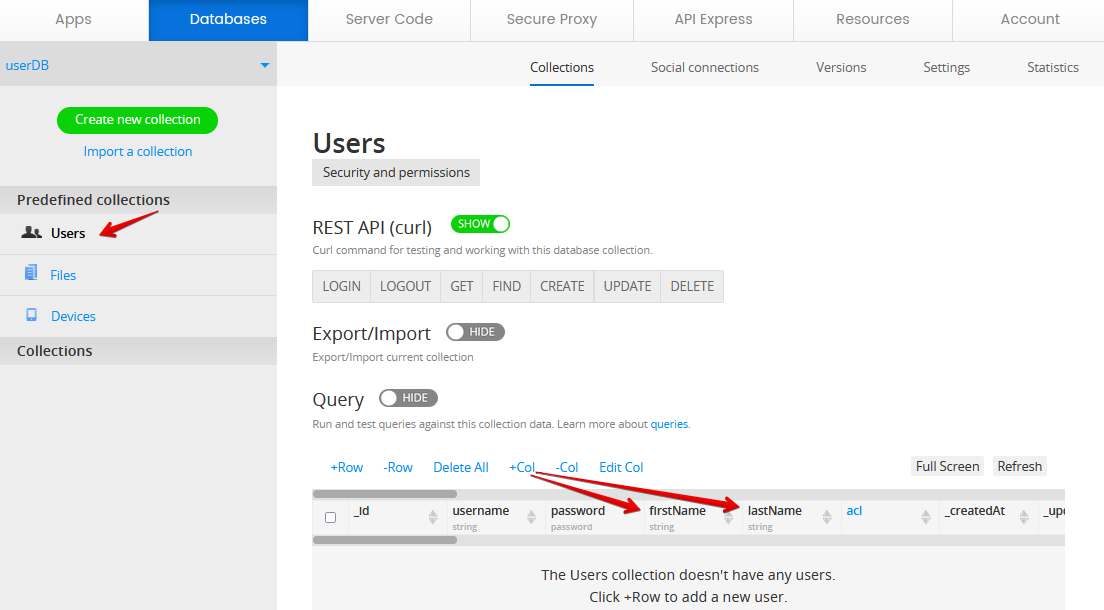
- Name the database: userDB. The new database has a default Users collection where the users will be stored.
- Let's add two more columns to the collection: firstName and lastName by clicking the +Col button:
Adding Security to Your DatabaseYou can also check this link for information about how you can additionally secure your database.
Getting Ionic App
Getting the Ionic app is really fast and easy as the app is available as a plug-in inside the App Builder.
- Go to the Apps tab.
- Click the Create new app button.
- Select the Ionic Blank template. Name the app and click the Create button.
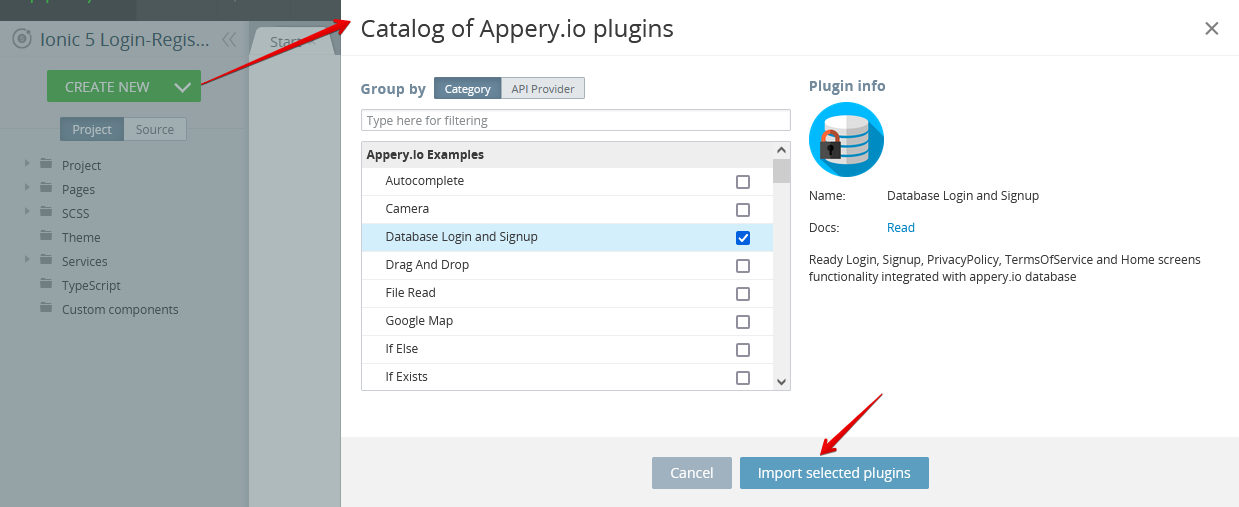
- When the visual App Builder loads, click CREATE NEW > From Plugin.
- Under Appery.io Examples, select Database Login and Signup.
- Click Import selected plugins:
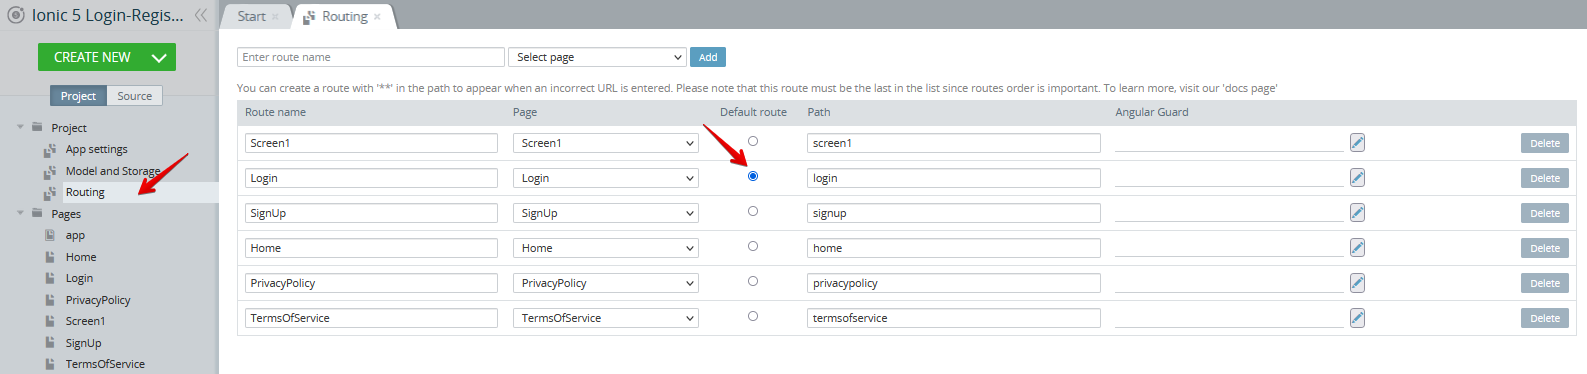
After the plugin is imported, several default pages (Home, Login, PrivacyPolicy, SignUp, and TermsOfService), app page and the needed services are added to the app.
- Now, under the Routing tab, select the Login page for Default routing:
If you save and test the app now, you will get an alert notifying you that no database ID has been specified:
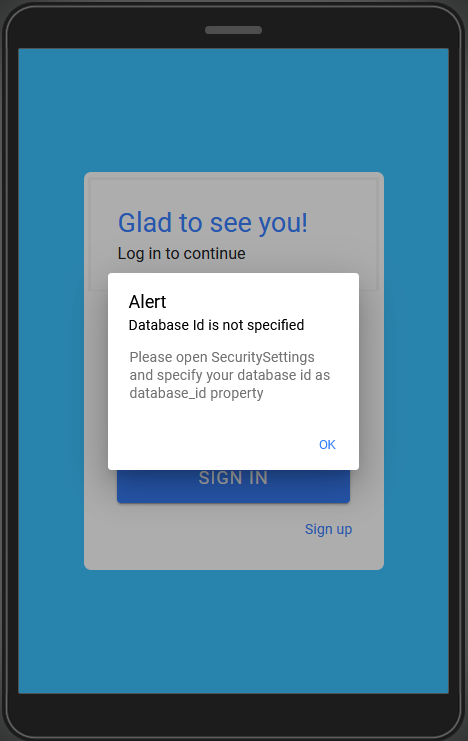
So, let's proceed with specifying the database ID.
Configuring App Logic
The services that talk to the backend are already in the app but you also need to set the database ID for these services to be linked.
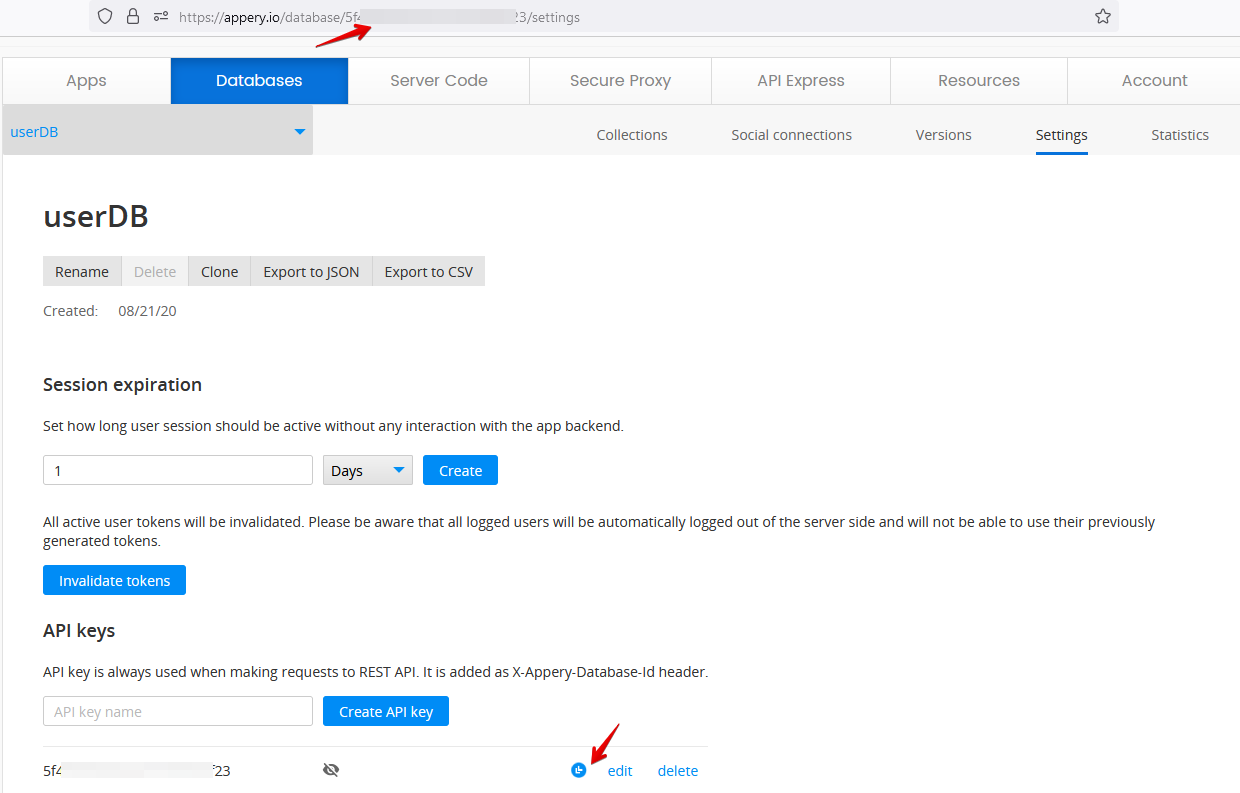
- Go back to the Databases tab and copy the userDB ID from the URL (can also be located under Settings > API Keys) to clipboard:
- Go back to the app and, in the Project view, unfold the Services > SecurityServices and locate the SecuritySettings service.
- Insert the copied database ID into the Default value field:
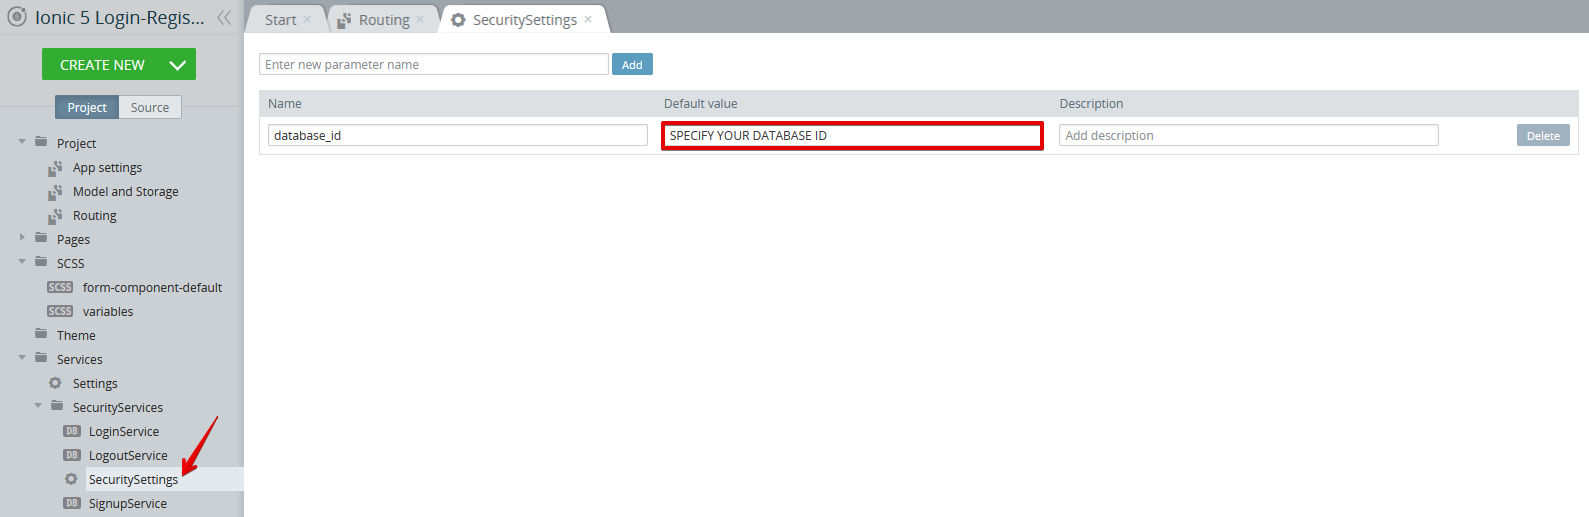
- To save changes, click the SAVE button in the App BuilderToolbar.
App Testing
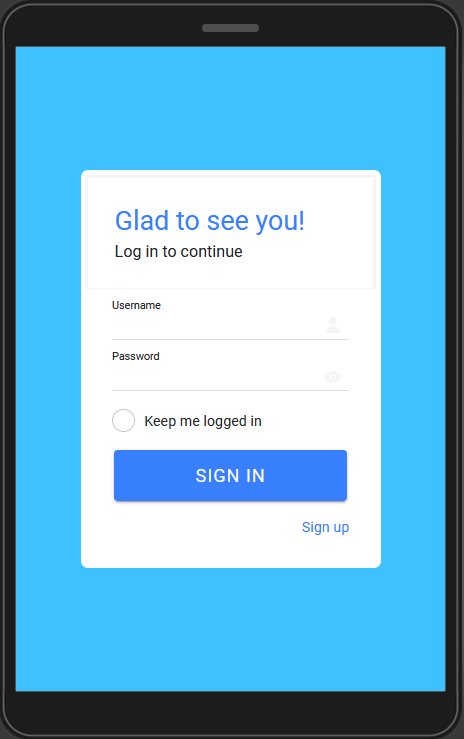
You are now ready to test the app. Click the TEST button in the App BuilderToolbar to launch the app in the browser.
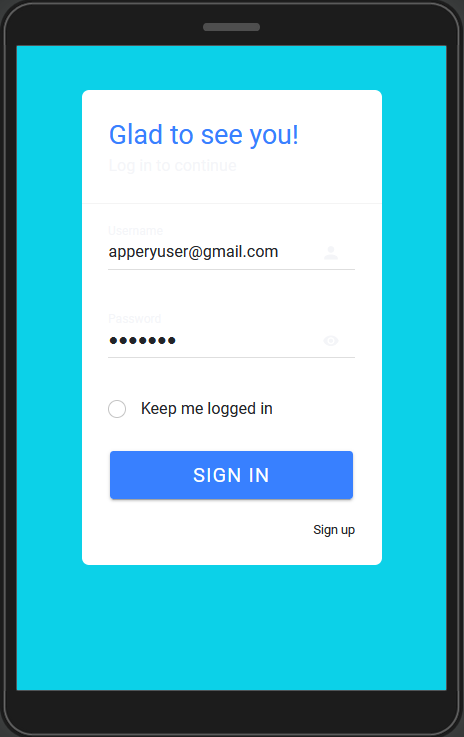
This time, the Sign In page shows up as expected but before a user can successfully log in, he has to be registered:
So, you will first need to proceed with user registration by clicking the Sign up link:
After that, you will be able to sign in by entering the predefined test user credentials on the Sign Up page that opens on the SIGN IN button click:
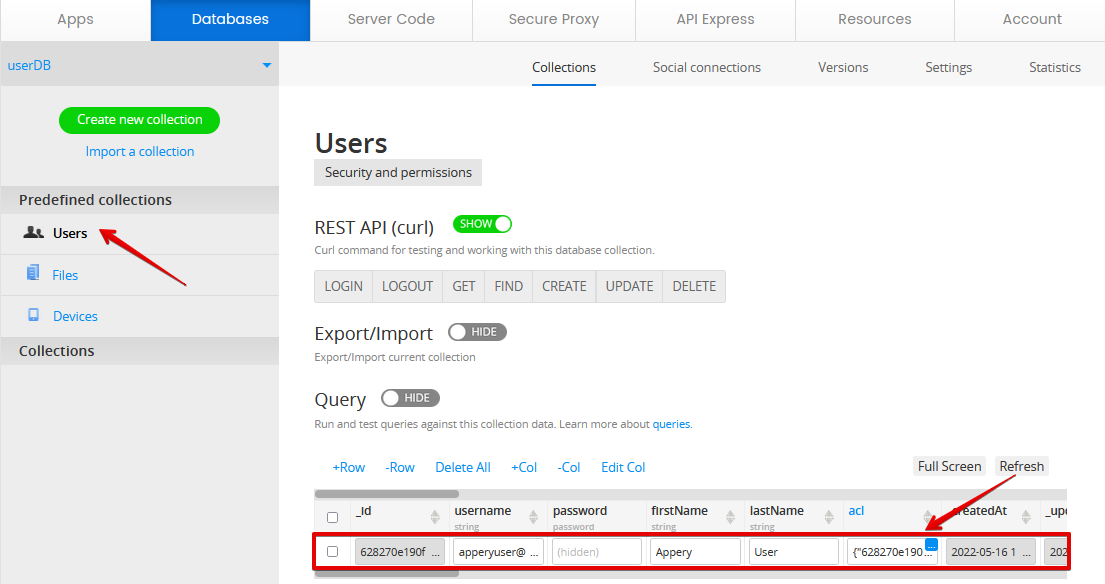
Also, if you now go to the database Users collection and click the Refresh button, the new user record will be displayed:
Testing on Device
When your app version is ready, you might also like to test it on the device.
Appery.io Tester AppA great option to quickly test the app on the device is to use our Appery.io Tester app.
The app is free and available for both iOS and Android.
You can check out this page to learn more about using the Appery.io Tester app.
You can right now test our sample app in work using the predefined test user credentials ([email protected] password: 123456) to sign in or registering a new user.
Updated about 1 year ago