Building Your First Ionic Mobile App: Hello World
In this tutorial, you are going to build a Hello World app with Ionic in Appery.io.
The app is going to behave like this (try clicking Hello World to see the welcome message):
And you should finish this tutorial in less than 5 minutes.
Appery.io Account
The first step is to sign up for an Appery.io free trial account. If you already have an account, then you can skip this step. Appery.io provides a visual App Builder for building apps with Ionic. This means it's very easy and fast to build applications.
Creating App
Let's now create a new Ionic app. This is going to be a basic Hello World app.
- Inside the platform, go to the Apps tab (if you are not there already).
- Click Create new app.
- For the app name, enter IonicHelloWorld.
- Select the Ionic Blank template and click Create.
In a few seconds, the App Builder for Ionic will load showing the Guide page where you can learn how to create a stunning UI for your very first mobile app, get help on how to add the needed features, debug and test it, and much more…
That was easy, wasn't it?
Designing Page
Now, let's work on the app UI. As this is a Hello World app, the UI will be pretty simple.
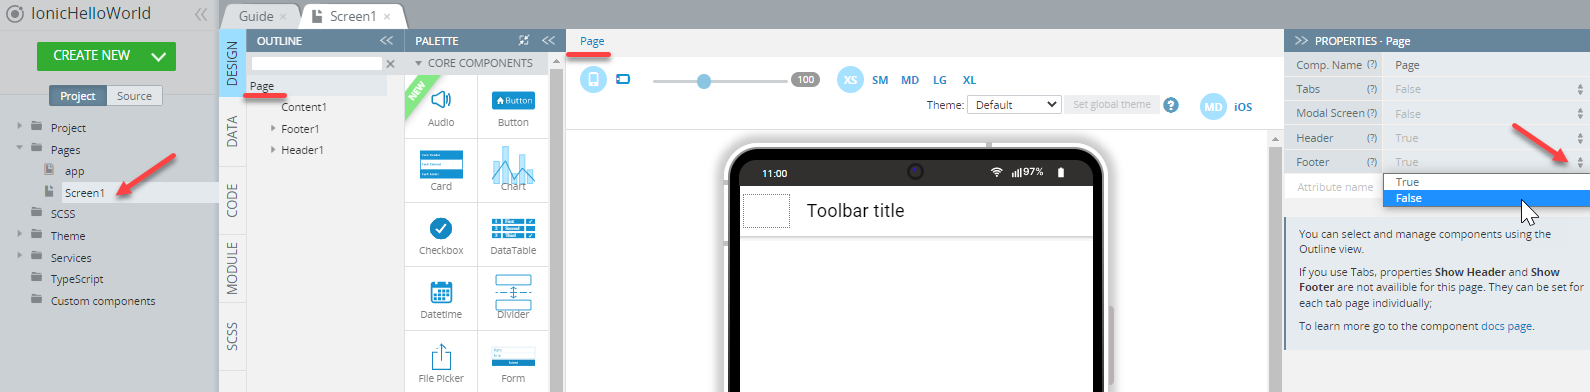
- First, open the app Screen1 page:

- Select the Page component from the breadcrumbs (you can also use the OUTLINE view to locate the needed component) and set the page Footer property to False as we will not use it in the app (you will also be asked to confirm changing the property):
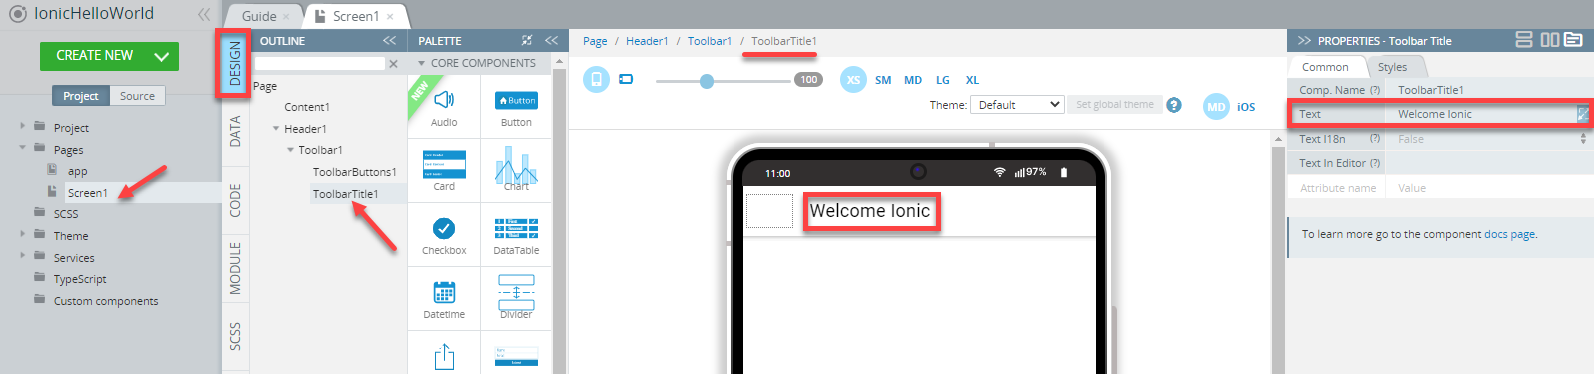
- Click the Header (check that Toolbar title1 is shown in the Breadcrumbs line) then, in the PROPERTIES panel, change the Common > Text property to Welcome Ionic. If you like, you can also modify the default text right in the mobile frame:
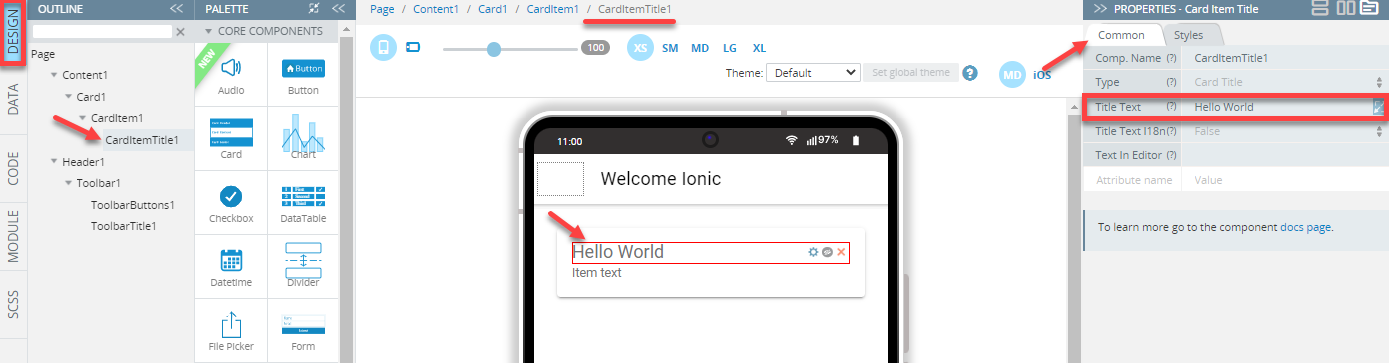
- Now, locate the Card component (on the PALETTE) and drag it to the screen.
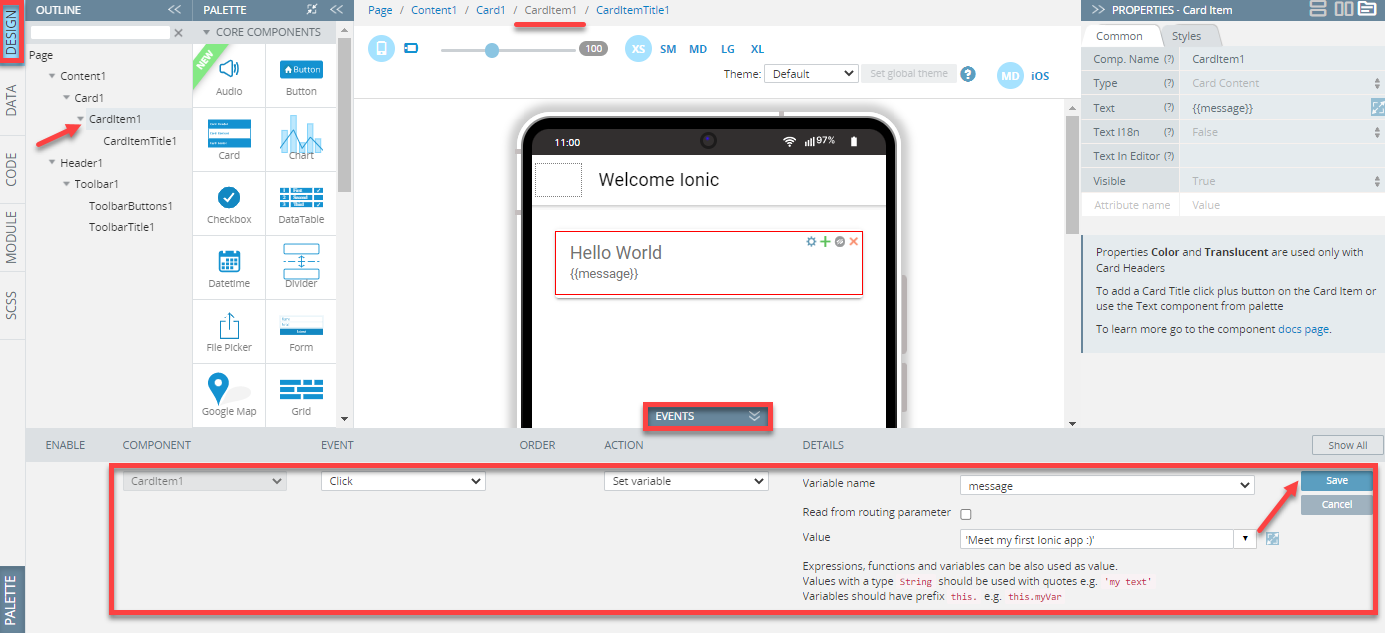
- Click Card Item Title and in the PROPERTIES panel, replace its default of the Common > Title Text property to Hello World:
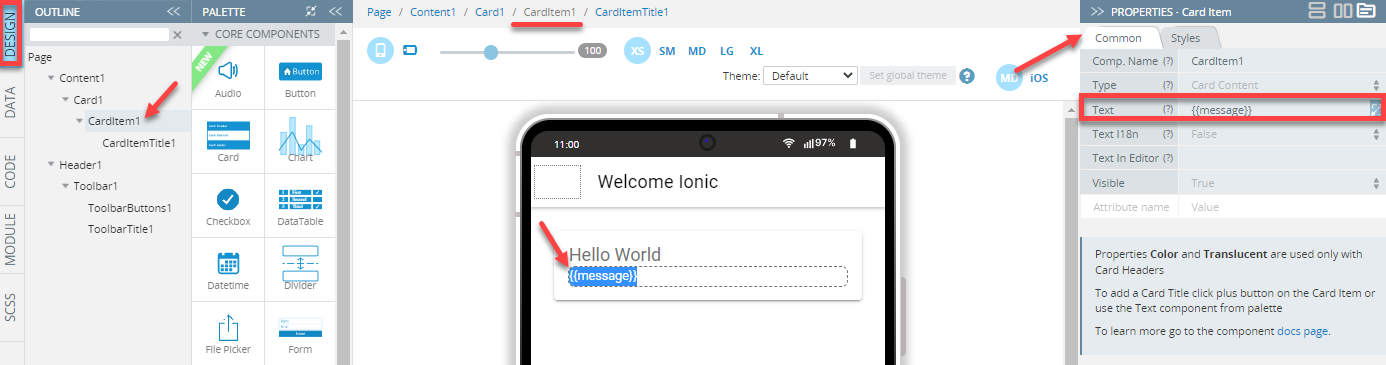
- Then, select the Card item and change its Common > Text property to {{message}}:
That's all you need to do here for the app UI.
Setting up App Logic
Now, you are going to set up the logic for the app. This is also going to be simple and very easy to do.
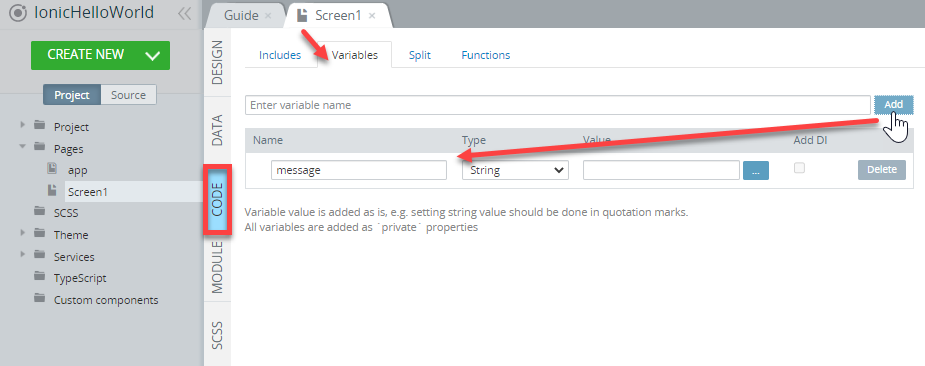
- Switch to the CODE) panel.
- You will now create one variable. Select the Variables tab and enter a new variable called
messageand click the Add button. Its type should be String (the default value):
- Now, go back to the DESIGN panel and unfold the EVENTS tab from the bottom; for the CardItem1 component, select the Click event from the drop-down, then select the Set variable action and set the message variable that has been just created.
- For the Value, insert 'Meet my first Ionic app :)'.
- Click Save:
- Lastly, click the SAVE button in the App BuilderToolbar.
Good. The next step is testing our first Ionic app.
Testing App
Testing the app is fast and simple. All you need to do is simply click the TEST button in the top App BuilderToolbar.
The browser will launch with the app that you have just built. A click on the Hello World button opens the greeting text:
If you are launching the project for the first time, please allow some time for the app preview to load.
Testing on Device
When your app version is ready, you might also like to test it on the device.
Appery.io Tester AppA great option to quickly test the app on the device is to use our Appery.io Tester app.
The app is free and available for both iOS and Android.
You can check out this page to learn more about using the Appery.io Tester app.

Updated about 1 year ago