Media Manager
Using the Media Manager
Media Manager allows working with image files in the App Builder. You can upload, rename, delete image files, download them and/or select them as assets for the Image component (JQM projects).
Working with assets in Ionic 5Please check here to learn how assets can be managed in Ionic 5 projects.
To open the Media Manager, click additional menu (the three lines button) in the upper-right corner of the builder and select Media Manager:

The Media Manager window opens and you will see all the previously uploaded images.
In Ionic 5 projects, it is possible to launch both Media Manager and Files Manager from App settings > General > Assets:
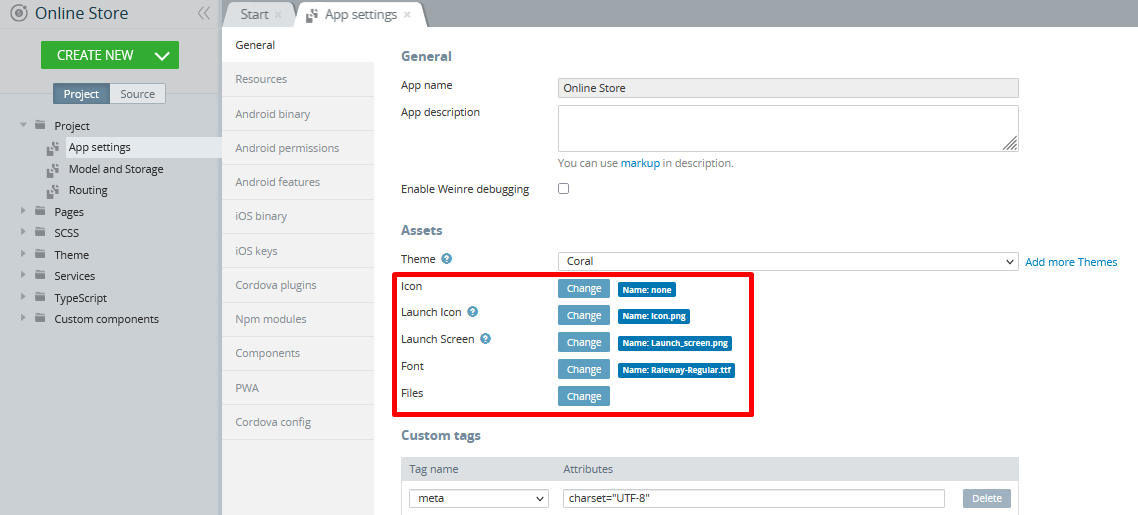
All you need to do is click Change for the needed asset to open the window:
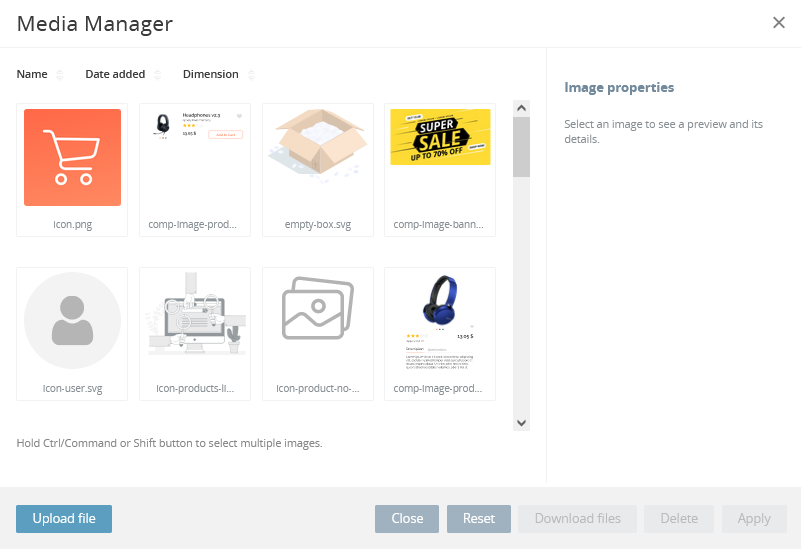
Media Manager Window
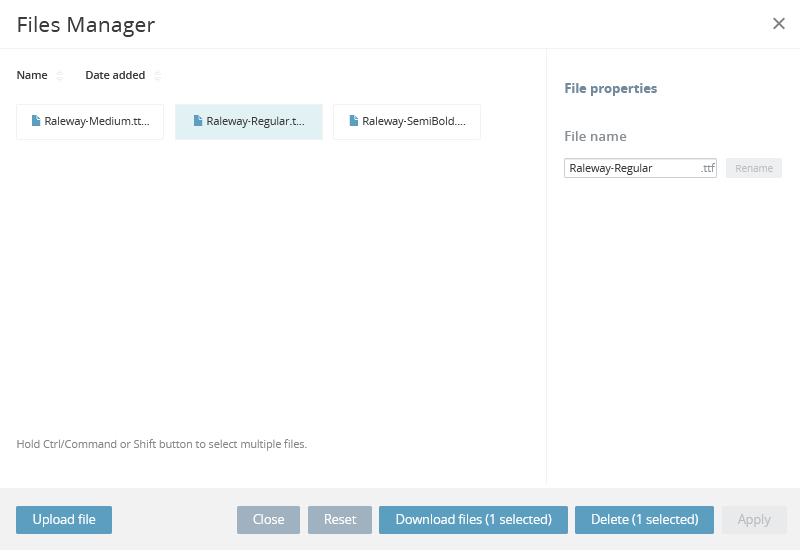
Files Manager Window
Note!In JQM projects, Media Manager is also accessible from under the App settings > General tab.
Uploading Images
To upload a new image from your hard drive, click Upload file, select the files, or drag & drop the files from your file manager.
Only image files can be uploaded with Media Manager. If you select anything but an image file, an error message will appear.
When the upload of the selected images is complete, click Back to images list.
Renaming Images
If you click the image from the list in the Media Manager, you will be able to see its size. You can edit its name in the Image properties block.
To save the new image name, click Rename.
Removing Images
To remove an image from the Media Manager click the image on the list, and in the Image properties block, click Delete: the image will be removed.
Downloading Images
To download the needed image(s) from the Media Manager click the image(s) on the list, and click Download files: the modal window will open asking to select whether you want to save your image(s) to your drive or open it (them).
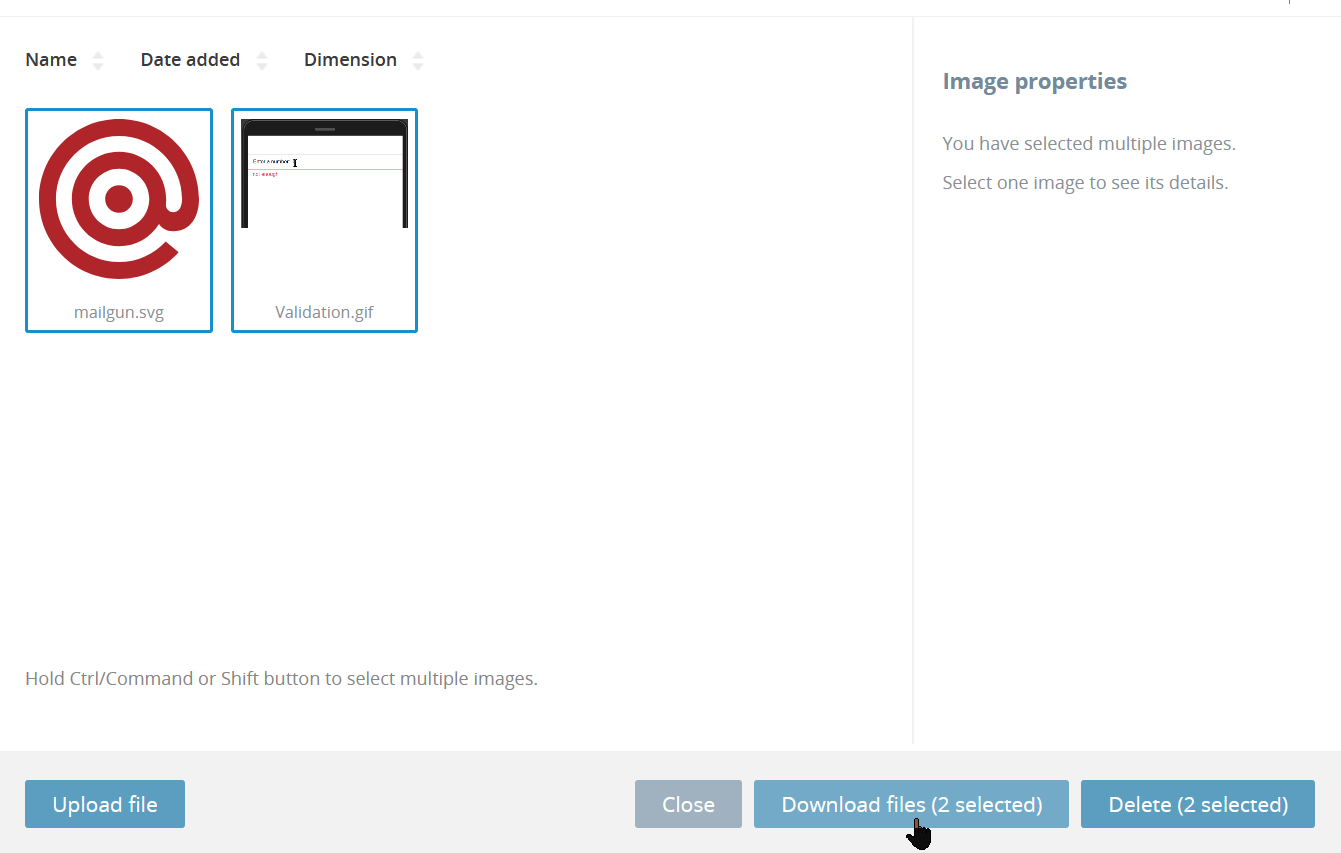
Selecting Image for Image Component
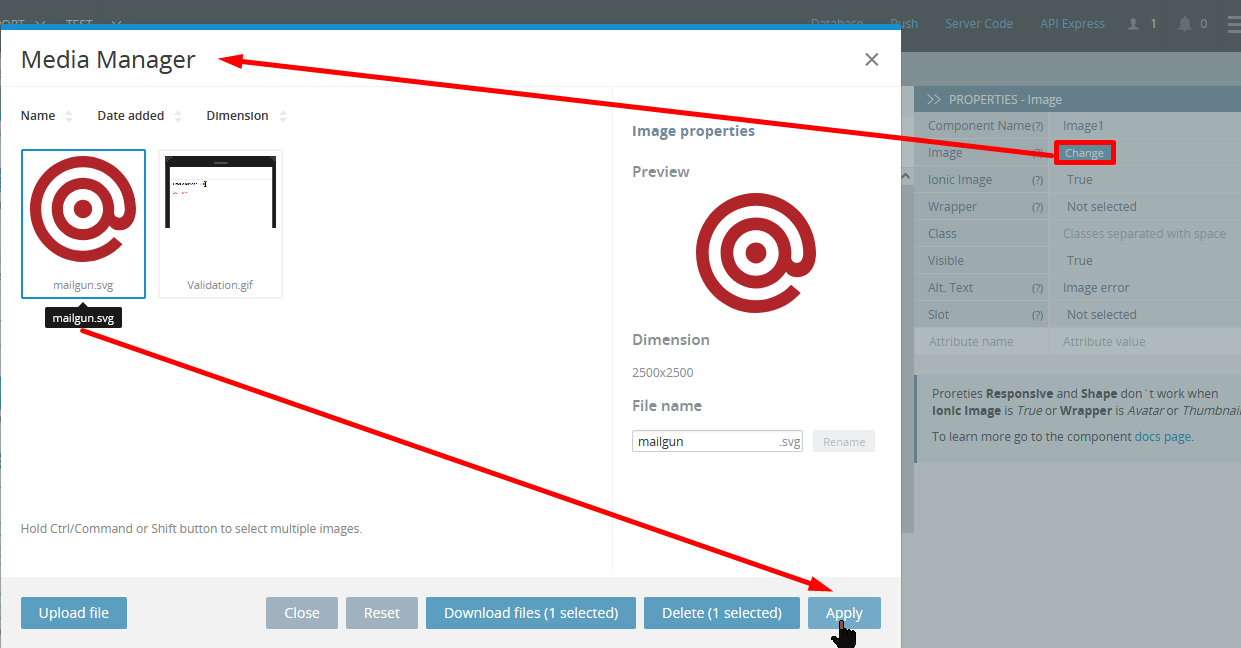
In the editor, select the Image component and, on the PROPERTIES panel, click Change: the Media Manager opens. Here, you can select the image from the list or upload a new image and select it. To select the image, click it on the list, the image will then appear in the Image properties block. Then click the Apply button, (this button appears only when selecting the asset for the Image component):
Changed Image PathsThe image paths were changed in 3.0 and above libraries versions.
Old path:
/files/views/assets/image/image.jpg
New path:
/img/image.jpgFor Ionic App builder
The path to the uploaded files would be:
files/images/image_file.png.
Updated 7 months ago
