Ionic Google Analytics v.4 Sample App
Ionic sample app using Google Analytics
Introduction
In this sample app tutorial, we will show how to integrate Google Analytics in your Ionic Appery.io app which will enable you to log events in order to track the usage and behavior of the app.
Important Note!
Our Google Analytics 4 Sample App contains ready to use services (FirebaseAnalyticsPlugin plug-in).
Part 1. Creating App
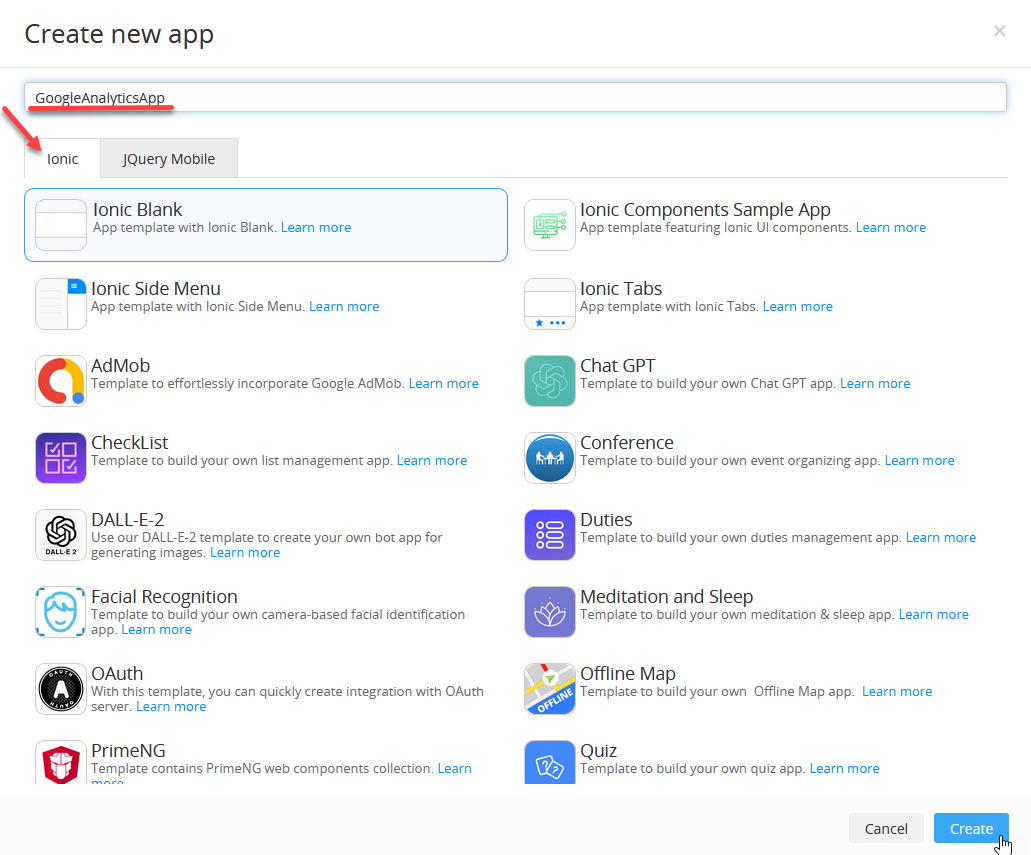
- Go to the Apps tab and click Create new app.
- Select Ionic Blank for the application type, enter the app name, for example, GoogleAnalyticsApp, and click Create:
Creating App UI
- Go to the Screen1 page DESIGN panel and, under its PROPERTIES panel, set the Page Footer property to False (you will be asked to confirm you agree to this change - click OK to accept).
- Then, select its Toolbar title component and change its Text property to Google Analytics App:
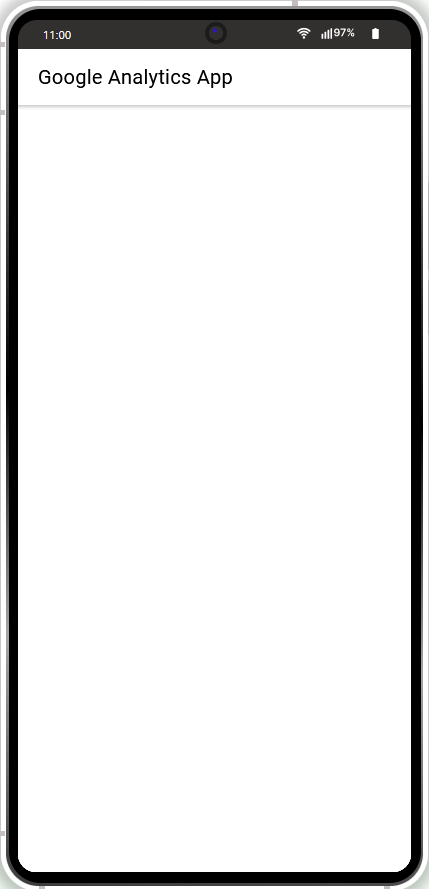
That's it for the app UI. Not very complicated, is it?
Now, let's proceed to the app logic.
Enabling Cordova Plugins
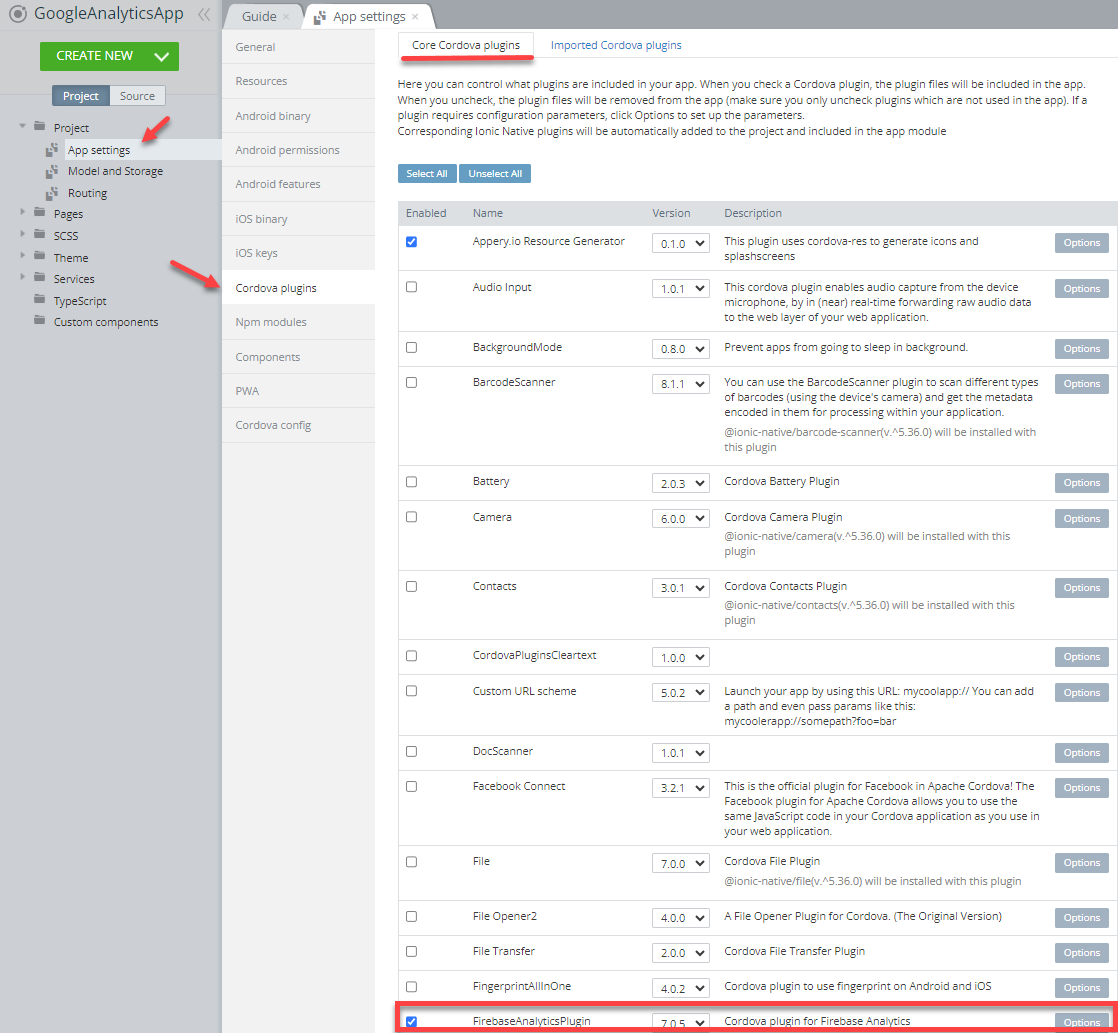
- Inside the app, navigate to Project > App Settings > Cordova plugins.
- To enable Google Analytics in an app, the FirebaseAnalyticsPlugin plug-in has to be activated. Go to Project > App Settings > Cordova plugins, select the Core Cordova plugins tab, then select the FirebaseAnalyticsPlugin checkbox:
Push Notifications Support
Besides, if you plan to support push notifications in your app, make sure you completed the following steps:
-
For Android, set up Firebase Cloud Messaging Provider. Make sure the app package name in Firebase matches your app ID.
-
Download the Google Services JSON file and Firebase Admin SDK JSON file from Firebase and add them to Push Notifications > Settings page.
-
To support push notifications on iOS, add your APNS Push Certificate and Certificate password in iOS settings:
Developing iOS Application and Publishing it to App Store on any Platform: Windows, Linux, or Mac Video Tutorial
You can check this Appery.io YouTube video to learn how you can develop an iOS mobile app with Appery.io right in the browser using a Windows desktop.
Also, you will learn how to install it on an iPhone for testing and then publish it to the App Store.
Part 2. Setting Up Firebase Project
Adding iOSApp
iOS support
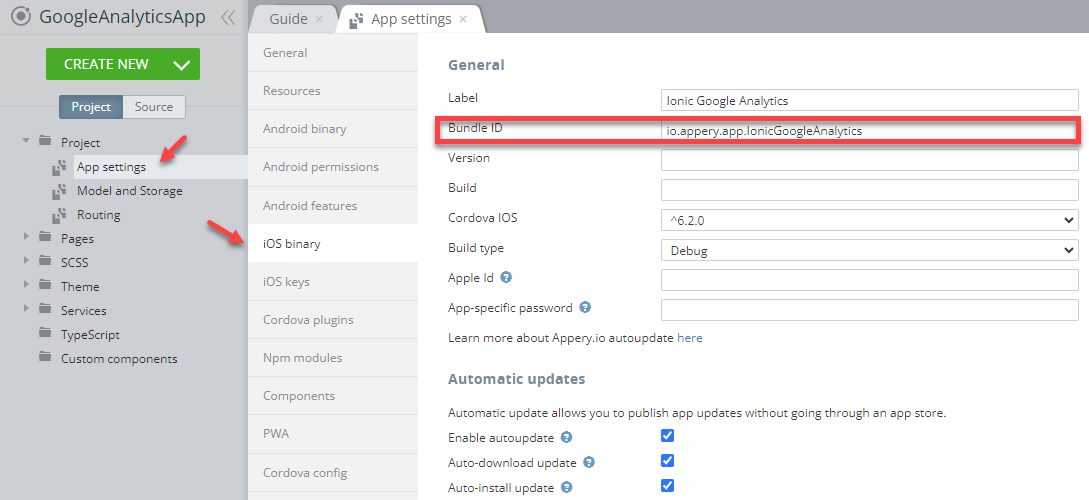
If you plan your app to support iOS, you need to make sure your Package name under the Project > App settings >iOS binary tab is set to your app Bundle ID (the ID you provided for the uploaded certificate (you made it when registering the app on the Apple website).
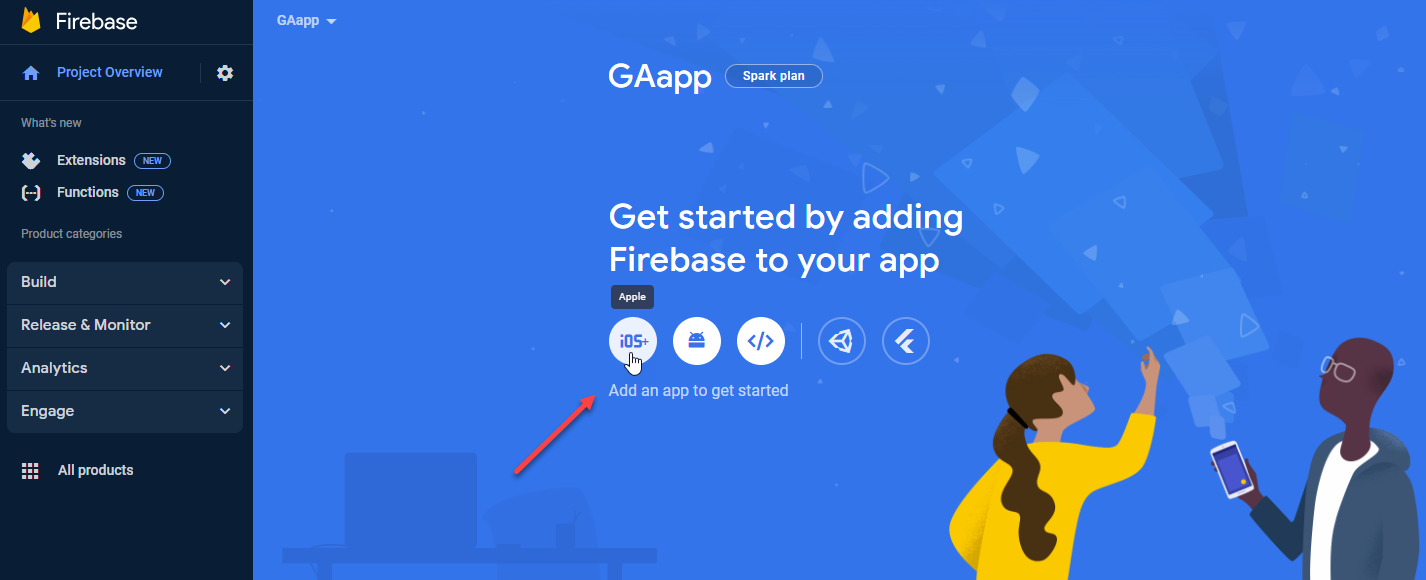
- Sign up to https://firebase.google.com and create a new project, for example, GAapp.
- Go to the Project settings tab and create a new app for the iOS project:
Firebase project settings
- In your Appery.io, go to the Project > App settings >iOS binary tab and copy your app Bundle ID to clipboard:
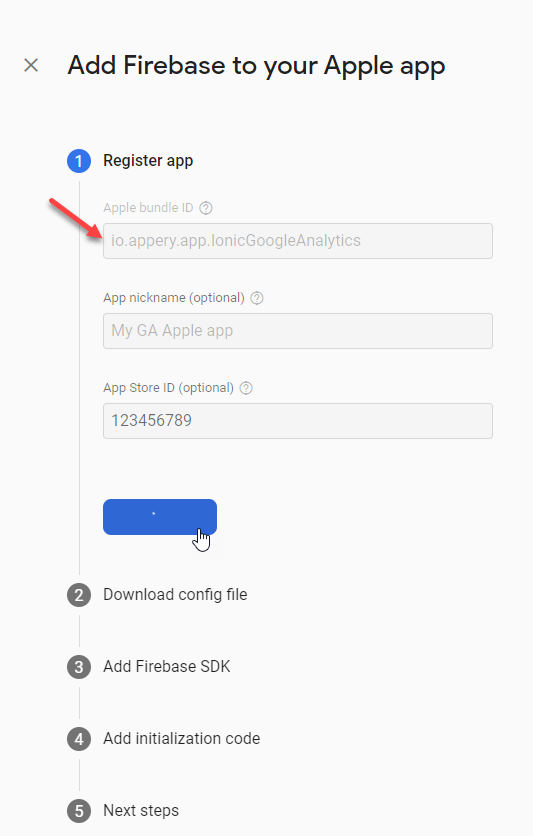
- Then paste the bundle ID you copied to your Apple app in Firebase and register your app nickname:
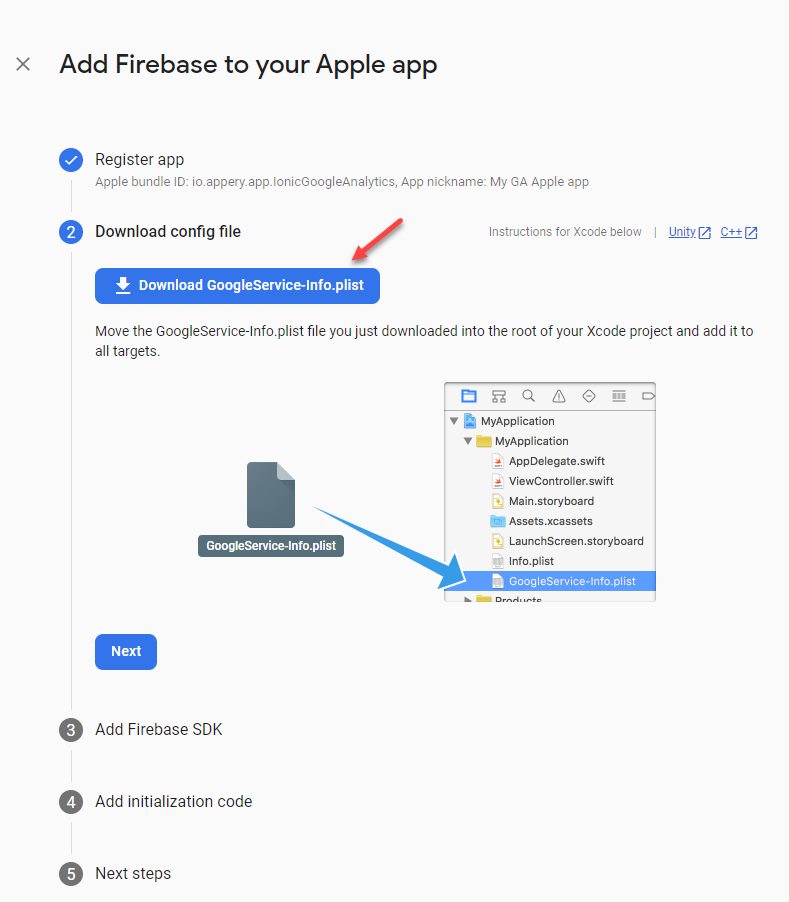
- Next, download the generated .plist file to your drive and click Next:
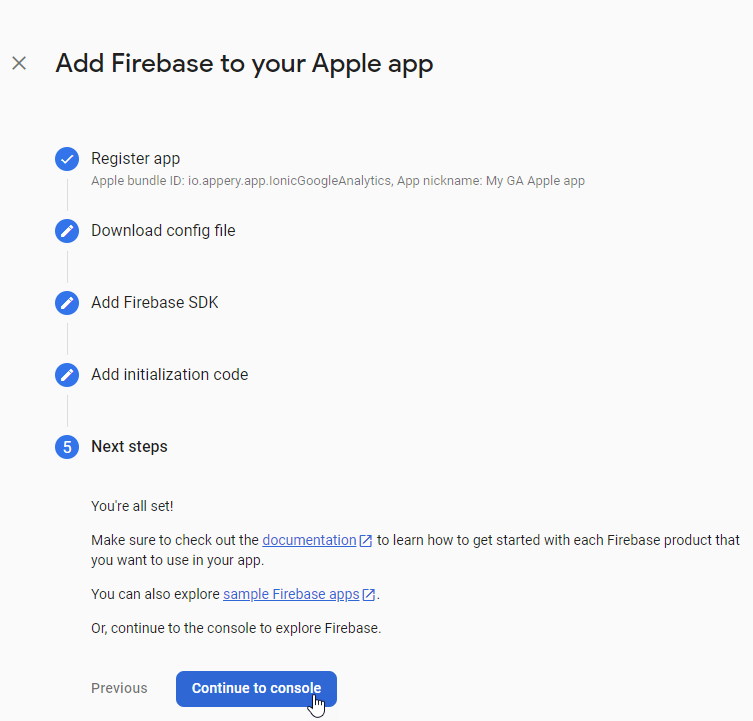
- Click Next to proceed with the three next steps. In step 5, click Continue to console to exit the Firebase settings:
Adding Android App
Now, repeat all the steps described for iOS above to add the Android app under the Firebase Project settings tab:
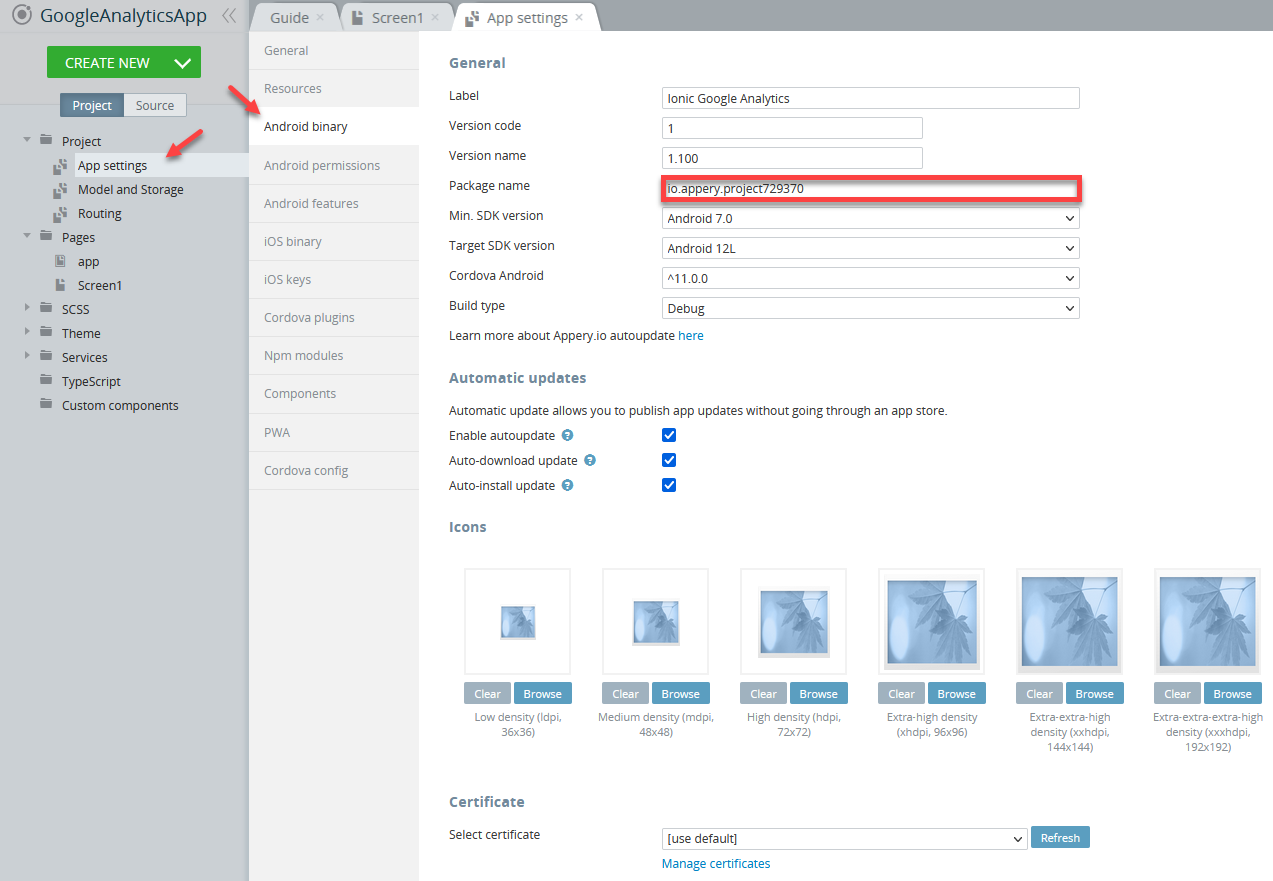
App Registration
When registering your Android app with Firebase make sure you provide the correct package name (can be found under Project > App settings >Android binary > Package name of your Appery.io app):
Adding Web App
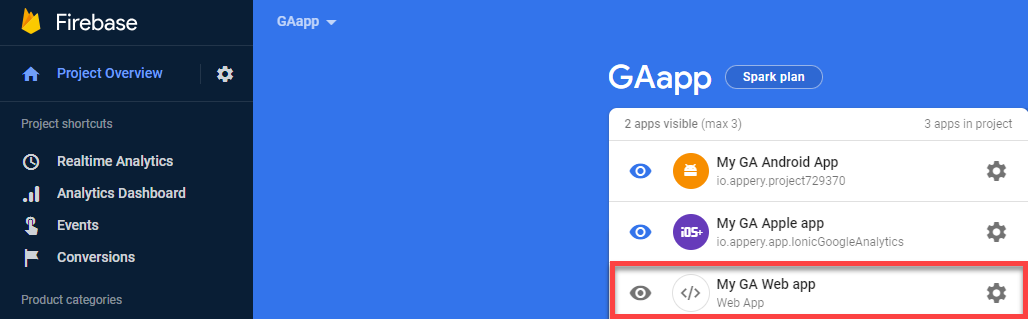
- Now, add the Web app to your project under the Firebase Project settings tab:

- The app will appear next to the two already existing apps:
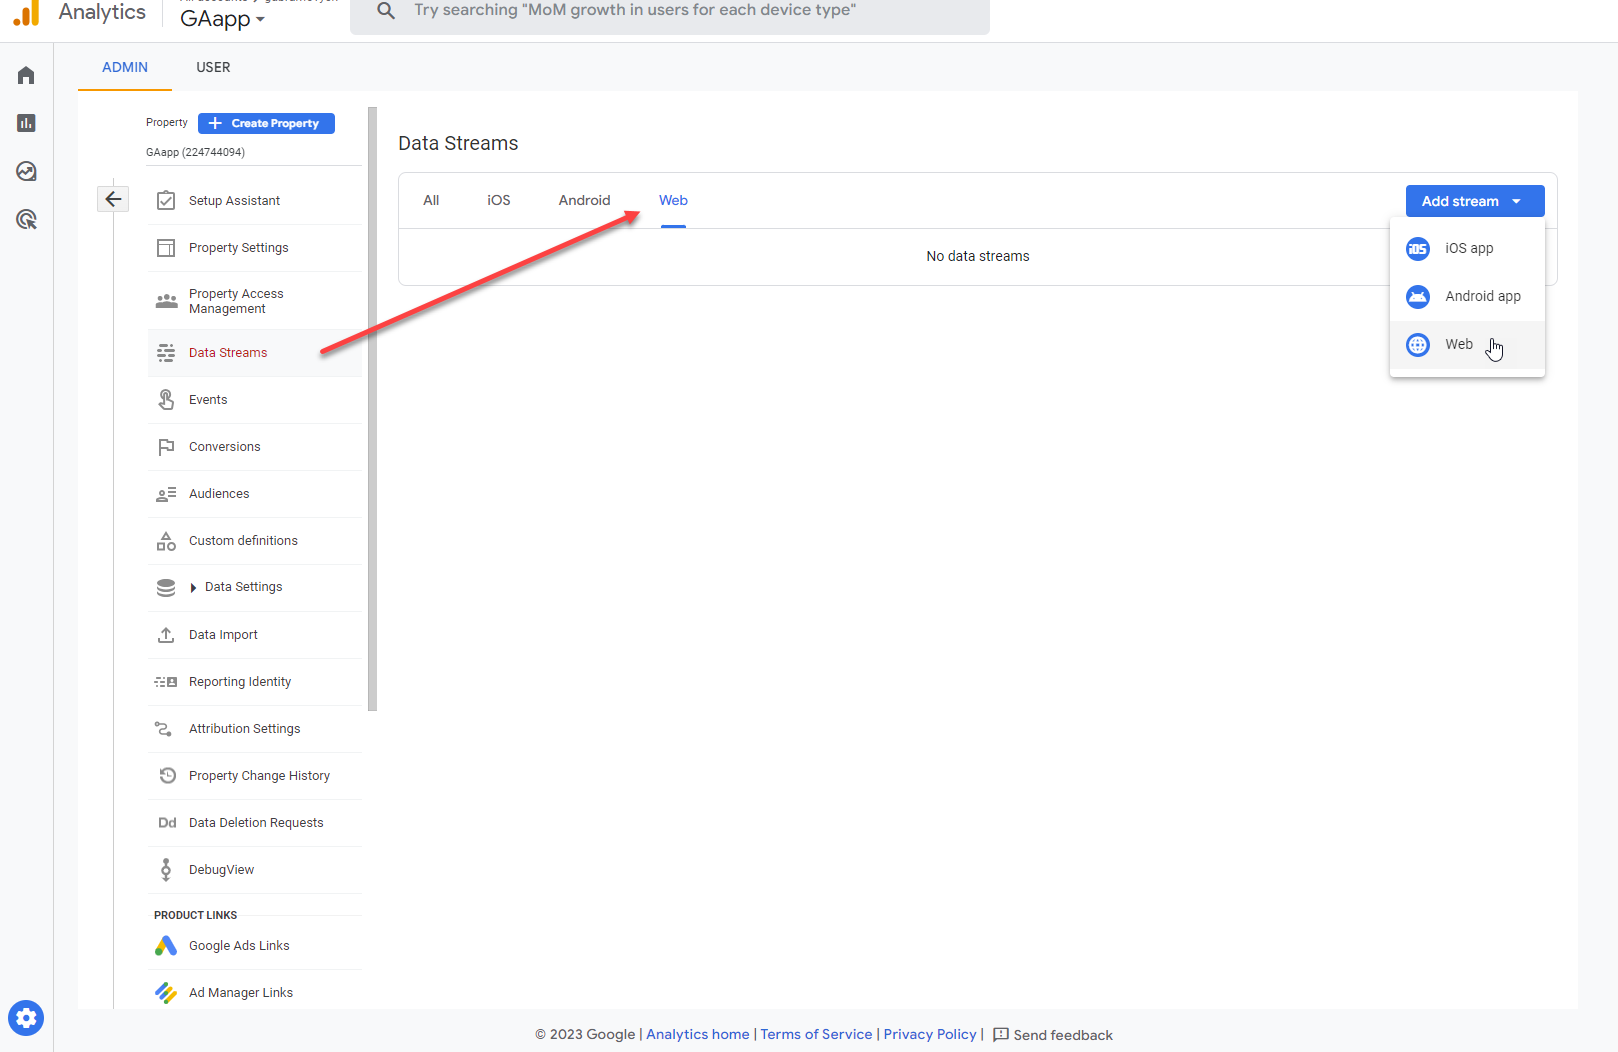
- Now, switch to the Google Analytics console, go to the Admin section, and select the Data Streams tab:
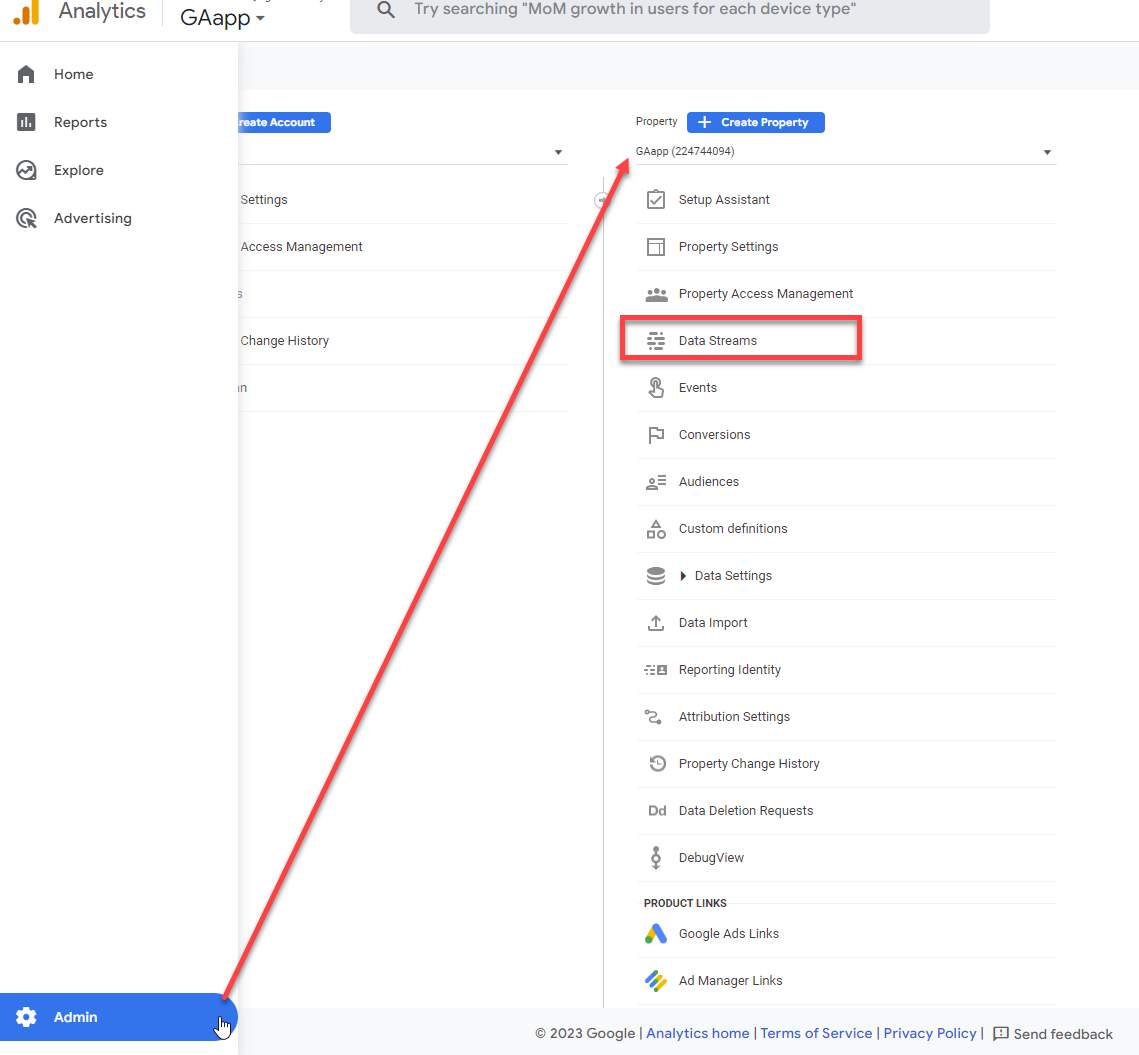
- In the new window, select Web to add a new stream:
- Define the stream and click to copy its Measurement ID:
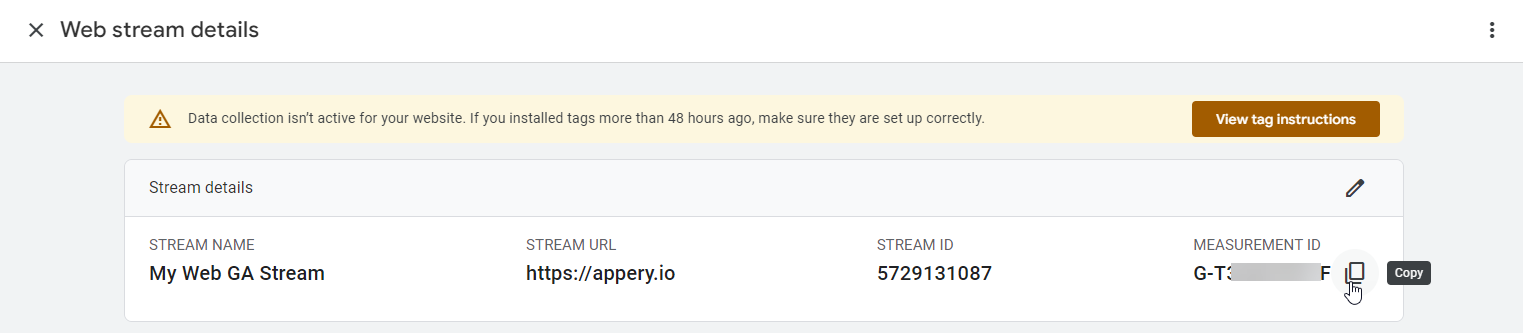
This is the id you will need to add to your Appery.io app and is described in this section.
Part 3. Defining your App Data
For iOS
Now, let's add the .plist file you just downloaded from Firebase to your Appery.io app.
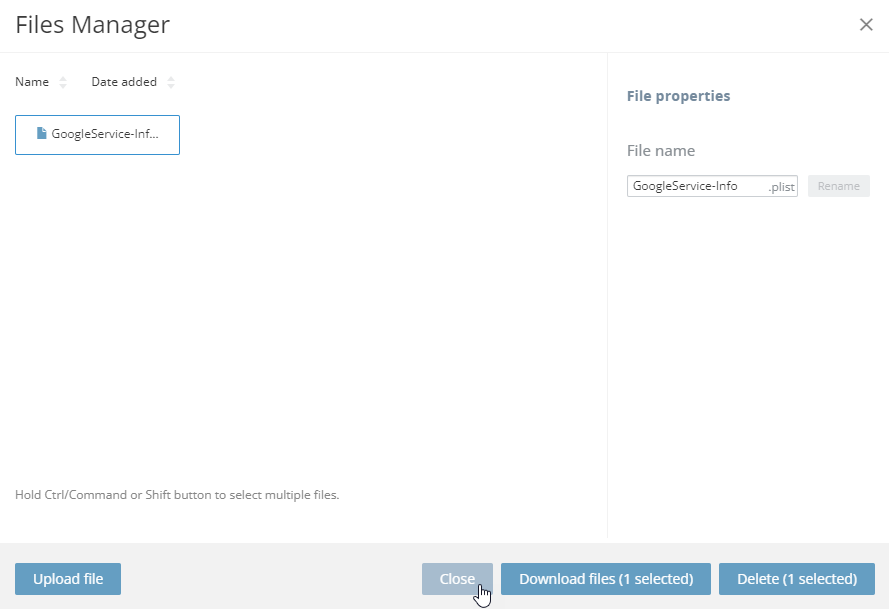
- Go to App settings > General and upload the file to the Assets section by using the Files Manager:

- After the file is uploaded to the app, click Close:
- Now, go to the Cordova Config tab, select the iOS tab, and add the following code
<resource-file src="./src/assets/files/GoogleService-Info.plist" />in the Custom config section:

That's it for iOS!
For Android
To be used with an Android device, your Appery.io app needs to have the .json file you downloaded from Firebase added.
- To do it, upload it under the Assets section: open the App settings > General and use the Files Manager for selecting and uploading the needed file. The file should be listed next to the
GoogleService-Info.plistwe uploaded earlier (for iOS):
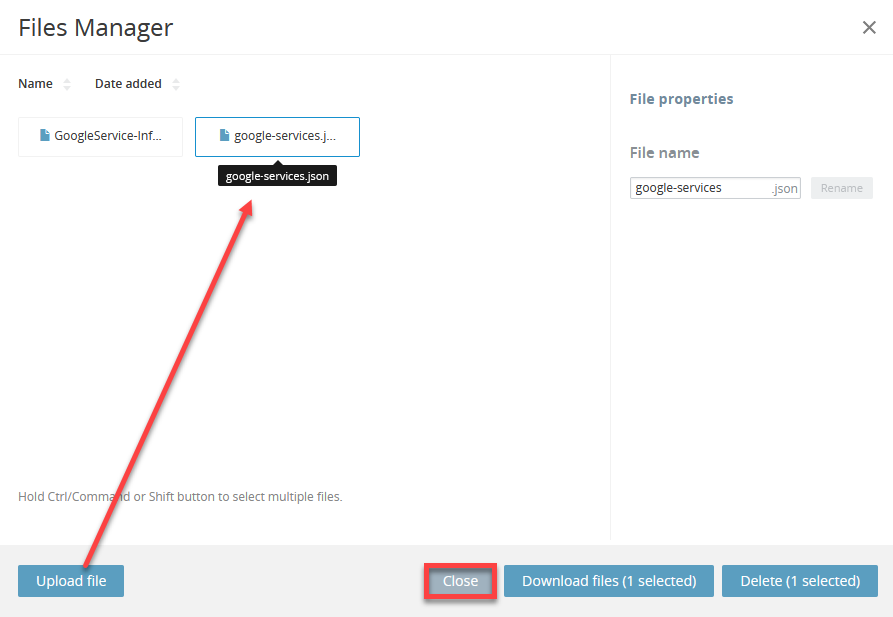
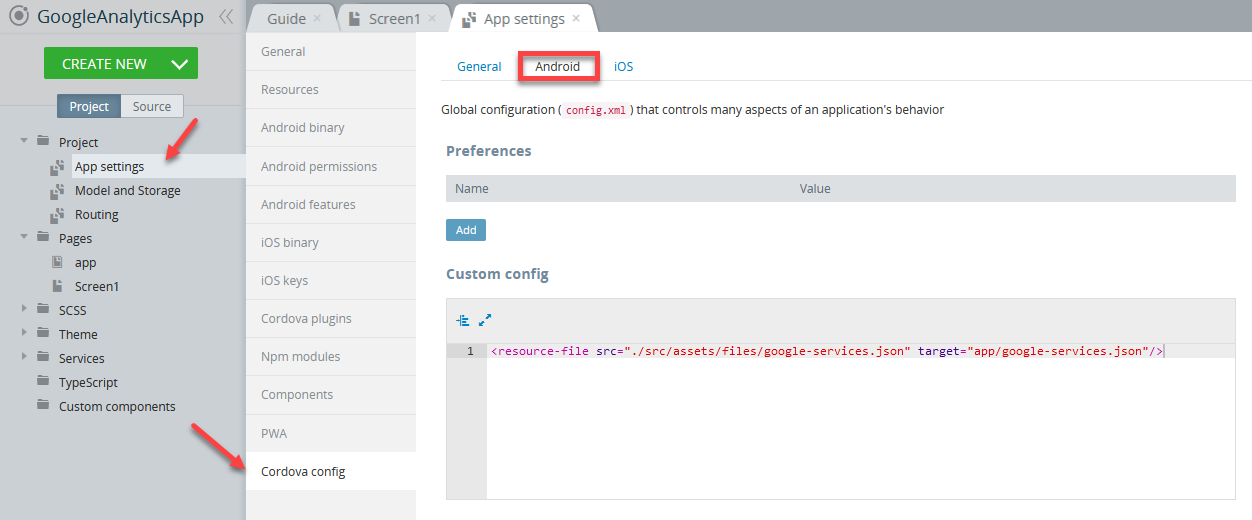
- Next, go to the Cordova Config tab, select the Android tab, and add the following code
<resource-file src="./src/assets/files/google-services.json" target="app/google-services.json"/>:
For Web
To define your app to be used for the web:
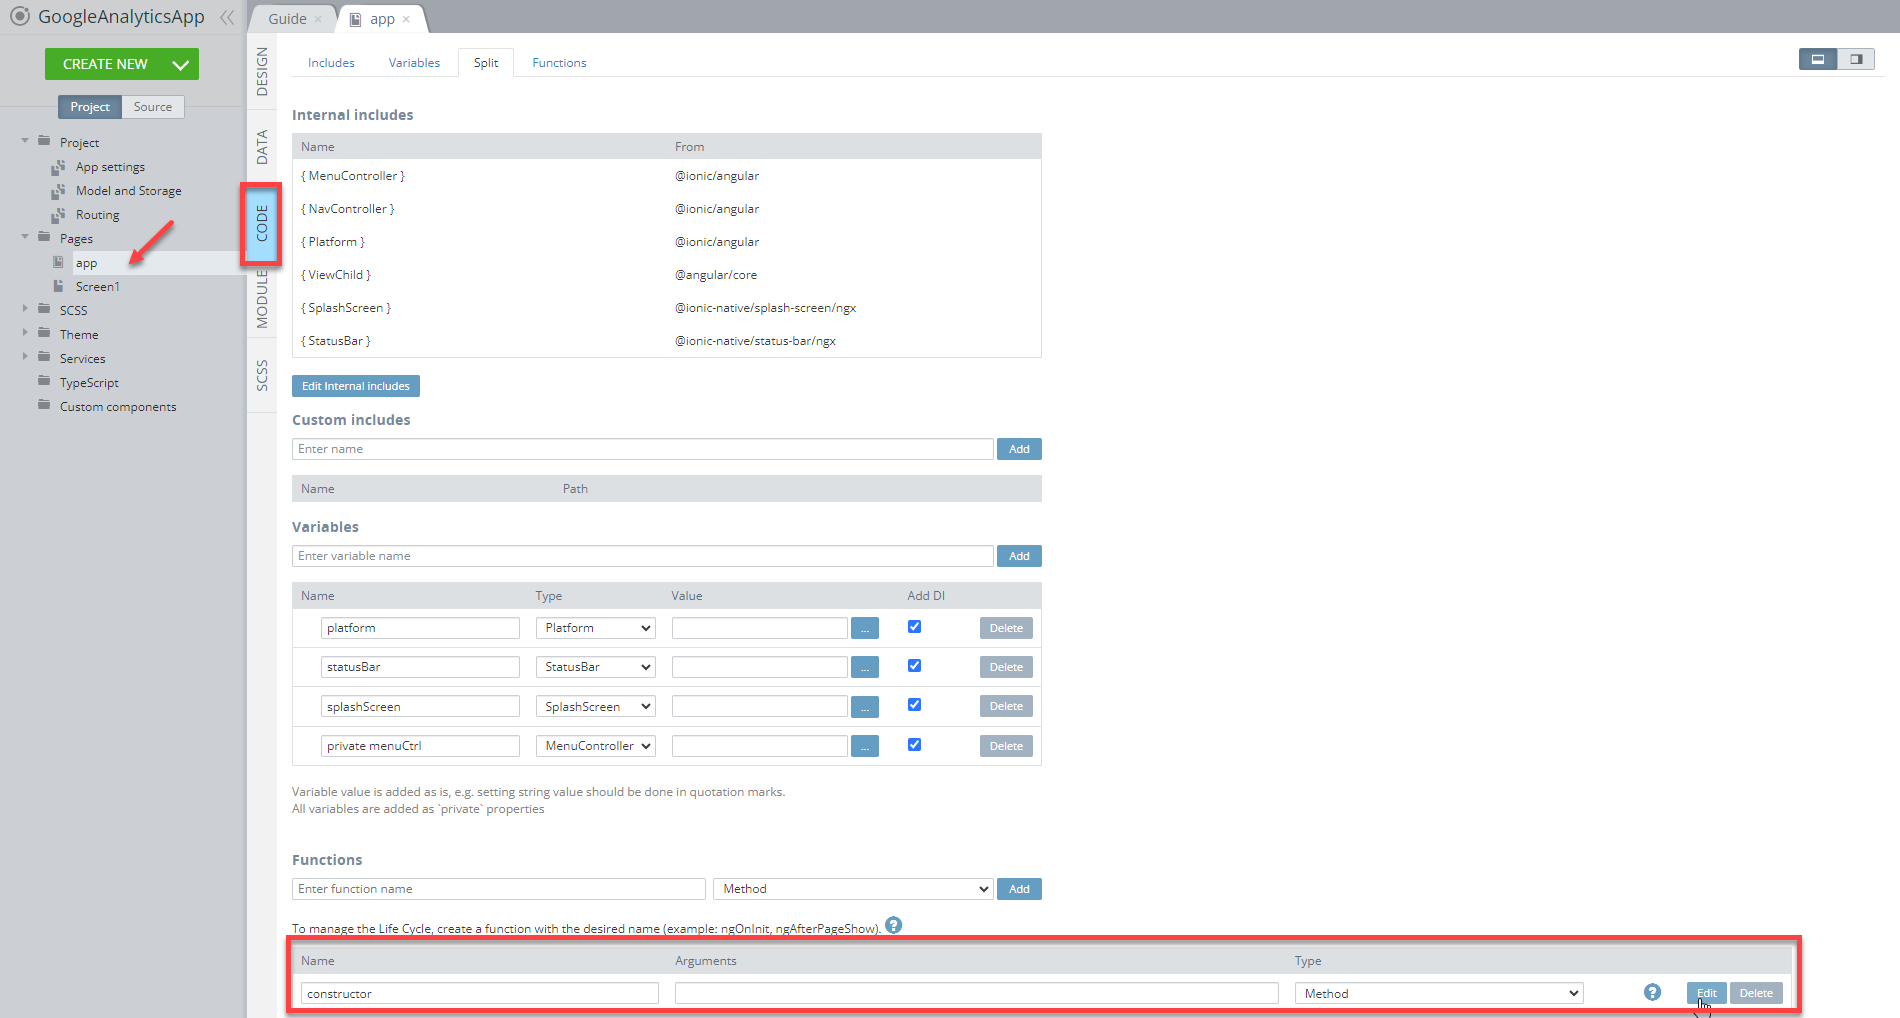
- Open your Appery.io app and go to the app page.
- Open the page CODE panel and click the Edit button to modify the constructor function:
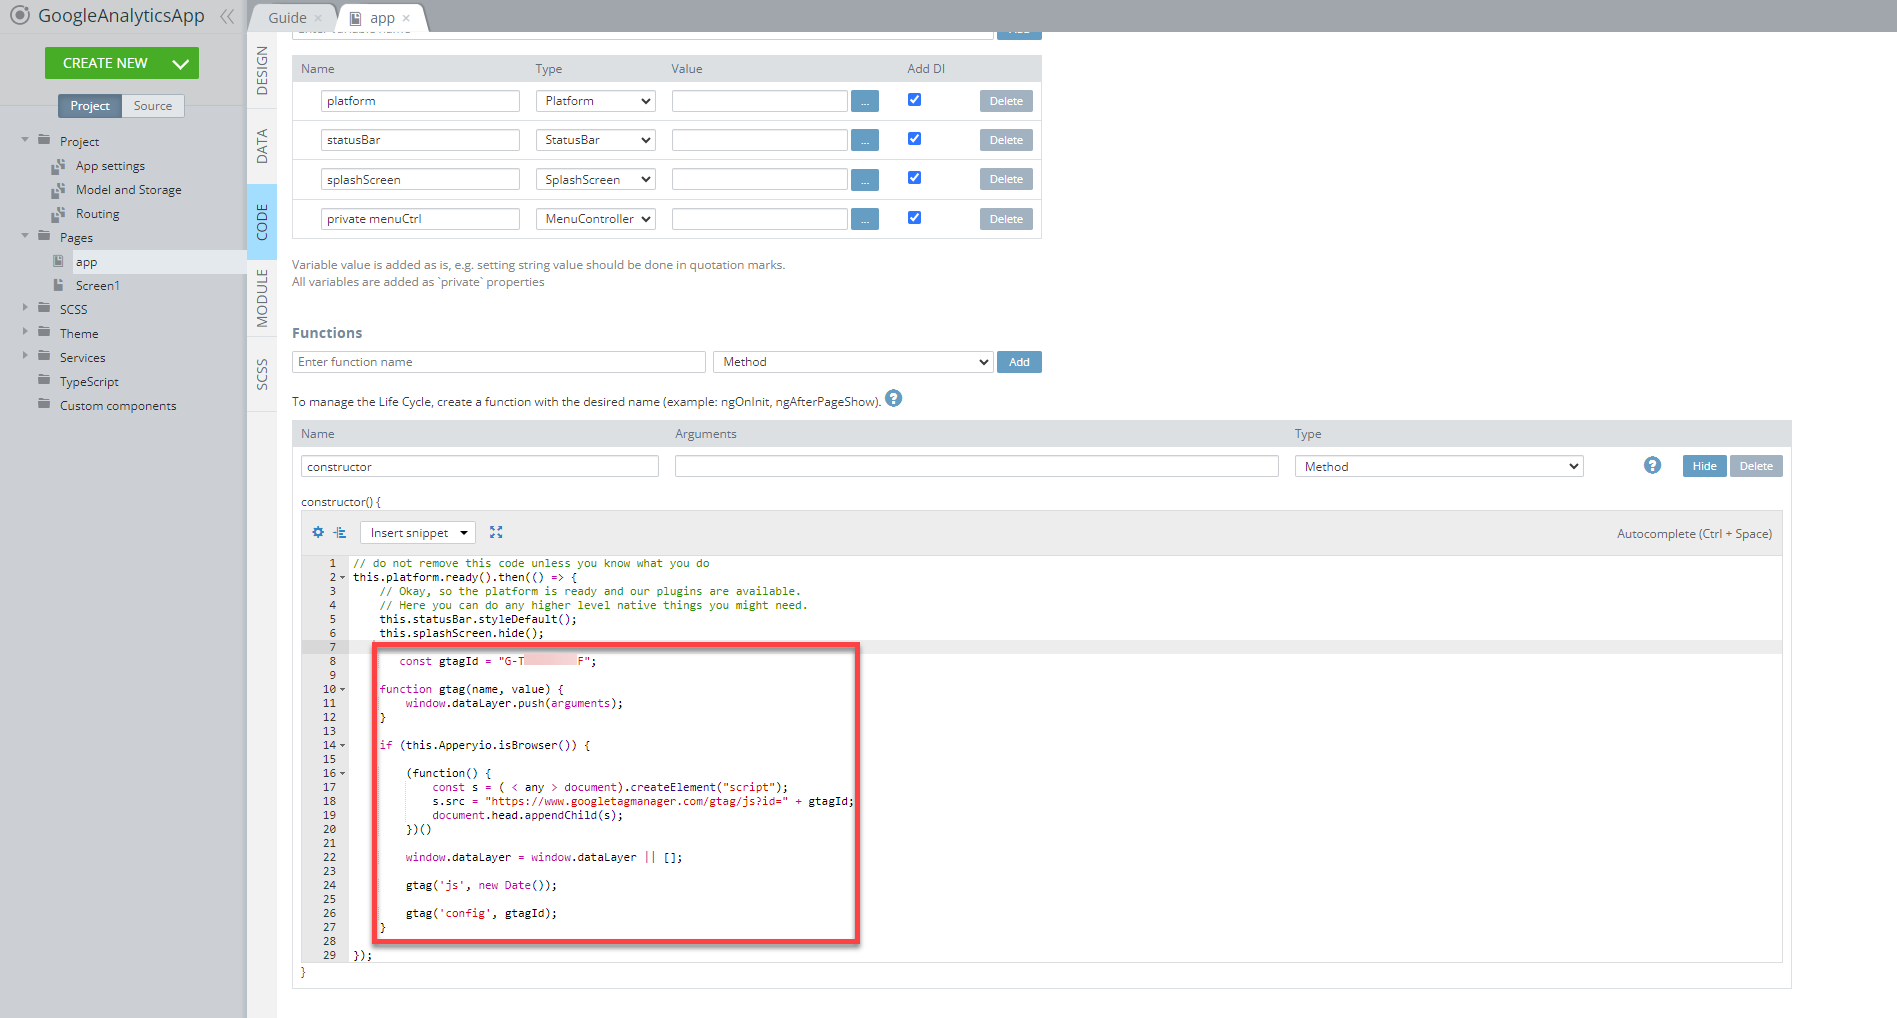
- In the editor, paste the following code but make sure you replace the gtagId with the Measurement ID you generated for the web app stream (check here for more details):
const gtagId = "G-ZB6MLYTZZQ";

function gtag(name, value) {
    window.dataLayer.push(arguments);
}

if (this.$a.isBrowser()) {
    await this.$a.loadScript("https://www.googletagmanager.com/gtag/js?id=" + gtagId);
    window.dataLayer = window.dataLayer || [];
    gtag('js', new Date());
    gtag('config', gtagId);
}
- Save the app.
Note!
Tracked page views and events do not appear immediately as web app analytics takes some time to process data.
App Testing
Congratulations!
Important Note!
Please note that you will need to generate the iOS certificate with the In-App Purchase capability to build an
.ipafile.
You can check this document in case you need help with exporting your application for iOS.
Here, you will find information on generating certificates for Android.
Note as well that starting from August 2021, new apps are required to publish with the Android App Bundle (.aab) on Google Play.
Please read more here.
You can also check this Appery.io YouTube video that shows how to create Android and iOS certificates:
- After the app is started on the device, go to the Firebase console and select the Firebase project you set up in Step 2 (here it's GAapp). You can see the analytics for the app:
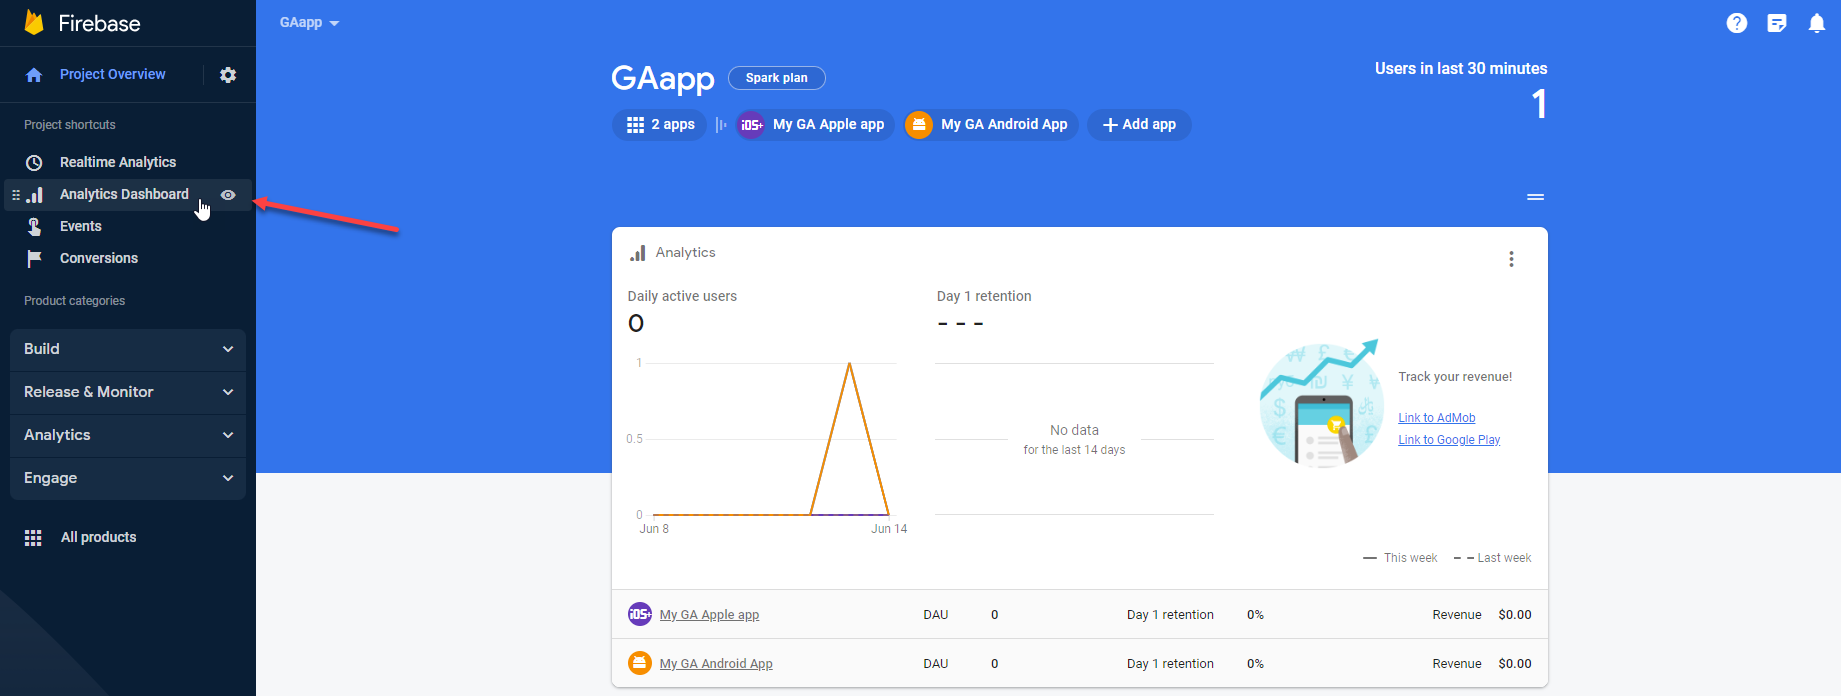
- Go to the Analytics Dashboard section to see more details on the app activity:
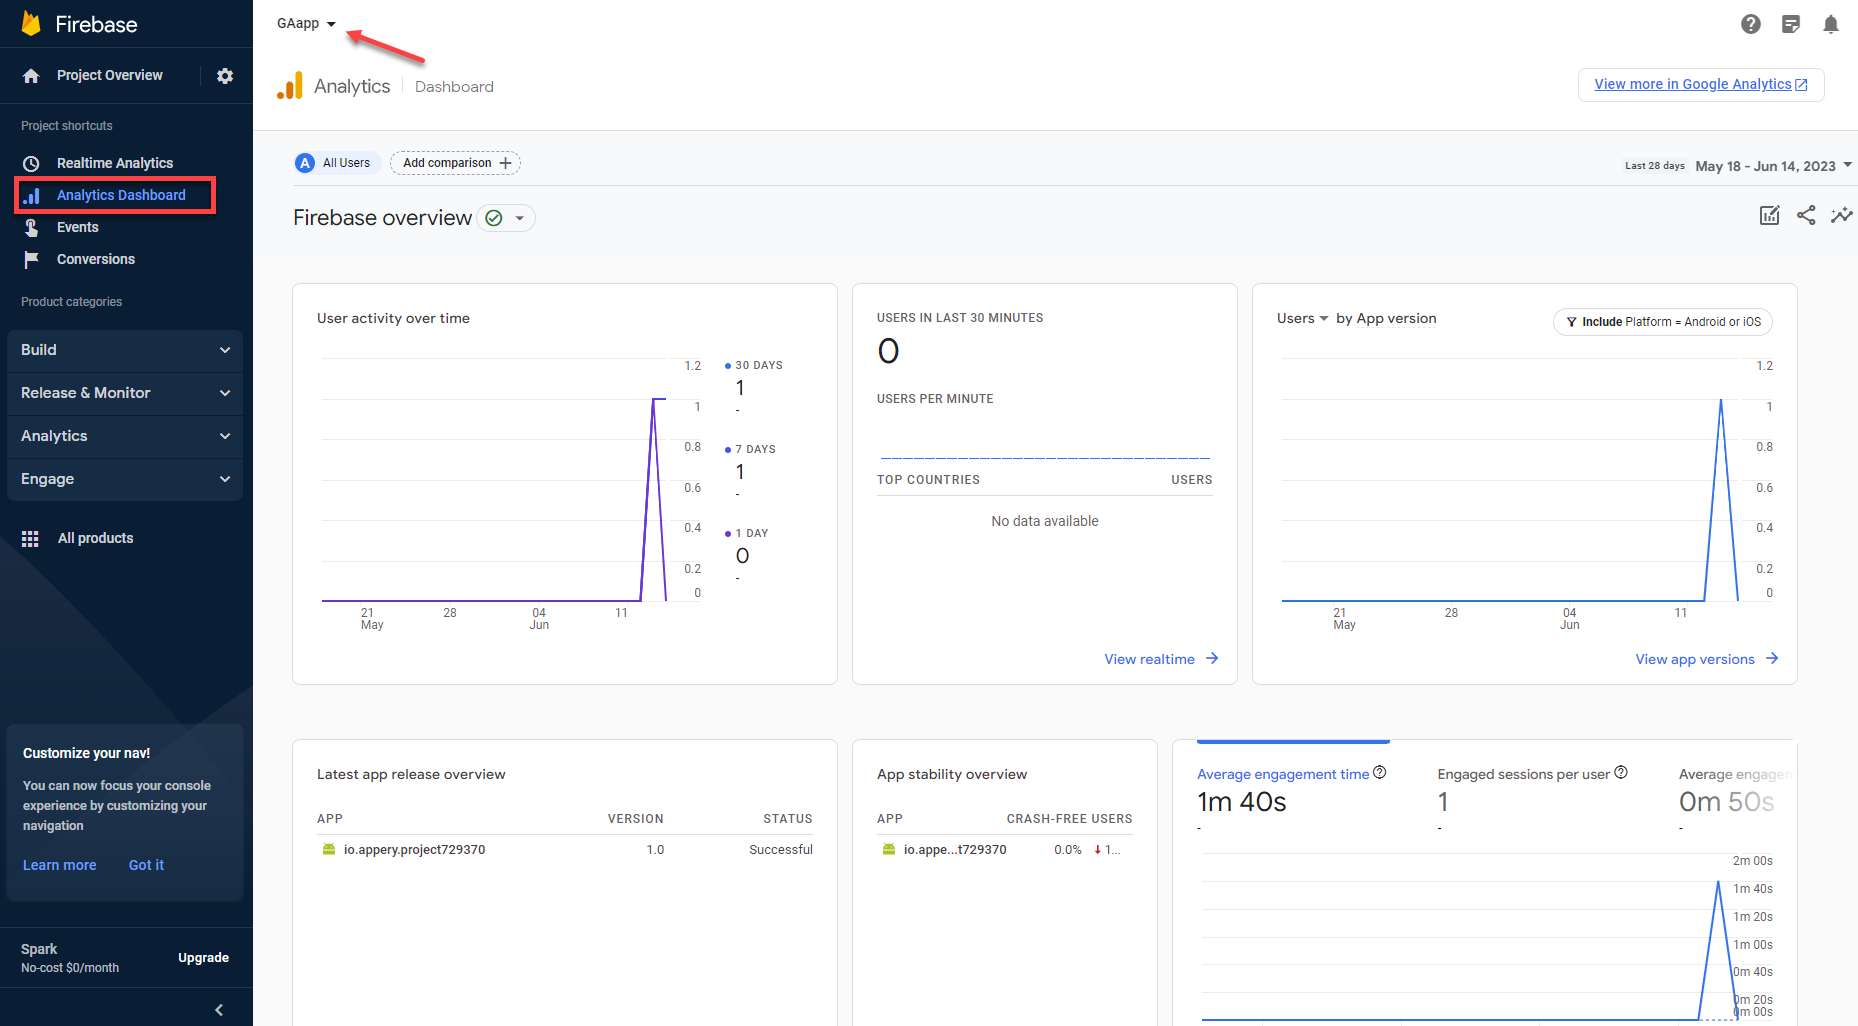
Google Analytics console
If needed, you can open the detailed view in the Google Analytics consoleby clicking the View more in Google Analytics button in the upper right corner.
Note!
Tracked page views and events do not appear immediately as web app analytics takes some time to process data.
Updated 4 months ago